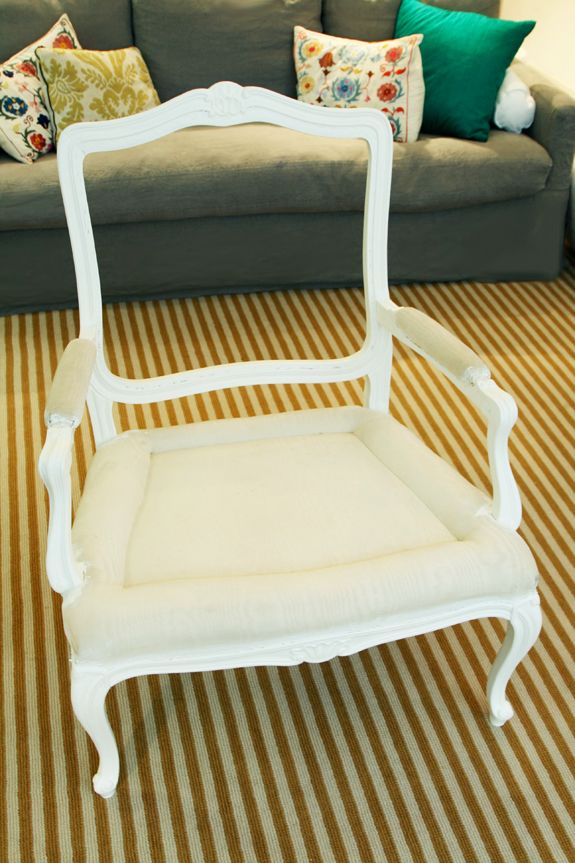
So now that we've stripped the chair of it's trimming and most of the fabric, it's time to paint the frame.
*Another quick disclaimer: there are so, so many methods for painting furniture and I've tried lots of them. This is just what works for me. Also, if we had a good place to easily spray paint these chairs, I definitely would have gone that route. Rustomleum's Enamel line is hands down my favorite. Great colors, beautiful coverage and very durable.
Any time I'm painting an older piece of furniture I like to clean it first with TSP, which you can get at any hardware store.
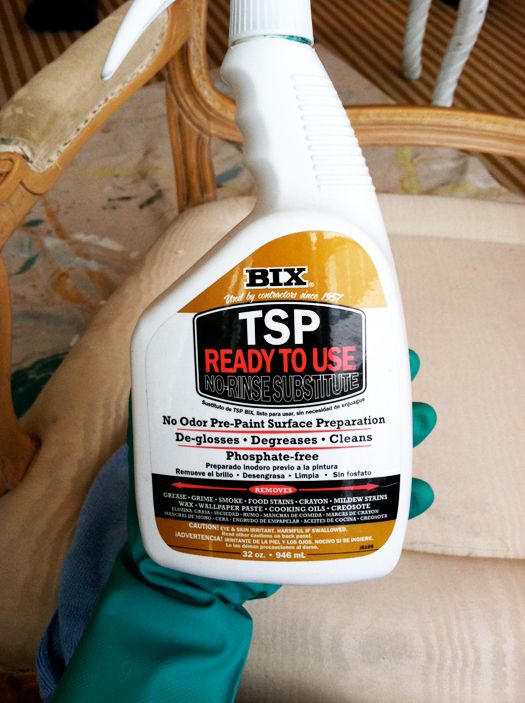
The basic idea is to spray the piece from top to bottom, let it sit for just a minute, and then wipe it down from top to bottom. It's not a regular cleaner, it's a chemical stripper, so use it carefully and according to the instructions. It's worth the minor hassle for a really clean, grime-free surface.
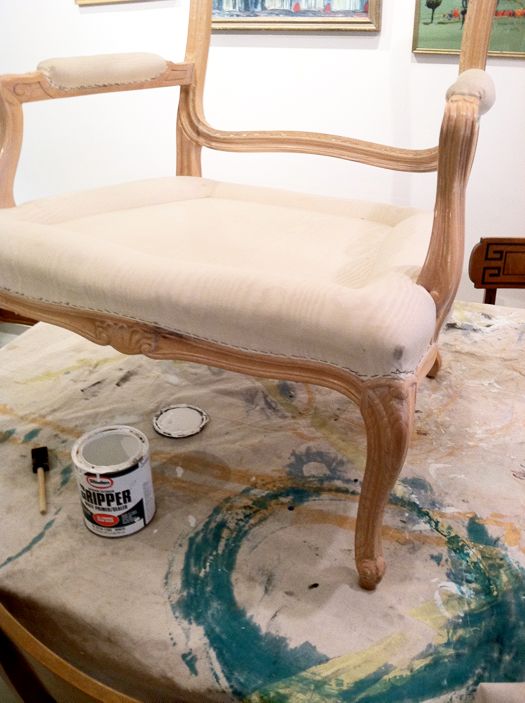
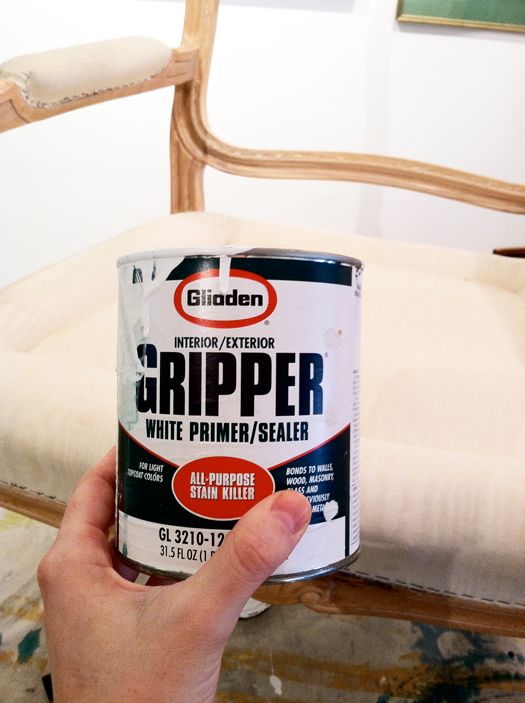
Even though I'm starting with a now-clean surface, I still need to prime the chair frames. I recommend priming almost every piece of furniture you paint. Especially high use pieces, or pieces that are in a high-traffic area. The good news is you can sort of just slap this coat of primer on - it doesn't need to be perfect. I usually use Zinsser primer, but I had this Glidden Gripper on hand and I like it fine too. It's not as thick as Zinsser, so it goes on a little easier, but doesn't cover as well.
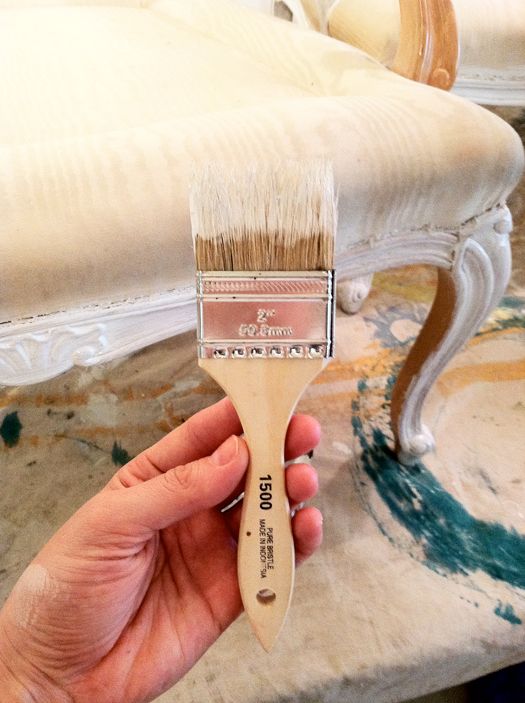
When I'm doing a primer coat, I never use my good paint brushes. I try to keep a little stock of foam and cheap 2" brushes for jobs like these. I find that brushes never really clean up well after using them with primer (without using mineral spirits or paint thinner, which isn't an option for garage/utility sink-less me), so I use these cheap brushes and then toss them after use.
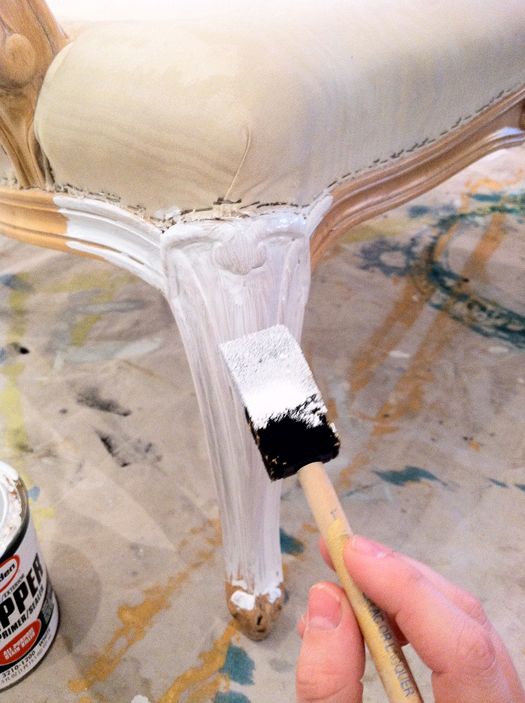
I started with a foam brush, but pretty quickly switched to a bristle brush so I could easily get into all the carved details.
Again, putting down the primer foundation should be a fast step. I brush on a quick, light layer. Both chairs took maybe 10 or 15 minutes to brush down. There are serious brush strokes and the wood stain underneath is definitely showing through, but it doesn't matter in this step.
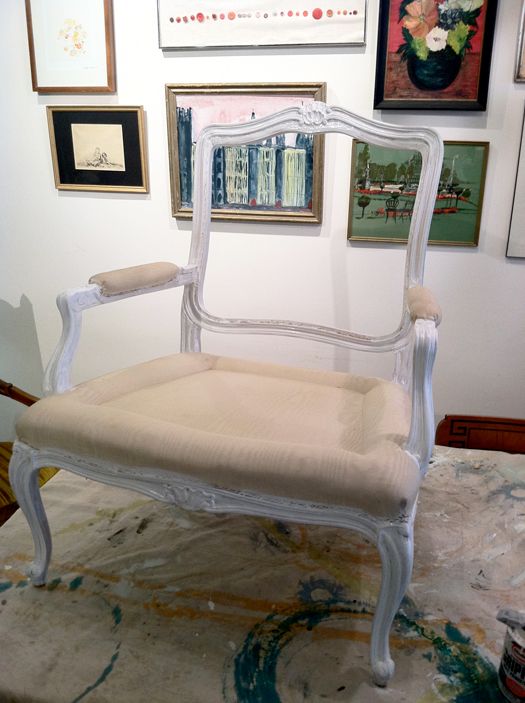
Again, putting down the primer foundation should be a fast step. I brush on a quick, light layer. Both chairs took maybe 10 or 15 minutes to brush down. There are serious brush strokes and the wood stain underneath is definitely showing through, but it doesn't matter in this step.
It only takes a couple hours for the light primer coat to full dry. Just enough time to go on a walk with the kids and my sister and sister in law. I haven't mentioned that my gorgeous sister Heather (on the left) is staying with us for part of the summer. She has been such a fun partner in crime for the past couple of weeks and I love having her around! Also, my amazing and stunning sister in law, Kenzi, (on the right) is here in the city with her husband Matt for the summer. They are the BEST and I feel so lucky to have these ladies around to laugh with. They've both been jumping in to help with my kids while I'm juggling the craziest work load of my life. So many projects are wrapping up right now and I'm glad they are here to catch the balls I'm dropping. Love you girls!!

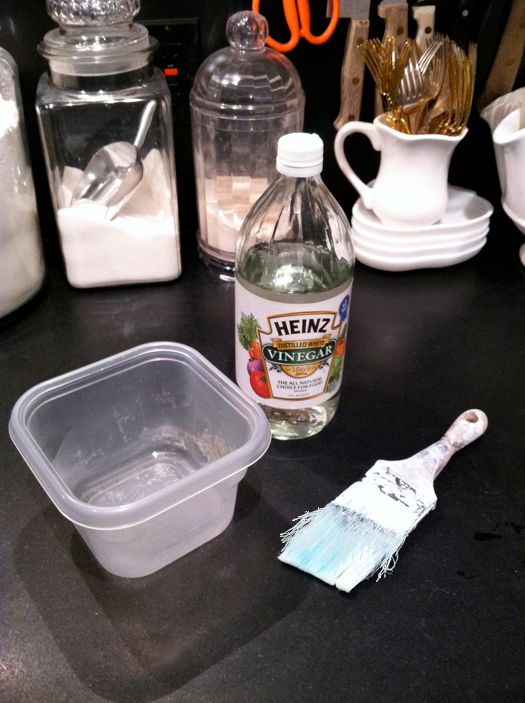
When we got home I started prepping the chairs for the first coat of paint. I forgot that I had left my favorite Purdy brushes at a client's apartment, so I needed to clean up a good brush to use. This brand is called Zebra and I like them second to Purdy, but those are a couple dollars pricier.
Clearly I have not done a good job of taking care of this brush! It has seen better days. It's pretty easy to clean it up again though (again without using paint thinner). Just heat up some white distilled vinegar in a toss away tupperware in the microwave for about four minutes (til it's really hot) and then let the brush soak for a couple minutes.
Just enough time to do my hair and paint my nails so I could go meet Sarah Richardson and Tommy Smythe!! (more on that later)
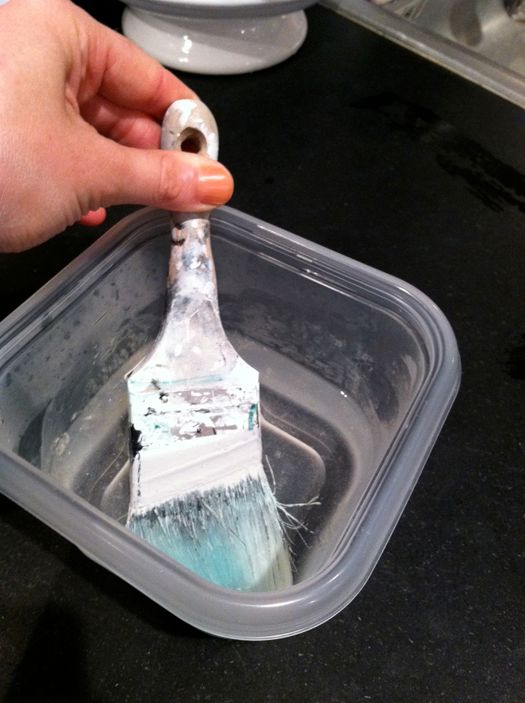
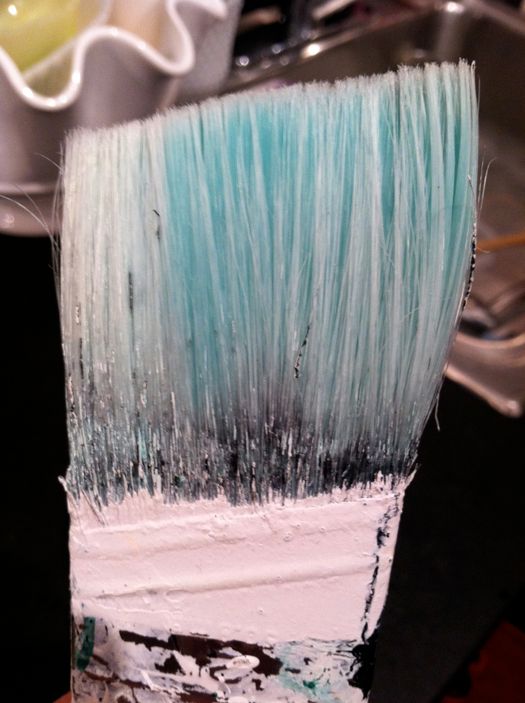
The hot vinegar really loosens up the paint and it washes off with hot soapy water. I just used a little bit of vinegar so that the bristles would be cleaned and soft, but you could probably soak the whole brush.
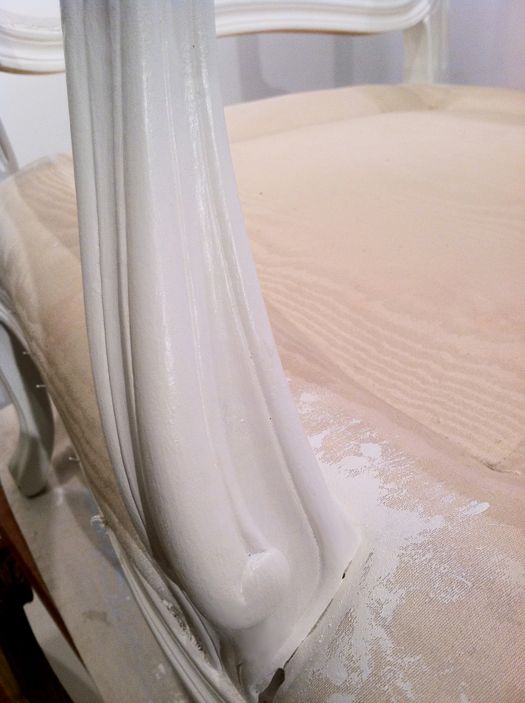
After I got home from meeting Sarah and Tommy, I brushed on my first coat of latex paint. I used BEHR's paint+primer in semi-gloss mixed in Benjamin Moore's White Dove (a great, creamy white with some gray undertones).
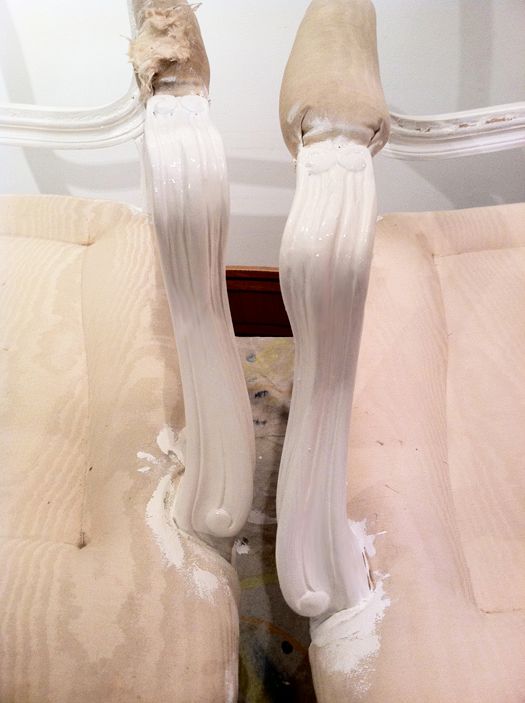
The key to brushing on a glossy paint to is to load the brush with a good amount of paint (not dripping, but not a dry brush either). Pick an area, like an arm or a leg, and stay focused on that area. Don't wander! Start and the top and work you way down. Brush in long, smooth strokes. Once the paint is laid down, don't touch it again until it dries! It is so tempting to just hop around, touch up here and there, but that completely messes up a paint job and things get all globby. You can touch up your misses later on during the second coat.
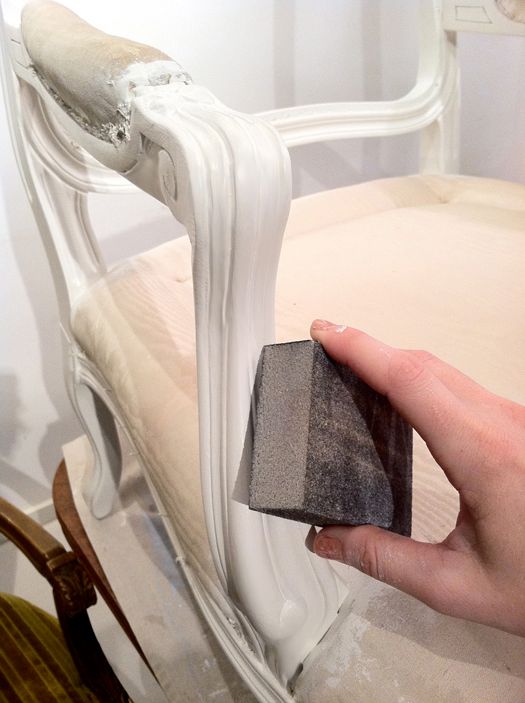
Even after a smooth first coat, there will still be imperfections - air bubbles, dust, drips, etc. That's when a medium or fine grit sanding block comes in handy. I like to clean up the blatant mistakes and then sort of lightly rub the whole piece down with the sanding block. It really helps to get a smooth surface in that second, final coat.
Also, I thought I would mention that I learned in the last year that if you do at least two coats of a GLOSSY paint, it's not necessary to do a protective sealer like a poly or lacquer. I guess that additive in the glossy paints is basically like a polycrylic? Whatever the reason, fine by me! Less work! (but make sure you do that primer coat and use the paint+primer latex)
It stinks how latex paint sticks to nail polish. Manicure ruined!
I put the second coat of paint on early this morning and it's just about dry enough now to start upholstering tonight. Part 3 will be up tomorrow afternoon probably. xoxo