FREE DOWNLOAD PICTURE
MORE INFO ABOUT NOTEBOOK

Wednesday, November 30, 2011

Room Tours: Kirsten Krason

The next living room tour is from one of my favorite blogger ladies, the lovely Kirsten Krason of 6th Street Design School! I loved reading all about her beautiful living room. Thanks so much for sharing, Kirsten! xx


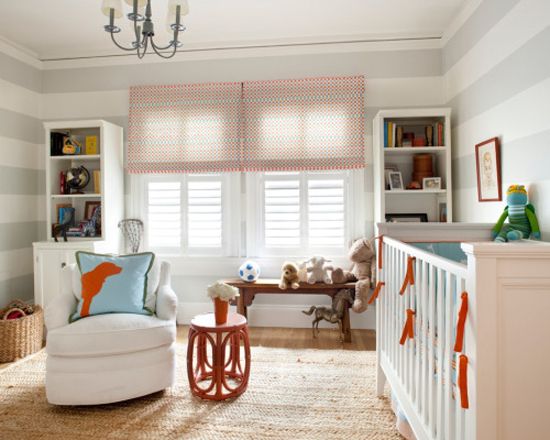
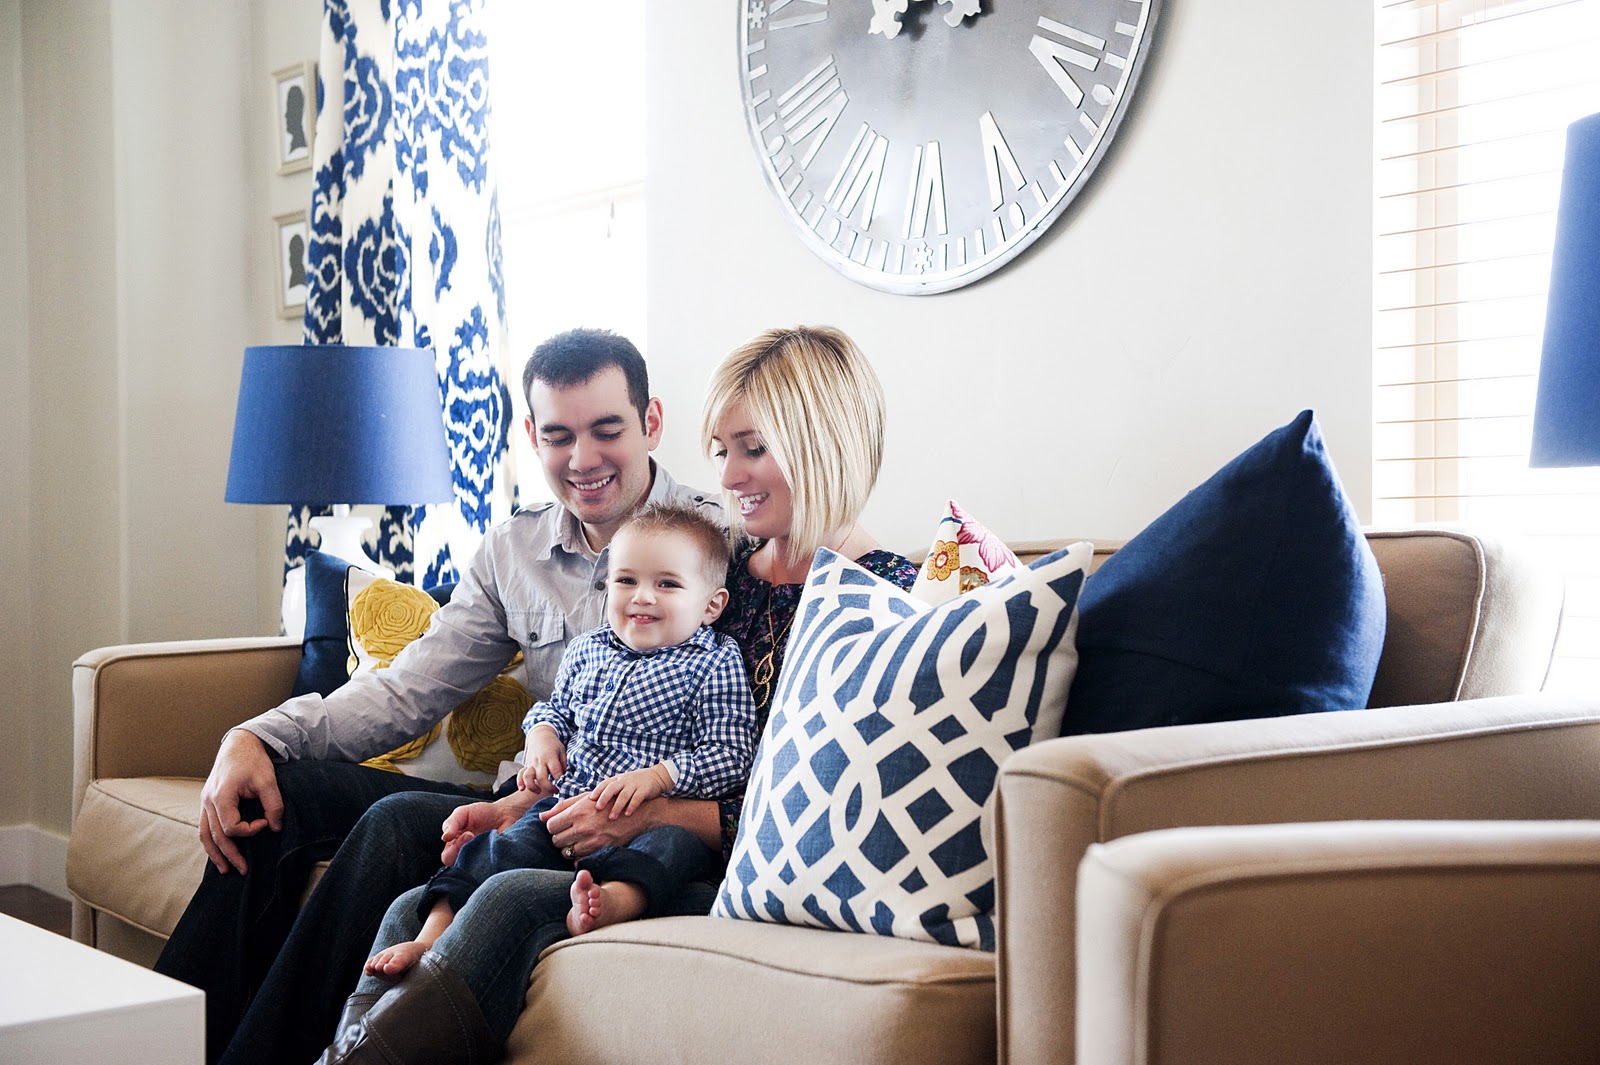
Welcome to my Living Room! This room has come so far since it's humble beginnings. I love spending time in here with my family.


Enjoy!


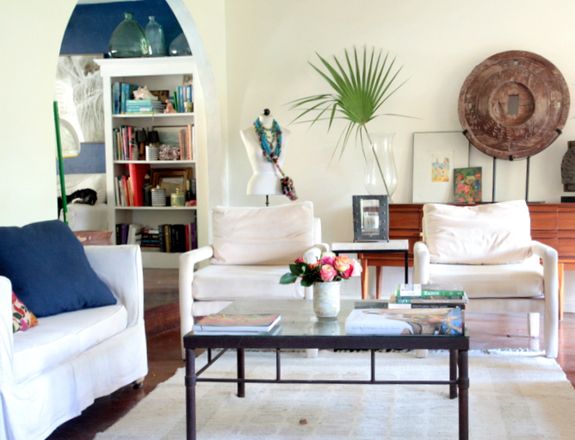
Our sofa and chair are wool and were originally purchased at Pottery Barn.


We bought them on Craigslist. I think it was like $1,300 for the set. The fabric is wool which has been interesting. It's not the softest fabric but it does hold up pretty well with messes and spills. I love the color of these. Not too dark and not too light. The rug is by Nate Berkus from HSN. It is no longer available. I sure wish it was. It's been a great rug. I love how graphic it is. It's a flat weave which means it's not super soft. But the nice thing is that when one side gets dirty we can just flip it over and the same pattern is on the other side.


The clock above the sofa is from Pottery Barn. I bought it about 5 years ago for $50 on sale. It's no loner available. It's been a great clock. It's not functional though. My husband thought I was crazy to buy a clock that doesn't actually work. The decorator in me only cared that it looked good. Plus for $50 you can't go wrong!


The yellow flower pillow was purchased at Target. It's become a little trendy but I still love it. The shade of yellow is just perfect.


The silver bowl on the coffee table was bought in Mexico and is a gift from my Mother-in-Law.


I bought the Pottery Barn books at T.J. Maxx a few years ago. When I was first married I used to study these books religiously. There weren't really blogs back then and there definitely wasn't pintrest. We were too poor to afford design magazines so these books were my only source of information on design. The fuschia orchid on top of the books is fake. Ahhhh!! I know it's horrible to have fake plants but guess what? I kill everything. Plus I just love the color. I purchased it about 6 years ago at Target.


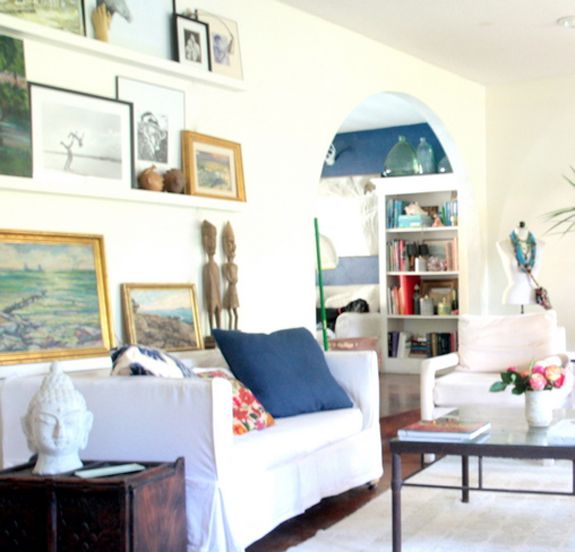
The blue trellis pillow was purchased on Etsy and is made from this fabric. Imperial Trellis is trendy, I know, but I love it. It is an amazing fabric and this pillow is one of my favorite things in my house. It was actually one of the first things I ever bought for our home. I didn't know what our home was going to look like or be decorated like but I knew this pillow would find a way to fit in.


The peacock pillow is made from Pottery Barn's Bettina fabric which has been discontinued. It's an amazing pattern. I got emails about it all the time. You can still find Bettina items on Ebay every now and then. You could totally make some pillows out of old curtains or a duvet. So keep an eye out.


The large navy pillow is from Pottery Barn found at DownEast. I think it was like $10. I like having large blocks of color to break up all the pattern I have going on.


The small lumbar pillow is also from the Bettina Fabric.


The large blue pillow is an outdoor pillow from Pottery Barn found at DownEast. It has a monogramed K on it. My name is Kirsten Krason so you'll find a lot of K's in my house. I love that letter.


The blue lamps were bought at Home Goods. I went back and forth on if I should get them or not. They are a little large scale for the small Lack side tables. But ultimately I love them. I think they are such a huge part of the room. I would be devastated if anything ever happened to them. Since they are from Home Goods they are pretty much irreplaceable.


The "love" print is from Made By Girl. I love her stuff! This shot of pink in the room is very "me" and it makes me so happy.


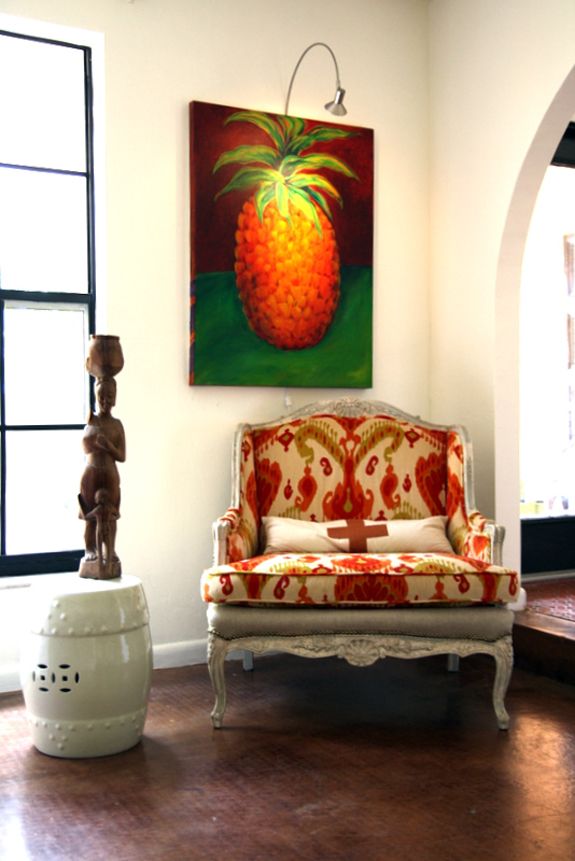
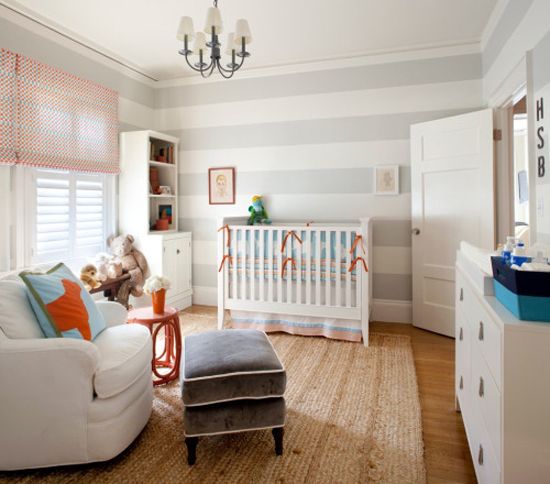
The loveseat was bought on Craigslist. It's honestly not my ideal piece of furniture. The shape is nice but there isn't really anything special about it. But it's leather (or at least part leather) which makes it super easy to clean. The scale is also great and the price was right. Only $250! The garden stool was bought at a consignment shop for $10. I think it's one of the best deals I have ever found on anything in my life.


The curtains were made with this fabric by my friend Erin. I was a little nervous about this pattern I'm not going to lie. I actually didn't love it the first time I saw it. But sometimes the best pattern for a room is not your obvious choice. Step back and think how this fabric is going to work with all other elements of a room. You may not like it by itself but when it is combined with other elements it can become something special. That's what happened with this fabric. Once I got it in the room I loved it. I go the fabric for a killer deal on Fabric.com. I've never seen it on there since. But you never know.


The red pillow is from this etsy shop. The chevron one is from this etsy shop. I love chevron. I'll hang on to that trend as long as I can!


Coasters from Furbish. La Fiorentina is one of my favorite fabrics. These coasters are very unique and I get lots of complements on them.


Silver trays are from Target and side tables are from Ikea. I adhered the trays to the table so they actually appear to be a part of the table. This gives those little Lack tables an extra oomph!


.


My coffee table is from Alice Lane made by Shine. I am in love with it. My client bought it for her living room and when she got it in there we could both tell it wasn't really "her". The fun thing about it is that it's 100% "me"! It's bold and unique and white. I love this dose of white in the room to break up the pattern and color. One thing that never bothers me is the mixing of white and cream. I know to some people that is a deal breaker but to me it just makes things more interesting. You may notice the stripes in the rug are a little more off-white, the background in my curtains is a little more ivory and my garden stool is cream. But I mix it all with white and I think it's great. Doesn't bother me in the slightest.


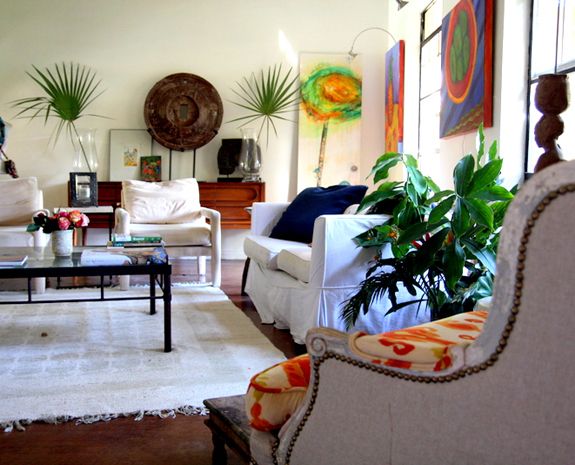
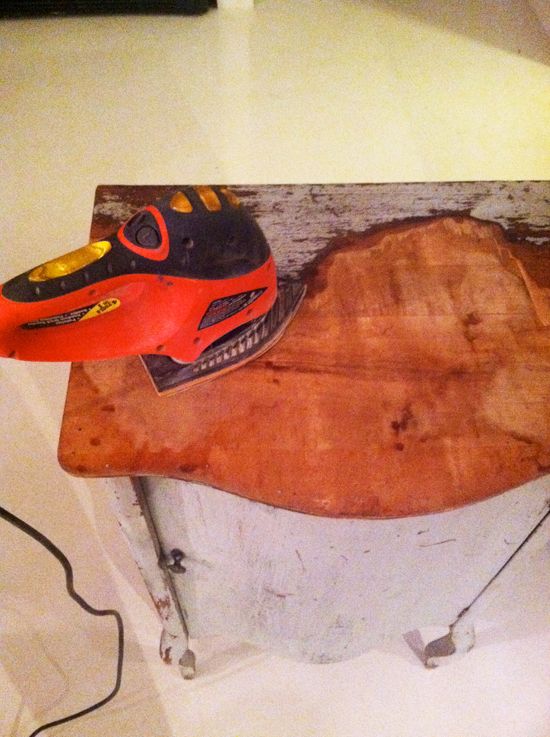
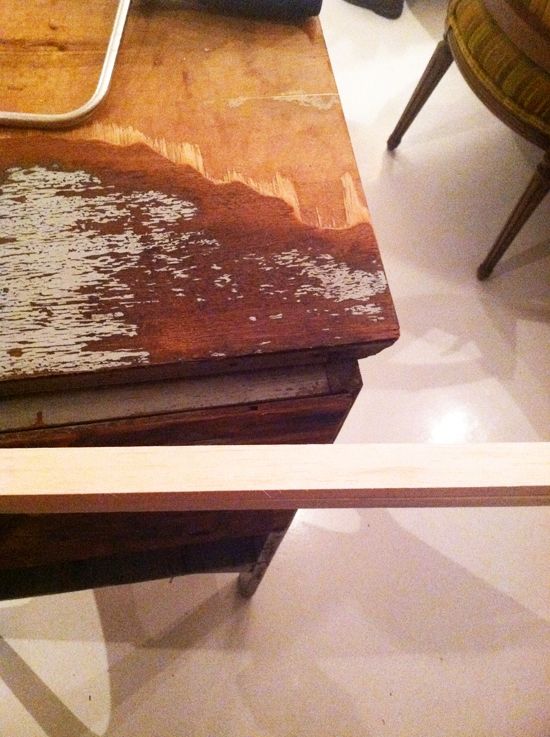
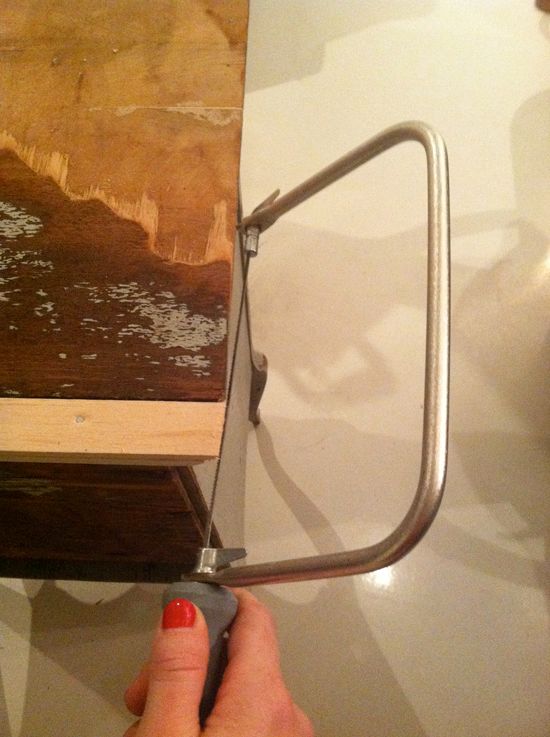
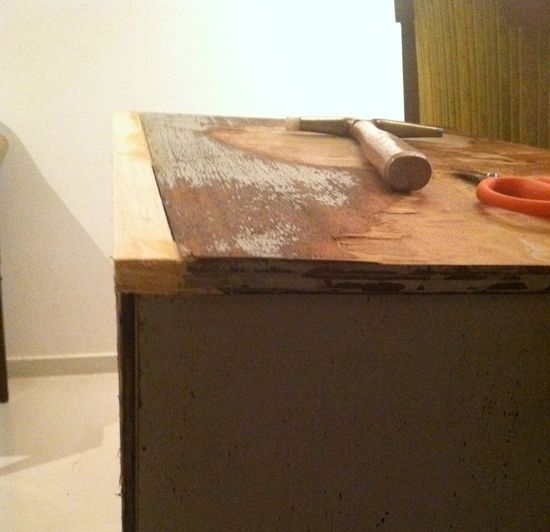
My credenza was bought at a garage sale for $100. I stained it, painted the sliding doors white and added some knobs from Home Depot. I don't know what it is about two-tone furniture but I just love the look of the white mixed with the wood.


My subway sign was bought at Pottery Barn via DownEast and is no longer available. However, I've seen a lot of DIY projects on these so I'm sure you could make one yourself. I love NY so this is my way of bringing a little bit of the city to my home in the suburbs.


I put together this living room on a tight budget and I still really love it. It's colorful, happy and comfortable. I hope you enjoyed it!


Wall color is Hazy Skies by Benjamin Moore

Sofa and chair originally from Pottery Barn bought on Craigslist

Loveseat bought on Craigslist

Coffee Table from Shine Home bought at Alice Lane Home Collection

Side Tables from Ikea

Wall Clock from Pottery Barn

Rug from HSN

Pottery Barn Books from Pottery Barn bought at T.J. Maxx

Silver bowl from Mexico

Faux Orchid from Target

Blue lamps are from Home Goods

Love print from Made by Girl

Imperial Trellis pillow from Etsy

Solid blue pillows from Pottery Barn bought at Down East

Yellow flower pillow is from Target

Floral Peacock pillows are from Ebay, fabric is Bettina by Pottery Barn

Large Blue K pillow is from Pottery Barn via Down East.

Red ikat pillow from Elegant Touch on Etsy

Blue chevron pillow from Deco Yellow on Etsy

Curtains made by Erin from Plush Studio on Etsy, made with Kalah Blue Fabric

Credenza found at a garage sale

Subway sign from Pottery Barn bought at Down East

Silver trays bought at Target


Thanks again, Kirsten!!

Monday, November 28, 2011

Room Tours: Linda Roberts' Living Room

Today's room tour comes from the lovely Linda at Lime in the Coconut. I love the earthy and ethnic vibe of this gorgeous room!! Enjoy!


"When we bought the "hacienda" the first thing we did was rip out the red shag 1970's carpet. We decided we liked the coolness underfoot, and chose to have the floors acid stained. Absolutely bombproof!

"The coffee table was a garage sale find...It is rusted metal and had tiles inserted in it, and was clearly used outside. I even used it outside in a previous home. Added some glass to the top...and now it fits in perfectly. Leaning against the back wall is a favored piece of art...actually a door...in the ADORE series by artist Aimie Phillips.

"The window end of the room (large black metal windows) Has three big pieces of art
by artist Ginny Piech Street...each one has a light over it which casts a beautiful glow at night (I love using timers for these...I don't need to remember to turn them on).


"I had two loveseats...also from 1970! Slipcovered them both in white duck cloth...am always switching out pillows. Art is a...well...bit of a problem in this house. I LOVE all of it...and collect too much. Building art ledges solved the problem of easily revolving my pieces. Mid century credenza...found at goodwill. 14 clams. This room looks into the library (with blue wall) if you look closely, you will see a speed bump of a great dane lounging on the linen slipcovered love seat. lovely. White chairs in the back are waiting to be upholstered into something else....just not sure what. Found them at Habitat for Humanity for like seven bucks each.


"In the foreground you can see the side of my lovingly named "big Ass Chair" I upholstered it...not so gracefully...but have come to love the uniqueness of it....and COZY...is it ever. The chair was a steal at 10 bucks. you can read a bit about it here . The beautiful and lively velvet is a Schumacher print...and believe it or not...I found it in a bin for 4 dollars a yard. Needless to say, I bought what was left (4 yards). It retailed for $395 a yard. Call me eagle eye. and lucky. Carving is from a Mexican artist of a mother and child with laundry on her head and a baby on her back. Story of my life. sigh.


"Turning around and looking into the foyer through the LR. More art on walls...many acquired at thrift and estate sales. The portraits I name....the guy is Buenaventura and the woman with the parrot on her shoulder is Paloma. I know...strange. I'm ok with it.


"A close up of the desk...collection of magnifying glasses, an old necklace display (paper mache) I found at a jewelry store when still in college. Some mercury glass, and an old steer horn.


"A closer view of the art ledges. I constructed them out of 1X4's and molding. Halogen lights (on timers again) light the wall at night.


"And another favorite painting from Michelle Armas..


Thanks for the room tour, Linda!! Everything's beautiful!

Happy Monday!

Hi friends! Sorry for not posting last week. My hard drive crashed on Monday. No fun. At first, it was nice to get a little break from work, but I started to get antsy pretty quick! I bought a new computer on Black Friday but I'm still waiting for all my files to get back from data recovery.

We're going to Hawaii on December 10 and then straight to Arizona for Christmas, so there's lots to get done before leaving. I'm hoping that hard drive gets recovered sometime this week. Fingers crossed!

Since we're leaving so soon, we decided to just get a little mini Christmas tree. It's been fun to see the make-shift tree lots pop up all over the city. It's beginning to feel a lot like Christmas!


Photoshop is downloading on my new laptop this morning and then that room tour I promised last Monday will go up!!

In the meantime, I've been working with a client on a nursery project (my favorite rooms to do I think!). She is in love with this nursery and we're using it as our feel/color inspiration. The gray is great because my client is waiting to find out the gender.


I did a round up of nursery gliders on Babble today. I'd love your input if you've got one you really love at home. We haven't placed our order yet.


See you in a few with that room tour! xx

Monday, November 21, 2011

Weekend Recap


Can you believe it's Thanksgiving week already!? I'm excited! We had a great, super chill weekend. We went to the Met on Saturday with a friend who was in town on business.


The girls love the Egyptian wing best at the museum, not surprisingly. (Weren't you super into Egyptology as a kid? I totally was.) They also really liked the modern art gallery. I think it's cool how kids are always drawn in by the big Pollock. I noticed probably four or five other children hovering here and talking about the artist's approach ("did he paint it? did he pour it?"). I hope my girls grow up loving art as much as Michael and I do.


Yesterday was really low key because we're all fighting off colds. It was a good excuse the lay low and watch some movies and get excited for the short week ahead of us!

I'm prepping my Thanksgiving table and it got me and my assistant Colleen thinking about dinner plates. We worked together to find some really cute ones for all the upcoming holiday dinner parties. I don't really have holiday-specific china, but I feel like anything goes with holiday decorations anyway. My favorite is mixing patterns; like, the dinner plates are one pattern, and the salad plates something else in different colors and scale, etc. Also, I'm super into gold flatware and pick it up whenever I stumble on random pieces at flea markets.


What's your Thanksgiving table going to look like this year? Any fun, inexpensive plate patterns I missed?

I'm working on getting up some more living room tours for you this week, so come back later today for a really exciting one. (Hint: this woman has no fear of color!)

Thursday, November 17, 2011

Bathroom Vanity Redo


This DIY project was sponsored by Home Depot and their great campaign to be more eco-friendly.

Putting a little chair and a vanity in our bathroom has been on my to do list for a while. I love having furniture in bathrooms. If you have a big enough bathroom to pull it off, I think it looks really great and helps tone down the sterility bathrooms usually have. Plus, I don't know about you, but I'm getting too old to sit on my knees in front of the tub while my kids are taking a bath. :)


I found this little French vanity desk at Dixon's Auction in Crumpton MD. It had been passed over buy the other buyers, so I gladly snatched it up for free before the auction house workers had a chance to toss it in the dumpster with the other passed-over items.


You can see why maybe no one would want it. There was a lot of surface damage to this old little piece. But I loved the shape and thought it had potential. My original plan was to sand off the old finish and stain the wood.


At first it looked like it was going to work, but after sanding more toward the center, the top started to look a little fishy and I bailed. I think the wood was just too old and too beat up.


Plan B was to paint the piece. So first I used my new Dremel (which I love!) to sand out the detail work. A lot of this area had filled in over time, but it was easy to zip through with the conical bit and clean all the build up.


One section of the top detail was completely gone, so I had to rebuild it.


I shaped some wood filler with a flat head screw driver. It's not completely perfect, but you couldn't really tell where the repair was after everything was painted over.


I gave the desk a coat of Zinsser primer and then 1-2 coats of BM 'Gentlemen's Gray' in the Advance paint line I'm loving so much. After the base coat was dry, I went back with a small brush to paint out the detail lines with white. There were too many curves here to make painter's tape worth the hassle, so I free-handed it. The trick to getting a smooth line easily was to first lay down the white as evenly as possibly and then to come back and cut in with the Gentlemen's Gray to touch up the white mess ups.


For the chair portion of the vanity set up, I found this little vintage bamboo stool at a thrift store here for $4.50. It was grimy and needed new paint and new upholstery, but I liked the shape and it fit perfectly in the little vanity.


You're going to think I'm crazy, but I ended up brushing on the paint for this little chair. I really wish I could have spray painted it, but it's been cold and rainy here lately, so I was forced to brush on a coat of zinsser and 1-2 coats of BM White Dove in the Advance line. It actually didn't take as long as I worried it would. It probably took 15 or 20 minutes to do the primer, below.


For the seat upholstery, I wanted to used some indoor/outdoor fabric since this thing will get inevitably doused during bath time. I had some woven black and white stripe from Perennials, which is a very nice all-weather line. It doesn't look or feel like outdoor fabric at all. They also make a great outdoor velvet.


Whenever I'm upholstering a drop-seat, I staple on the fabric and batting like the way my dad taught me to tighten the bolts when changing a tire - in a sort of star pattern. It makes everything pull very neatly and evenly. So I put in a couple staples on one end, pulled the fabric taut on the opposite end and put in a couple staples there, then did the same thing for the sides.


For the fabric between all the staples, you're just going to create neat little folds like these below and staple them into place as well. The goal is for the fabric at bottom of the seat to be as flat as possible. The fastest way for an upholstery job to look 'DIY' is for the edges to be bumpy. Don't give yourself away like that! :) Make those edges flat and smooth and straight by folding carefully.


I will never tire of black and white stripes!


I decided I wanted a little shot of color, so I pulled out some cording and some teal outdoor fabric that I used in this project. I've been a piping-making fiend lately! I love the difference a contrasting welt can make. It's such an easy sewing project too, there's no reason not to make your own. Since I've been making so much of this lately I'm fast and about five minutes after deciding to add the welt, I was gluing it on to the seat.


Isn't it funny how we talk ourselves out of doing something because it feels like too much work or too much time? My new motto is 'Less thinking, more doing.' It's crazy how productive I can be when I stop fretting about how much I have to get done and just start moving. I feel like I should have turned my brain off years ago! :)


Anyway, here's the little vanity in our bathroom. I couldn't get the lighting right, so the colors are off a little. I'm so happy to have a little place to sit down in our bathroom now!


The shower curtain was made from Quadrille's Contessa (tutorial coming up!) and the hand and guest towels are from Gracious Home.


The coral bath mat is from the Williams Sonoma Home Outlet in Riverhead (I think it was less than $10! They always have the craziest sales).


See how perfectly the little chair tucks in?


The vanity top opens up, so I'm working on fixing up the interior next. I need to get a piece of mirror cut for the inside and also find a replacement barrel shaft key for the lock.


So what do you think? Do you like have furniture in your bathroom?

Tuesday, November 15, 2011

Sponsored Post: DIY Tortoise Shell Resin Table Top


This post is sponsored by Glad. We’re taking small steps to do our part and want to help you waste less too. Visit GLAD.com for more information.

Like I mentioned recently, it makes me feel really good to give old furniture a new life. It's rewarding to see furniture transformed, but it's also environmentally responsible. I'm so happy to be working with Glad on this series.


When I found this little French cabinet, it was in really (REALLY) bad shape. The actual cabinet itself mostly just needed a sanding and a new paint job, but the top was almost unsalvageable.


I scrapped off the peeled veneer as much as possible, but the back half was absolutely impossible to pull off. There was just too much glue holding it down. I considered cutting a piece of wood or stone to fit the top, but then I thought it would be really cool to do a resin top in a tortoise shell pattern.


With resin, your surface doesn't have to be 100% level, so I just gave the top a little sanding and left it as is.


There used to be a back plate on this piece I guess, so there was a gap in the back. I just used a couple of strips of Balsa wood to fill the space.


Balsa wood is super soft, almost like styrofoam, so it was easy to zip through with a little coping saw. I was happy because I could easily mimic the shape of the existing moulding.


Pretty seamless! I wouldn't use balsa for a bigger surface than this. It is a very soft wood and not super sturdy, but this part is in the very back and everything is getting a coat of resin, so it was a good solution here.


Before priming, I filled any cracks with my favorite wood filler. The best method is to fill with your finger and then wipe away the excess immediately with a wet rag.


I found my resin at Blicks, but it's carried everywhere. I need about 32 oz for this project, which cost about $25.


Also at Blick's, I visited the glass paint section.


To make a tortoise shell pattern, you'll need a bright mustardy yellow and two shades of brown (medium and dark)


After priming the whole cabinet with Zinsser's, I built some walls around my table top with duck tape. You could also use painters tape, but get the extra sticky kind. You want there to be a really tight seal here.


If you're going to attempt a resin project, I recommend doing some Youtubing first. I had to do this taping method because of the curve in the front of my cabinet, but if my cabinet had straight sides I probably would have tacked up a couple pieces of wood for an even tighter seal.


You should follow the instructions on your resin box, but the basic idea is you'll need to mix resin with hardener and then stir. I made about 24 ounces for the yellow base.


I used three drops of the yellow glass paint to make this color. I wanted it bright and semi-transparent. The white paint underneath makes the colors very clear.


After pouring I quickly but carefully moved the resin around to get an even fill.


Then I mixed about 8 oz of medium brown paint. Just one drop of paint at first! You want the first layer of brown to be light. I used an old baby medicine dropper for this step.


One small dropper full makes a quarter-sized spot. The brown will thin out and spread though, so try to have a light hand here. Just place the resin and sort of let it do it's thing. It's a pretty fun art project actually.


Add another drop or two of paint to darken the resin for the next layer.


I had some dripping, but not a ton. I sort of just watched while the resin hardened and wiped up drips as they happened. It only took my resin about 30 minutes to get pretty firm. Then I let it sit overnight to fully cure. In the morning I pulled off the duct tape.


And did some light sanding to even out the edges.


Then I painted the rest of the cabinet (I had only primed the piece before doing the resin, which ended up being a good choice because of the drips).

This is my recent favorite paint. I discovered it when I did the One Kings Lane sale. My painted recommended it. It's Benjamin Moore's Advance line. It's oil based, but it's low VOC (it has a slight odor, but it mostly smells like linseed oil, not crazy chemicals). The finish is AMAZING. It is super hard-wearing and it comes in multiple finishes. I love the high gloss best.


I used BM Tomato Red for the interior of the cabinet and BM White Dove for the exterior.


Here it is all done! I'm waiting until the paint fully cures before filling it up, but I'm thinking it's the perfect piece for all my decorator supplies that are always sprawled over my desk, like tape measures and paint decks.


I love the surpise orange interiors. And I love the simplicity of the white. It just looks so pretty with the tortoise shell pattern on top! A color on the frame of the cabinet would have been too much here. (Also, there's a lot of color and painted furniture in my living room already!) :)


Psst... If you're looking for some cute little accent tables for your bedroom or living room, I rounded up my favorites HERE. And! If you're looking for some cute accessories for your nightstands, check out THIS POST. xx