FREE DOWNLOAD PICTURE
MORE INFO ABOUT NOTEBOOK
Showing posts with label Sponsors. Show all posts

Monday, March 5, 2012

My Cleaning Process and a $500 Give Away!

This post is sponsored by the makers of Clorox® Disinfecting Wipes, the quick and easy way to clean and disinfect your home!


I get a lot of emails asking about my cleaning schedule after I wrote about my typical day on Joanna's blog. I truly do not love cleaning, but I know that I'm so much happier with life when my house is clean. Don't you feel the same way?

A couple years ago, right after I had Claire and when Gracie was old enough to really start doing some damage, I was feeling like I would never have a clean house again. (I also thought there was a good chance I would never get to sleep through the night again. :) good times) I was picking up the house all week long it felt like, and then I would do all my laundry and deep cleaning on the weekends. That meant my Saturday was completely gone and that the house was totally dirty again by Monday morning. Stresses me out just thinking about it.

Then one time I was visiting a friend's house who had three rambunctious toddler boys. I walked into her house for the first time and my jaw dropped. Her house was CLEAN. Like, I'm not talking about tidy - tidy is not always possible during the day with kids, but it was clean. She is one of those amazing mothers who is really active with her kids, so I knew she didn't spend all day neglecting her boys to clean the house. I was surprised and a little jealous of her sparkly floors so I begged her to share her secret. She laughed and said she kept a chore chart, which I thought was hilarious! What grown woman has a chore chart?! Suddenly I had to have one!

I copied her chart and have been using a slightly tweaked version ever since. I can't say that I'm always following through here, but when I do, my house is practically spotless and best of all, I don't feel like I am cleaning all the time - which honestly was the hardest part for me of being a stay at home mom in the early years.

It looks like a lot, but I think even on the most intense days I'm only spending 30 or 40 minutes in aggregate cleaning (though we live in a 1500 sq ft apartment, so your home might require a little more time). I've listed the chart here below, and here's a simple printable version.
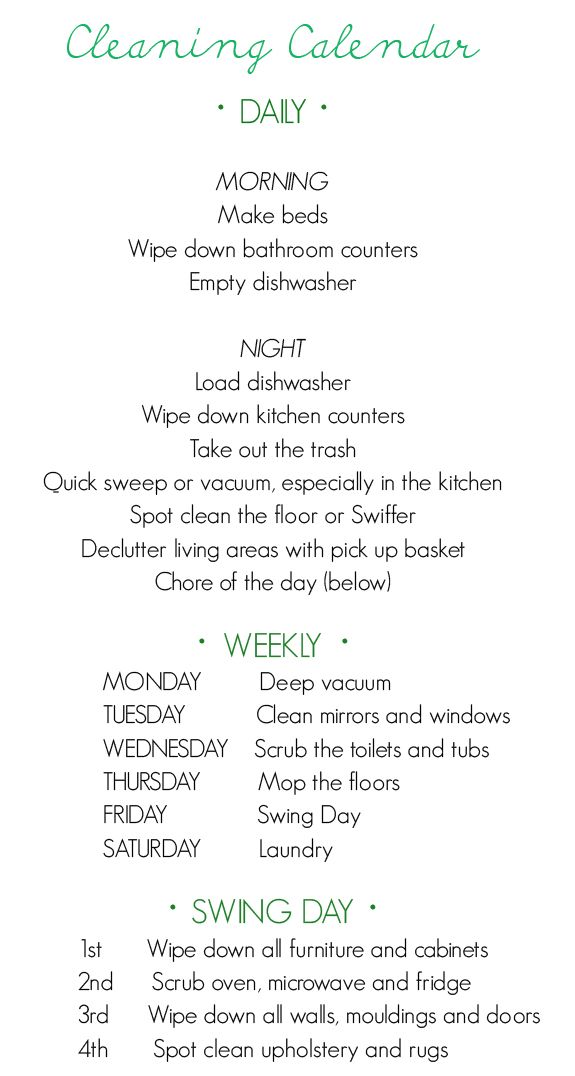

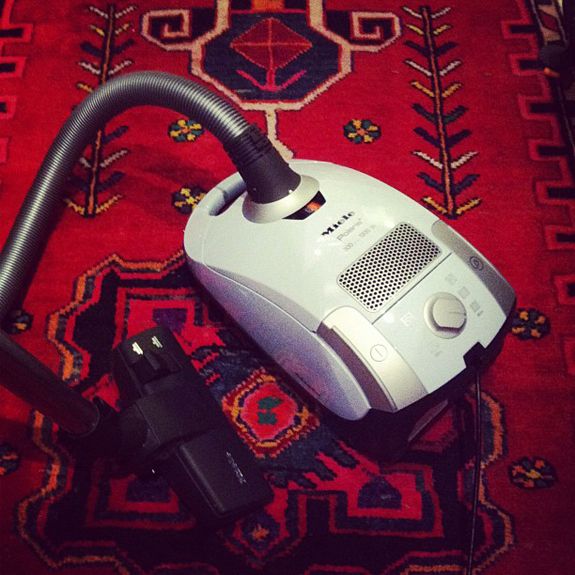
So the basic idea is this: there are daily chores - easy things you should take care of almost habitually in the morning and in the night, and then there is a single special chore of the day. Most of these chores end up getting done once a week (for example, every Monday I do a deep vacuuming of all our rugs. I took only one interior design class in college and I only remember a handful of things from that class. One of them was a tangential comment my professor made about vacuuming. She said that you should go over the same area on a rug SEVEN times super slowly to get it clean. Isn't that just nuts? I don't do that, but I do try to do a slow vacuuming on Mondays.). Friday though is the swing day, where you rotate in chores that need to be done less frequently, like scrubbing the microwave.

I'll walk you through today's cleaning schedule. It's Tuesday. I wake up and make our bed. It won't get done unless I make it as soon as I get up. The girls are getting good about making their beds too. After I finish getting ready I wipe down the bathroom counters and the sink. While I'm making the kids breakfast I empty out the dishwasher.

Then life happens and the house sort of falls apart during the day.

Then at night the girls help me clear the table and load the dishwasher. Michael does the trashes. Once the kids are in bed I quickly sweep or vacuum the kitchen and dining room and I might pop into the living room too. I keep a wet rag with me and as I go I'll spot clean the floor. My goal is fast and furious cleaning!

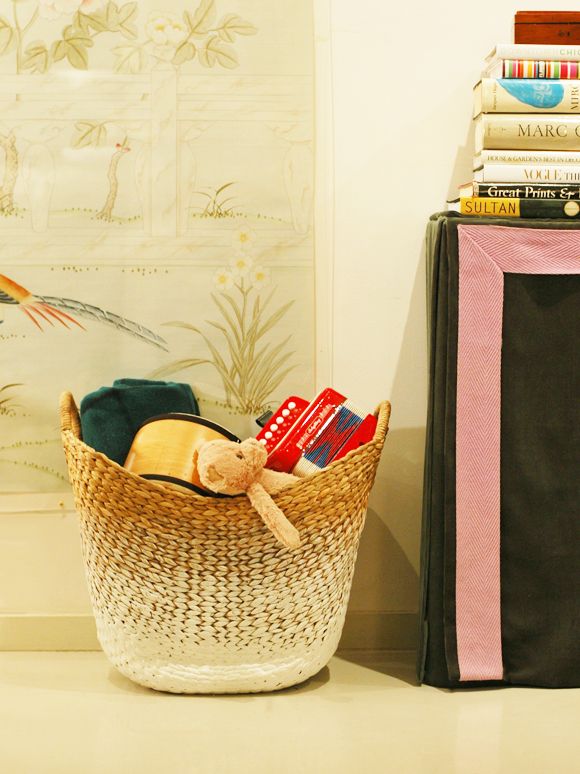
And here's where my baskets come into play. I keep them everywhere. I really love this basket that I posted about yesterday because it is super sturdy and holds its shape. I zip through my house every night with this basket, throwing in every misplaced item, then going back to each room once and put the things back where they belong. It takes me just a few minutes to pick up a day's worth of clutter this way. No more running back and forth and back and forth from room to room putting things away. Try the basket method - you'll never go back!

Plus - another bonus of having your pretty baskets out in every room? If you have a friend coming over right away, you can just corral everything in the basket super fast and no one's the wiser.

Once the house has been de-cluttered, I do my chore of the day (today was cleaning the mirrors and windows), and then I'm done! It might sound like a lot, but I promise it isn't. When I'm consistent with this schedule, I never have to do one of those marathon cleaning days to get back to ground zero. The house never has a chance to get really dirty, so the cleaning never feels like a true chore. It feels easy and, dare I say it? Pleasant?


So that's my approach to cleaning in a nutshell. I know we all have our special tricks, and I'd LOVE to hear yours!

Today's super-sized give away is $350 to Target AND $150 to the Container Store and all you have to do to enter is leave a comment sharing your favorite cleaning or organization tip. I can't wait to see what you guys do to keep your spaces sparkling! Any other crazies out there with a chore chart? :)

Contest ends March 22. Winner will be announced on the 23rd. Contest rules can be read in full here. Good luck!!

Sunday, March 4, 2012

Sponsored Post: Electrolux


This post is written and sponsored by Electrolux "I Heart Induction". Join the conversation on Facebook!

Induction Technology: Power and Precision Meet Sleek Style

In prepping for a party, the last thing you want is to wait for the water to boil or the chocolate to melt as you juggle a zillion other tasks. That's why busy home chefs love induction technology.

Using electromagnets to create heat in metal-based pots or pans, induction heats up cookware faster than gas or electric cooktops -- and uses less energy, to boot. In fact, cooking with induction is 70 percent more energy efficient than gas and 20 percent more efficient than electric. Plus, you get the cooking power of gas paired with the sleek appearance of an electric cooktop, which should make any design-lover's heart sing.


With the Power Assist function on Electrolux Induction Hybrid Cooktops, you can bring water to a boil in just 90 seconds1, freeing you up to greet guests, tidy up the living room, or steal a few precious minutes to yourself. You can also adjust the temperature with a whole lot more accuracy than on gas and electric cooktops, giving you added control to simmer that sauce or melt those chocolates to delicious perfection.

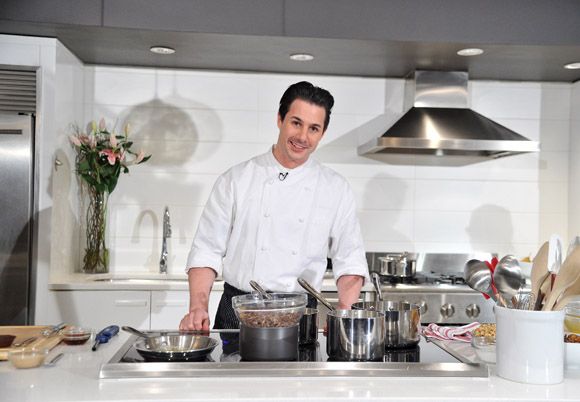
And when you're done, the cooktop stays cooler to the touch so there's less cleanup, making your kitchen party-ready in record time. Visit Facebook.com/Electrolux to hear why Chef Johnny Iuzzini “hearts” induction and to find out more great benefits about induction technology.


This post is sponsored by Electrolux.

Tuesday, December 6, 2011

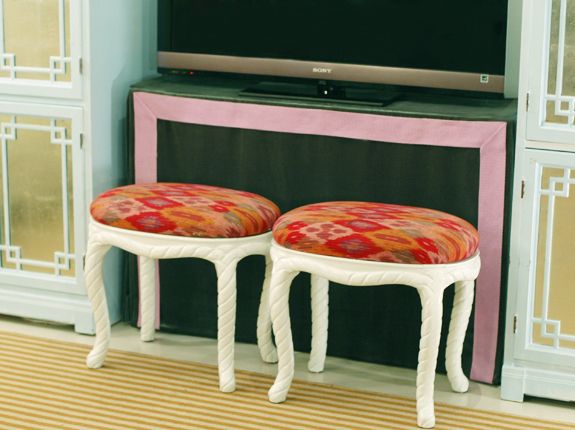
DIY Skirted Console


This post is sponsored by Glad. We’re taking small steps to do our part and want to help you waste less too. Visit GLAD.com for more information.

I'm so excited to finally share this tutorial with you! This skirted table is my fourth or fifth of these DIYs, between my house and my client projects (remember the original one here?), but somehow I haven't managed to put together a tutorial until now. The steps are simple and completely NO-SEW! Ready to jump in?


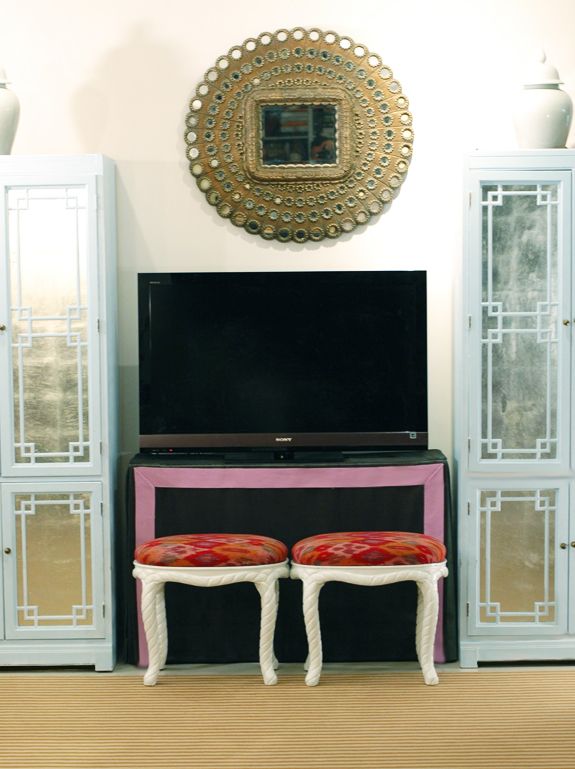
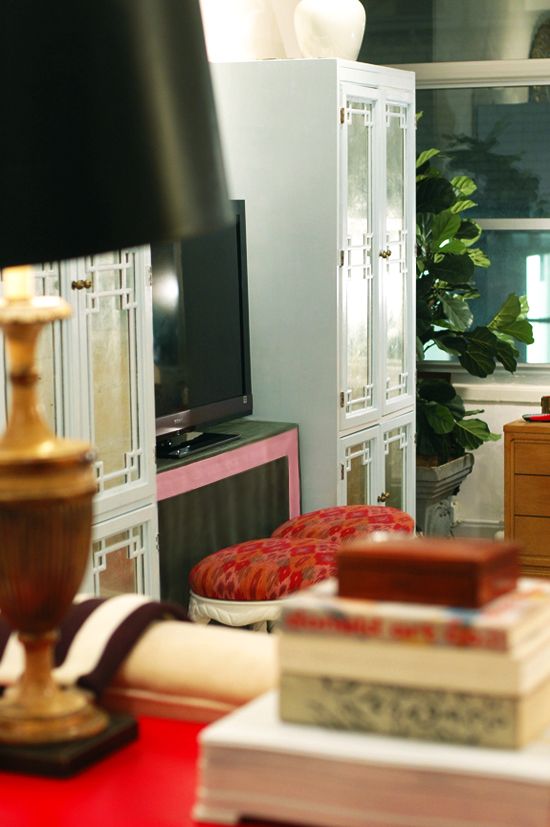
After we moved to New York, I was looking everywhere for a bookshelf or console table to use as the base for a skirted console for our TV to go between the two fretwork cabinets. I checked Craigslist for a couple weeks with no luck, and just as I was about to cave and buy something new, Michael came to the rescue. One of our neighbors left this vintage bookshelf in our building's recycling room. Not only were the dimensions *perfect* but I was glad to save this sturdy little piece of furniture and give it a new life.


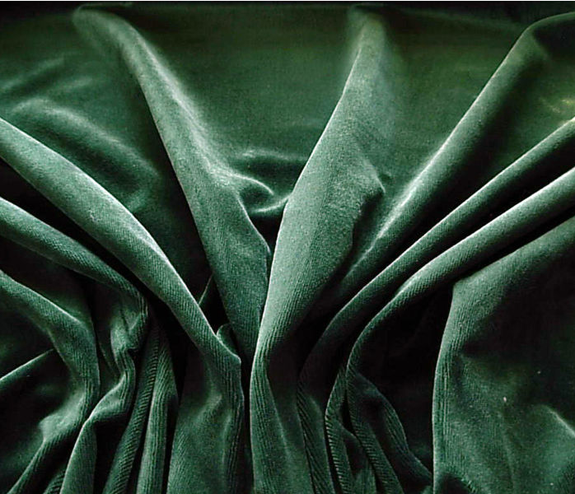
I've been trying to add some still-bright-but-less-primary colors to my living room. I told my friend that I was buying a forest green velvet for my console and some burgundy linen for my settee and she gave me the most hilarious look and goes "WHAT.THE.90s!!!!!! Gross!!!!" :)
Look how pretty the green is though! Mossy and muddy with a tiny bit of blue undertone. I lucked out and got it on eBay for $4/yd.

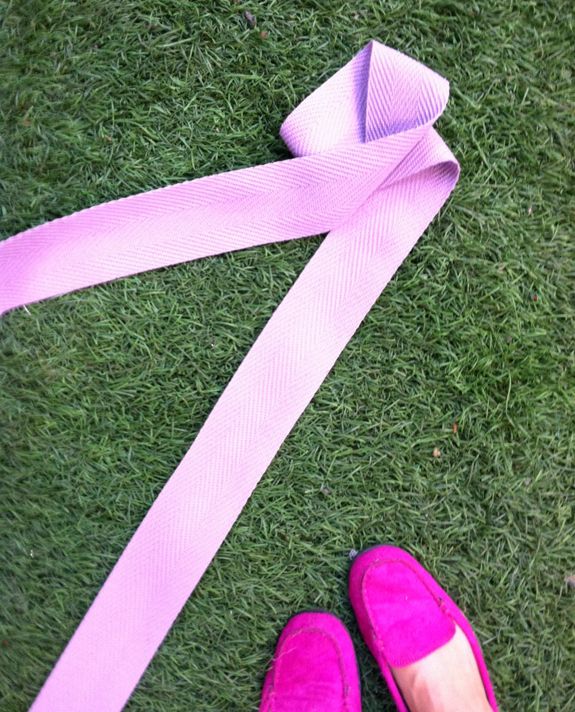
Before the fabric arrived, I went trim shopping at JEM in Tribeca (they have a killer selection of vintage trimmings) and found this really pretty lilac herringbone trim. I wasn't looking for something purple at all, but I had just finished reading Katie Ridder's new book Rooms (sooooo good, btw), so lavender was on the brain and the color drew me in.


And then for the first time in my life, I was thrilled to see an astroturf rug. JEM has a green grass rug that seemed close to my velvet that was being shipped. I loved the colors together! Sold.


I was still happy with the color combo when the velvet arrived and couldn't wait to get started. I wiped the recycled bookshelf down with a bleach-water solution and got my fabric, trim and supplies ready...

Here's what you'll need for a no-sew skirted console:
Iron
Tape measure
Tailor's chalk
Scissors
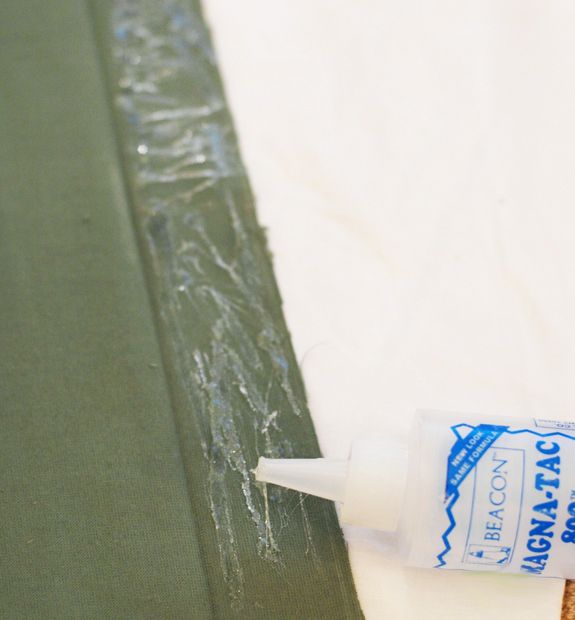
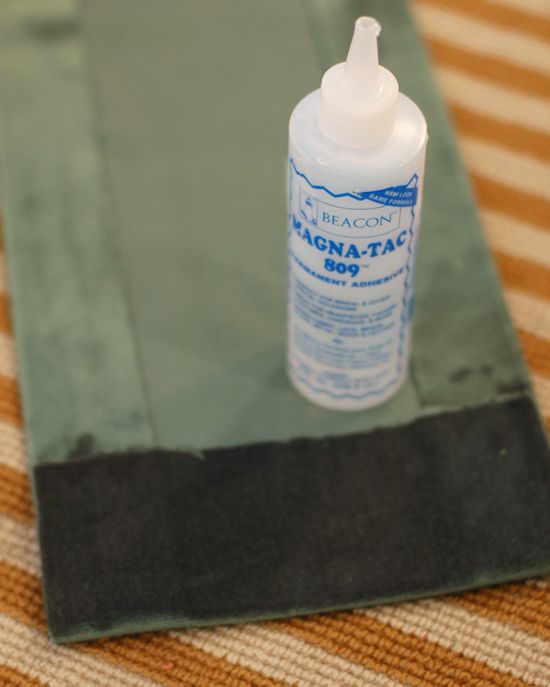
Magnatac or other strong fabric glue
Staple gun and staples

STEP 1 - MEASURING and CUTTING
Measure your bookshelf/console and come up with a game plan with your measurements. I added 2" of hem to every side and 3" of hem to every BOTTOM (no hems on the top!!).


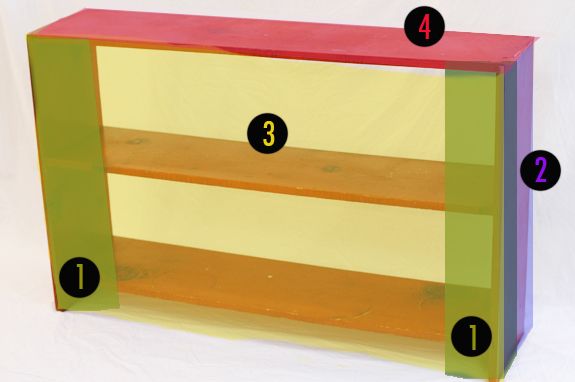
Components are as follows, in order of appearance:

1) Inside flaps (green)
These two flaps will hardly be seen. They are like camisoles for you console. No one wants to see bare corners! Cover them up with some simple flaps. Mine were about 4" wide on the front and another 4" wrapped around to the side. I added 4" more for my two 2" side hems, and 3" to the bottom just to keep things neat and to minimize fraying.

2) Side panels (purple)
There are also two of these panels, made to be the exact depth of your bookshelf sides. You'll want a good 3 or 4" of extra fabric for the top in addition to a 3" bottom hem. Again, don't forget to add 2" for each side hem.

3) Front panel (yellow)
One big flap that covers the top and fronts of your bookshelves. Again, at least 4" of extra fabric after your hem, for the top part where you're stapling.

4) Top panel (pink)
Made to fit the top of your bookshelf perfectly. Just add a 2" hem on all sides.


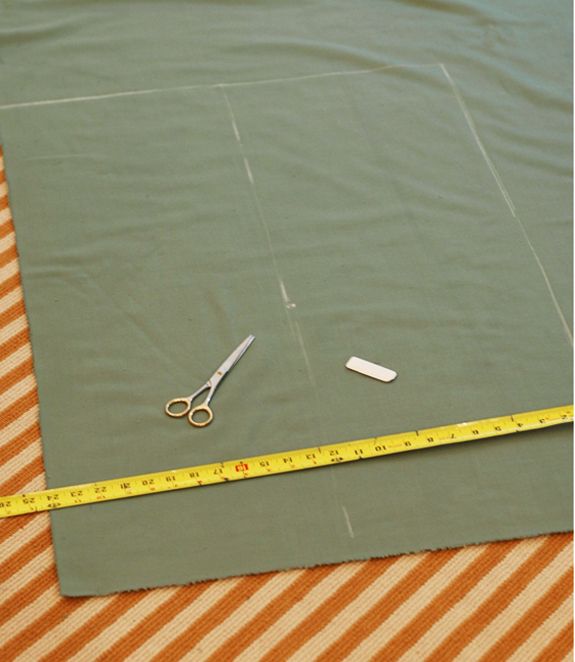
Now that you're all organized and prepped with your measurements, mark out all your pieces with a tape measure and tailor's chalk on the back side of the fabric and cut them out. If you are using velvet like I did, make sure not to mess with the orientation of the pieces. You want the piles of each piece to lay in the same direction or else the sheen and color appearance will be totally off. (This applies to other velvet upholstery projects as well! Be careful with the pile directions!)


STEP 2 - PRESSING and GLUEING
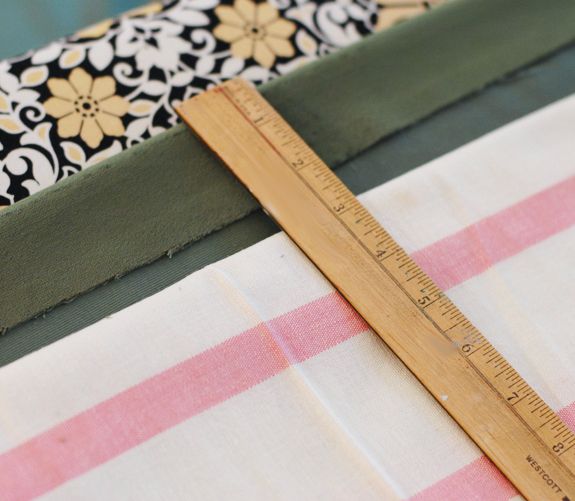
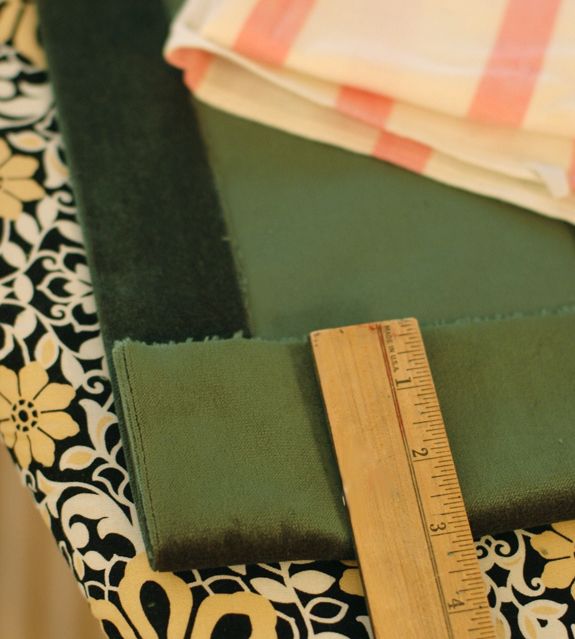
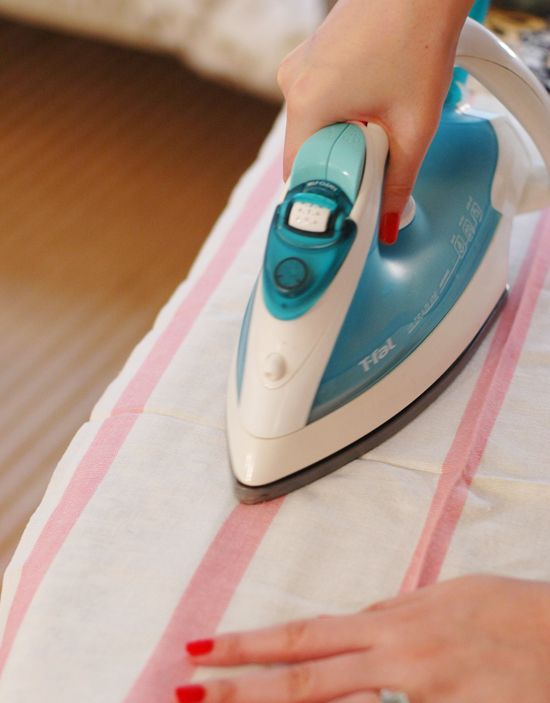
My mom always says the most important part of any sewing or soft goods project is the pressing. It's so true!! For velvet, you don't want to iron directly on the pile. I used a tea towel as a protective barrier and that worked fine to give me a strong crease for all my hems. Again, I did about 2" on all sides and 3" along the bottom. I used my tailor's chalk markings and a ruler to keep my hems even.


Then simply put down an even coat of fabric glue on the hem flap. By keeping the glue application to just the flap you're reducing the chances of leaking. I glued the sides first and the bottom hem last.


This is getting a little nit-picky, but try not to let the side flaps poke out of bottom hem sides. You might have to overcompensate and pull in those side flaps a little more before glueing the bottom hem.


STEP 3 - HANGING and STAPLING
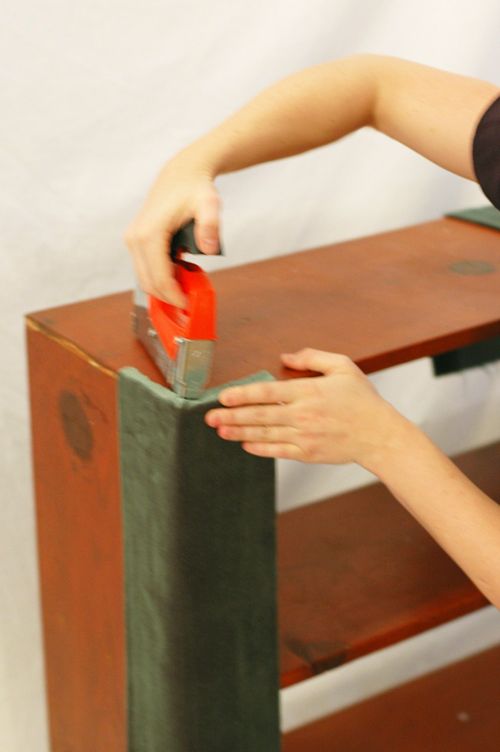
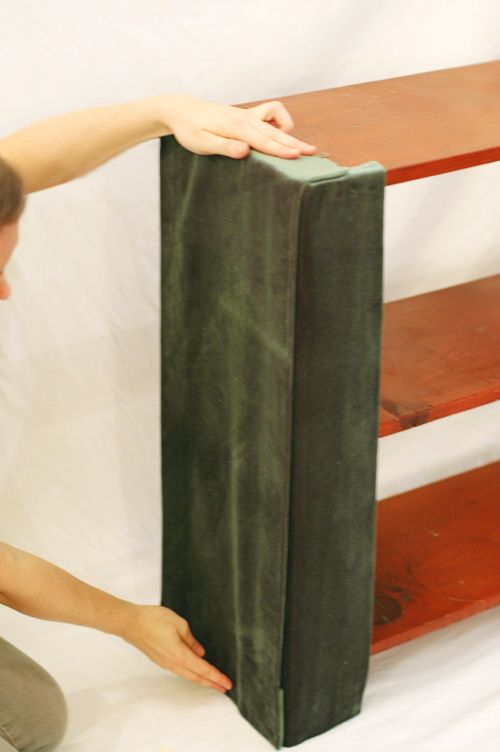
Once all your pieces have been ironed and glued, it's time to assemble! Go in order of the chart above. First are the inside flaps. So, the real trick of a no-sew skirted table is to focus on the break of the hem, not so much on the top part yet. It doesn't matter how much fabric is on top or if it's crooked or whatever, just move the panel vertically until it perfectly and evenly hits the ground. I probably like it best with a 1/4" break. Nothing is worse than too-short curtains or console skirts!


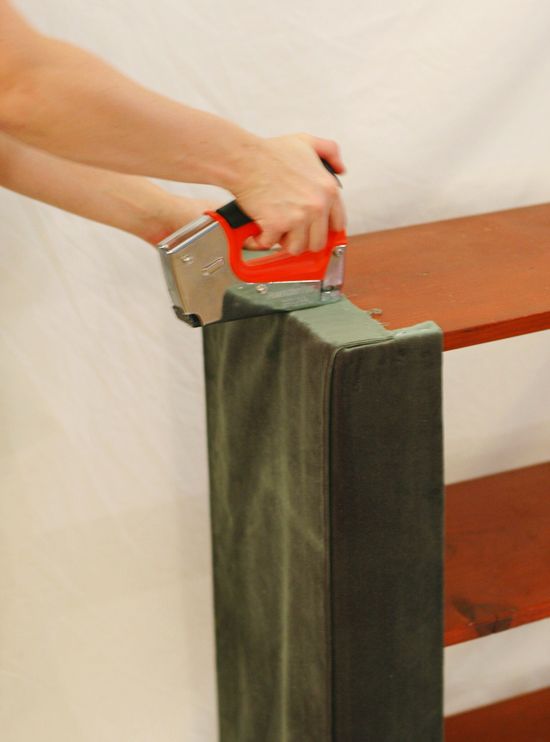
After finding the right length, just put in a staple every two inches or so to keep the fabric in place without sagging. I couldn't be happier with my Powershot Pro staple gun (used with Powershot Staples - it makes a serious difference!).


After hanging the inside flaps, do the side flaps next, and then the front piece.


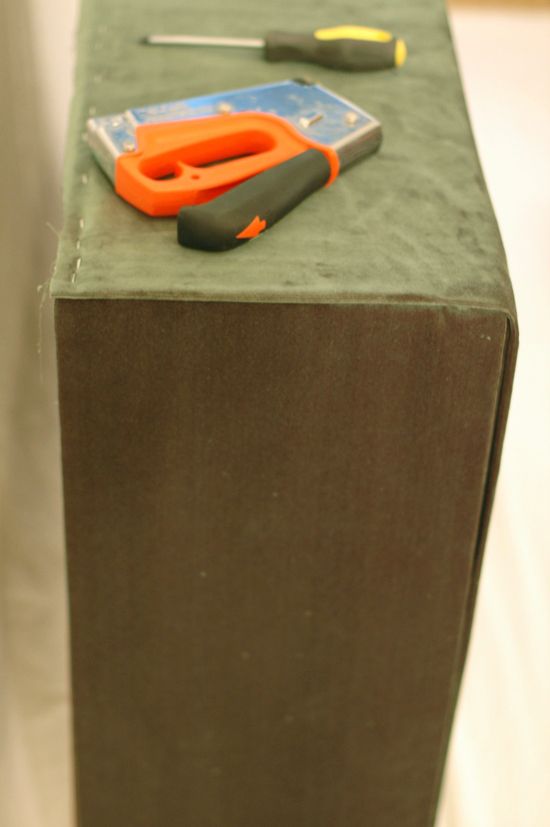
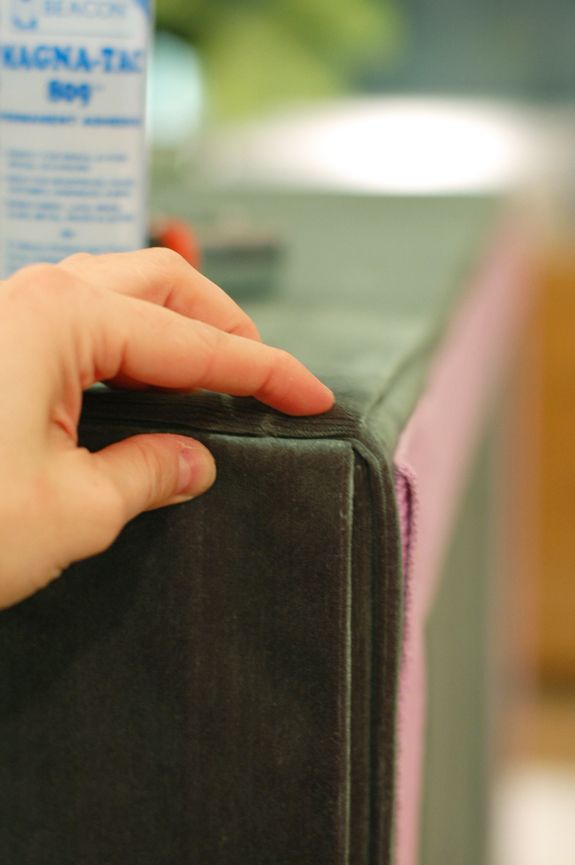
Because velvet was so thick, I didn't want too many edges on the top. So I took the top piece all the way to the back. This really helped to keep the top surface flat and even out all those edges from the other pieces.


I could have stopped with this step and have the front piece be the top piece too, but I really wanted this to look like a sewn skirt, with seams.


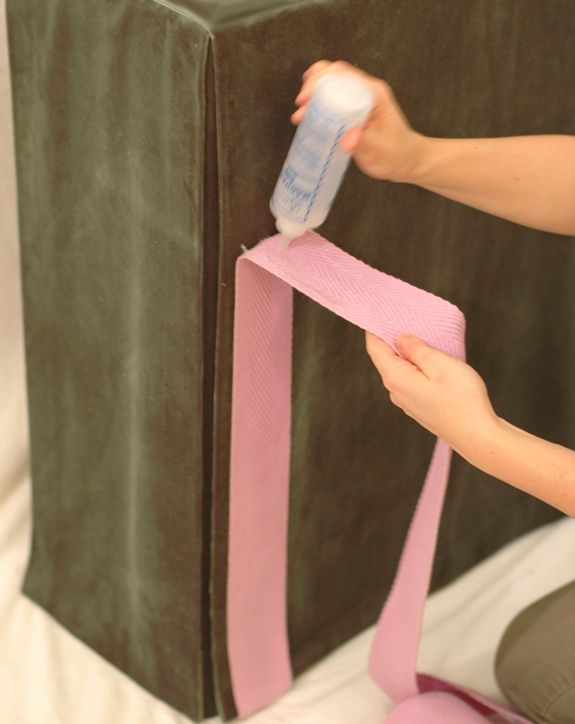
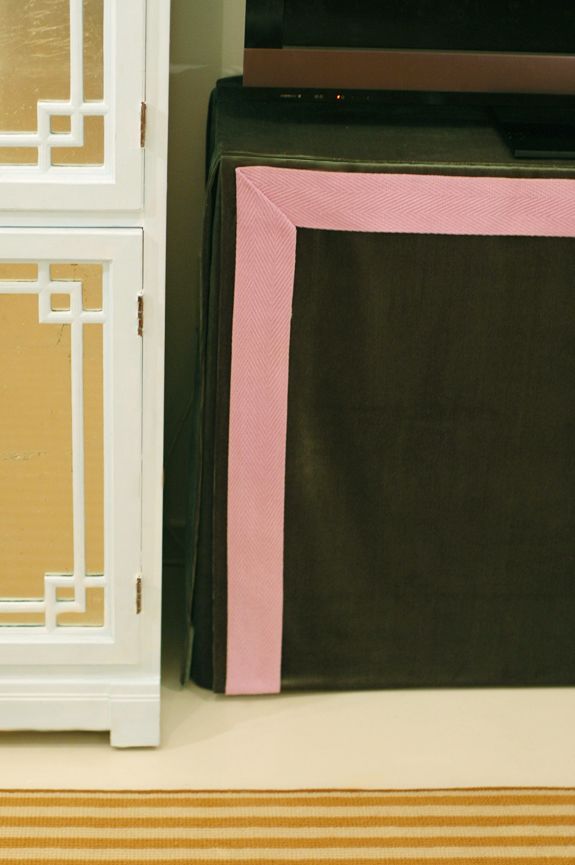
Before putting on the top though, I glued on the trim. My assistant Colleen and I went back and forth on whether to do a full boxed border, but the trim is so thick we decided to go with the upside-down U, and I really like it.

Remember to always inset your glue line about 1/4" from the edge, otherwise the glue will leak out from underneath when you press the trim into place.


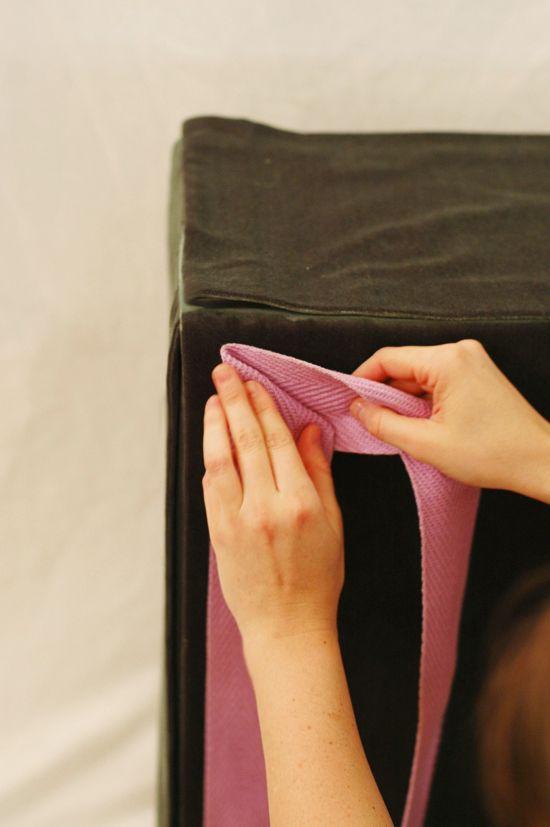
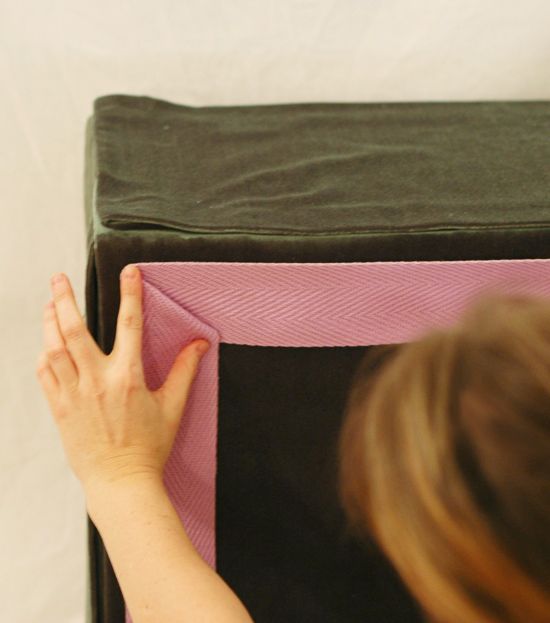
I don't like to cut trim for mitered corners. It never looks right to me. The trick to folding a mitered corner is to keep all your fold angles at 90 degrees and 45 degrees.


You have to play with it for a minute to get the trim to lay right, then glue in all the folds and really crease and press the folds into place.


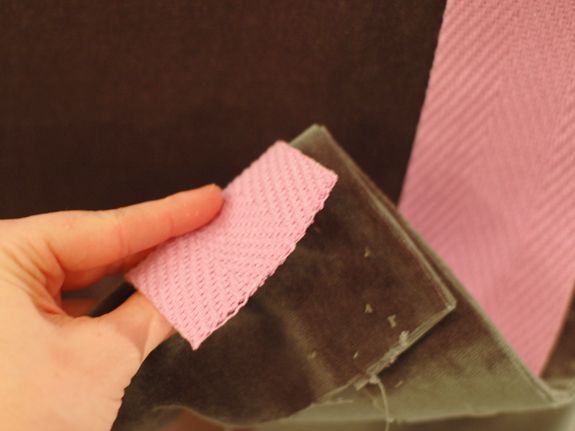
Then finish off your trim with a little turned under hem.


The last step is securing the top piece, so don't put away the glue just yet. Glue evenly and press down hard to make everything lay flat.


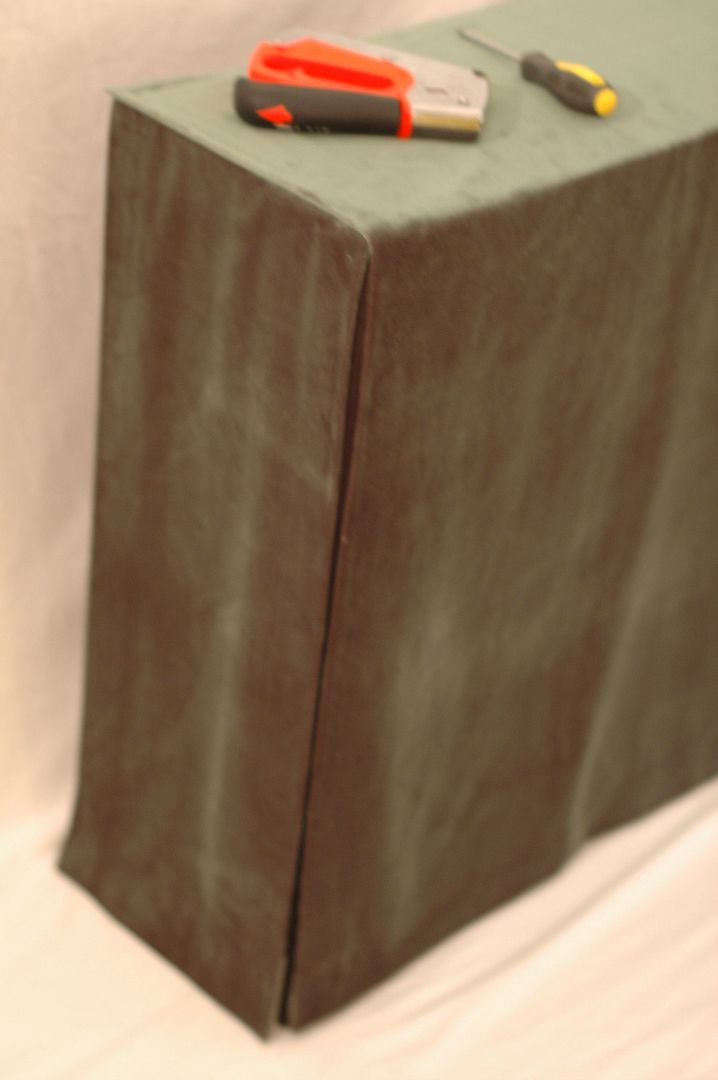
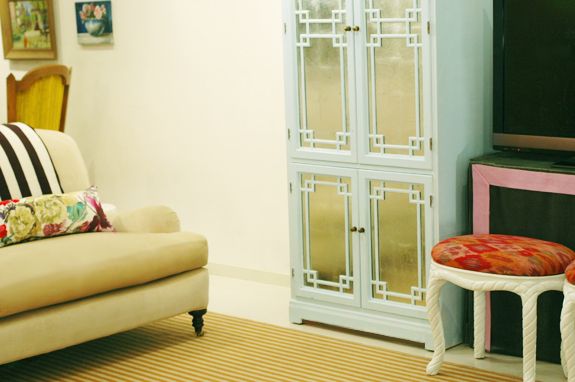
You can see in the photos above and below how the inside flaps cover the corners.


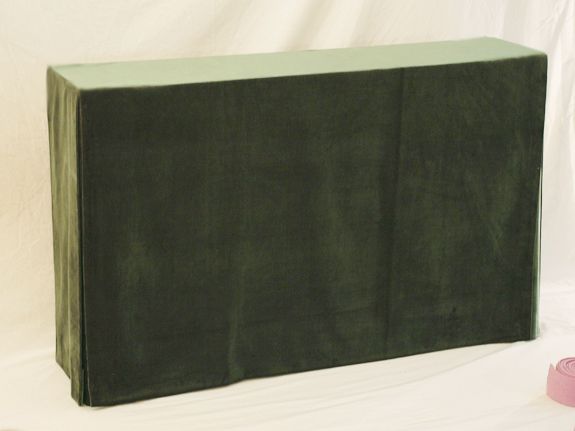
All done and nary a needle or Singer in sight!


We have all our cable and video components under the skirt. The remote works with a little sensor thing we got off Amazon.


Everything's still easily accessible, but completely hidden. I love, love, love skirted consoles for any house, but especially for small homes or apartments where every piece of furniture really has to count. You can pack a lot of stuff under there!

As a side note, I know some decorators really hate a glass top on skirted consoles, but I'm thinking it's a necessity here. Between the dust and the sticky little fingers, I'm pretty sure I'm going to want a protective surface on top of that velvet!


Thursday, November 17, 2011

Bathroom Vanity Redo


This DIY project was sponsored by Home Depot and their great campaign to be more eco-friendly.

Putting a little chair and a vanity in our bathroom has been on my to do list for a while. I love having furniture in bathrooms. If you have a big enough bathroom to pull it off, I think it looks really great and helps tone down the sterility bathrooms usually have. Plus, I don't know about you, but I'm getting too old to sit on my knees in front of the tub while my kids are taking a bath. :)


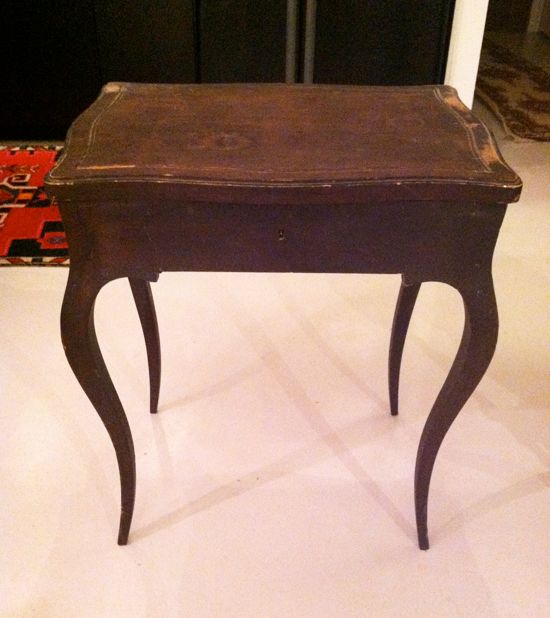
I found this little French vanity desk at Dixon's Auction in Crumpton MD. It had been passed over buy the other buyers, so I gladly snatched it up for free before the auction house workers had a chance to toss it in the dumpster with the other passed-over items.


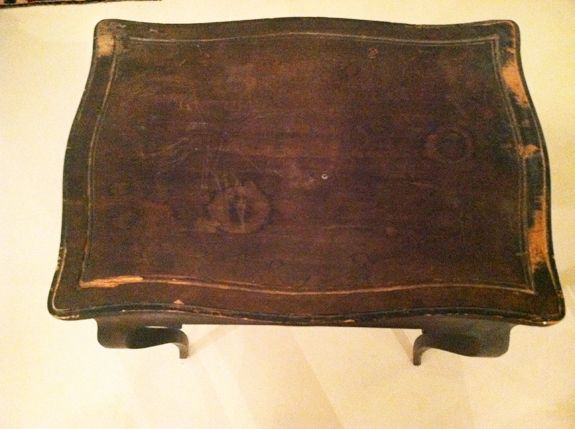
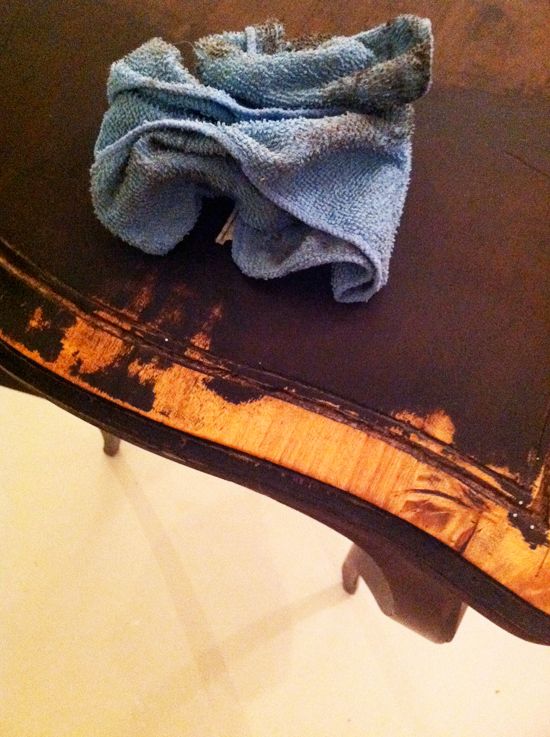
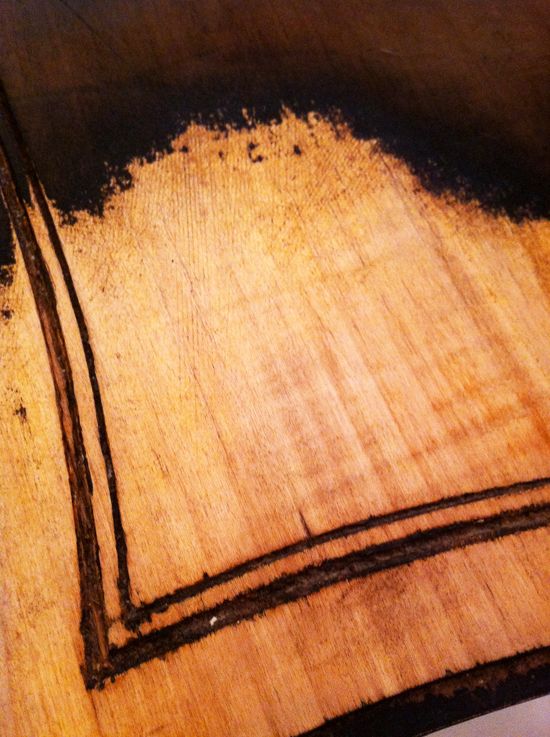
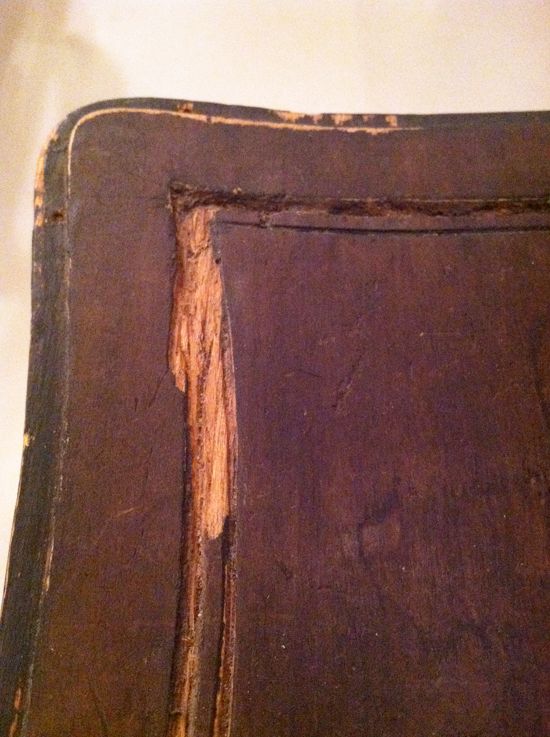
You can see why maybe no one would want it. There was a lot of surface damage to this old little piece. But I loved the shape and thought it had potential. My original plan was to sand off the old finish and stain the wood.


At first it looked like it was going to work, but after sanding more toward the center, the top started to look a little fishy and I bailed. I think the wood was just too old and too beat up.


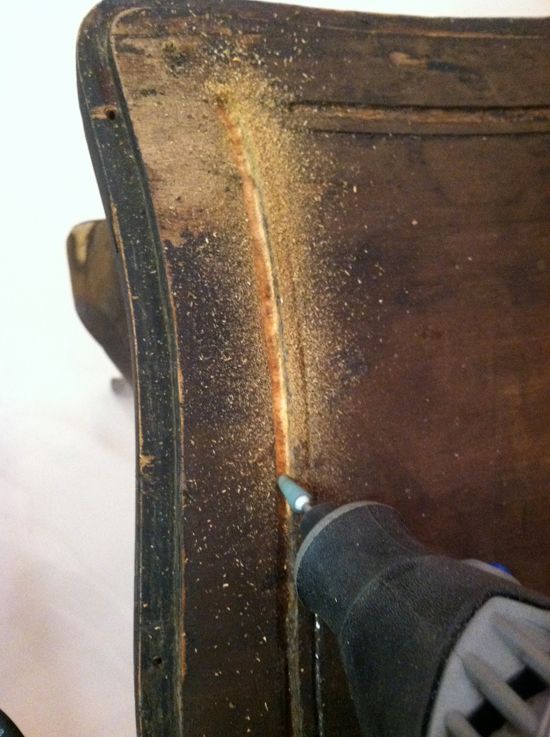
Plan B was to paint the piece. So first I used my new Dremel (which I love!) to sand out the detail work. A lot of this area had filled in over time, but it was easy to zip through with the conical bit and clean all the build up.


One section of the top detail was completely gone, so I had to rebuild it.


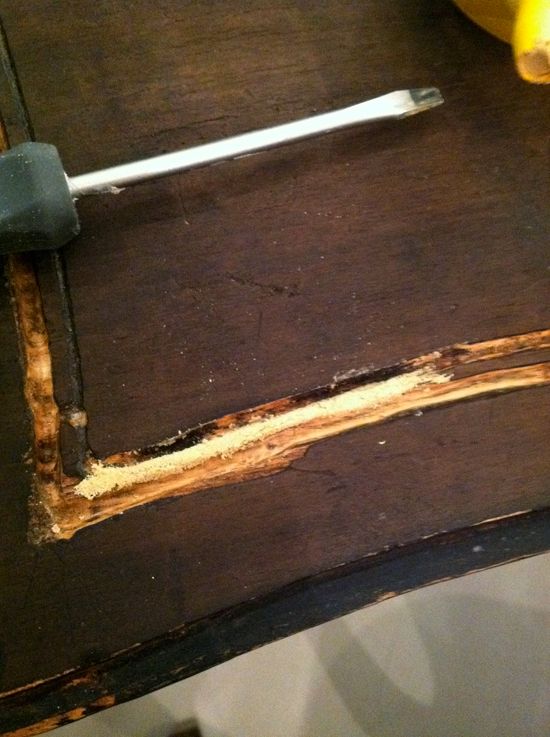
I shaped some wood filler with a flat head screw driver. It's not completely perfect, but you couldn't really tell where the repair was after everything was painted over.


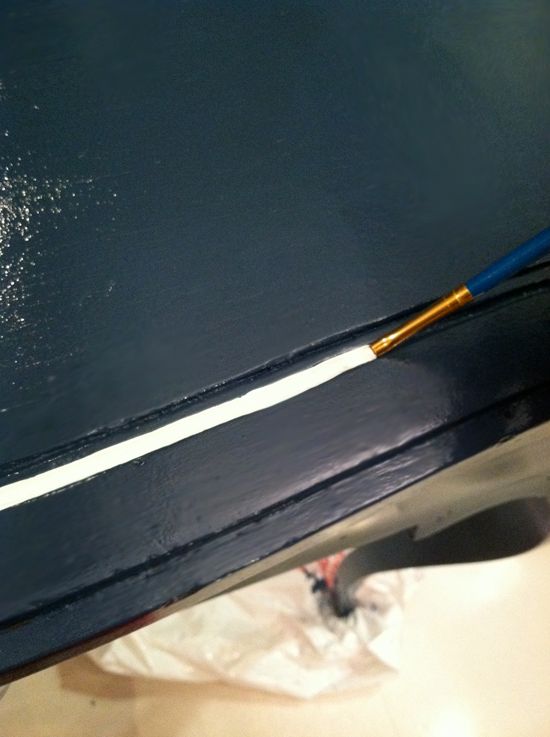
I gave the desk a coat of Zinsser primer and then 1-2 coats of BM 'Gentlemen's Gray' in the Advance paint line I'm loving so much. After the base coat was dry, I went back with a small brush to paint out the detail lines with white. There were too many curves here to make painter's tape worth the hassle, so I free-handed it. The trick to getting a smooth line easily was to first lay down the white as evenly as possibly and then to come back and cut in with the Gentlemen's Gray to touch up the white mess ups.


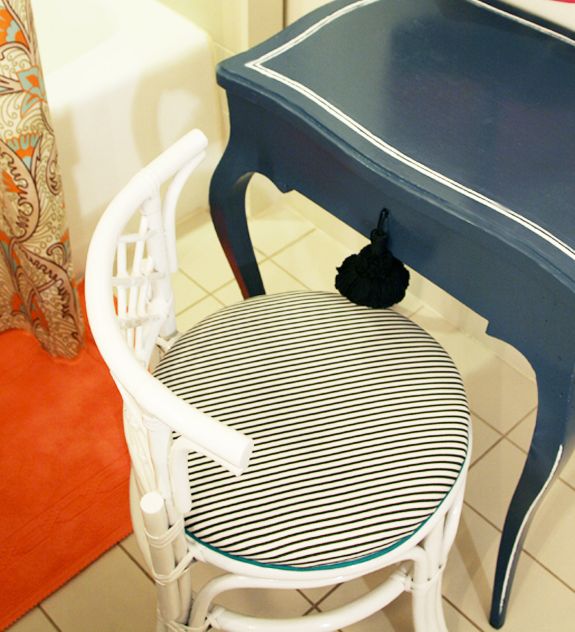
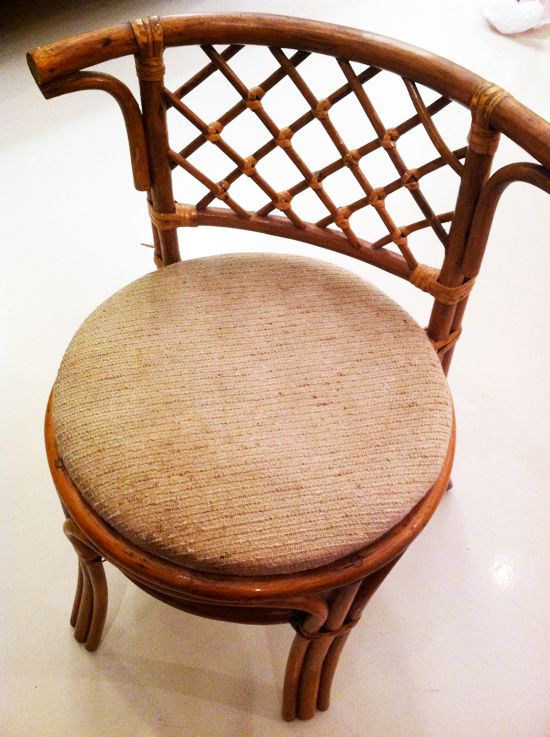
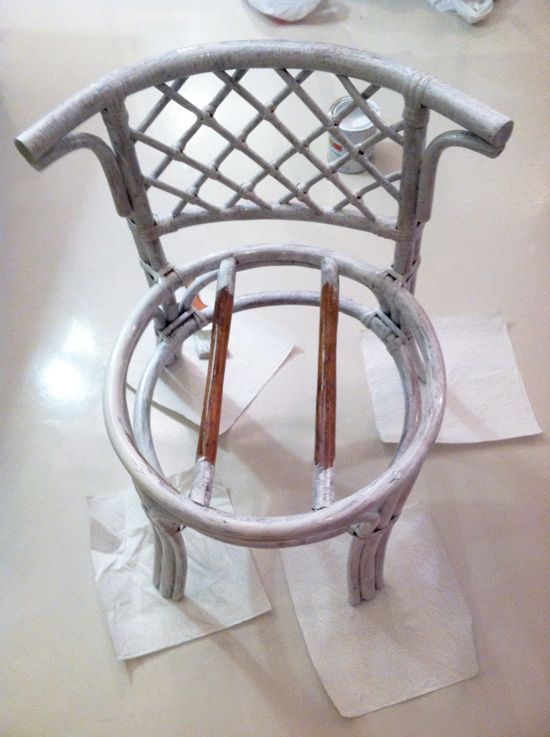
For the chair portion of the vanity set up, I found this little vintage bamboo stool at a thrift store here for $4.50. It was grimy and needed new paint and new upholstery, but I liked the shape and it fit perfectly in the little vanity.


You're going to think I'm crazy, but I ended up brushing on the paint for this little chair. I really wish I could have spray painted it, but it's been cold and rainy here lately, so I was forced to brush on a coat of zinsser and 1-2 coats of BM White Dove in the Advance line. It actually didn't take as long as I worried it would. It probably took 15 or 20 minutes to do the primer, below.


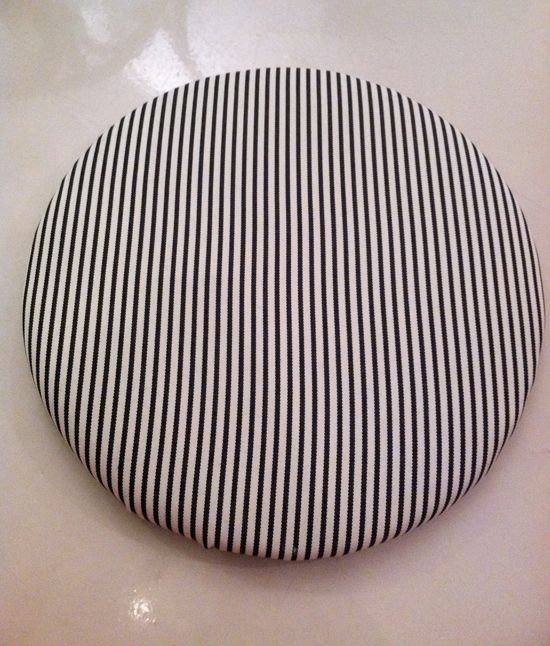
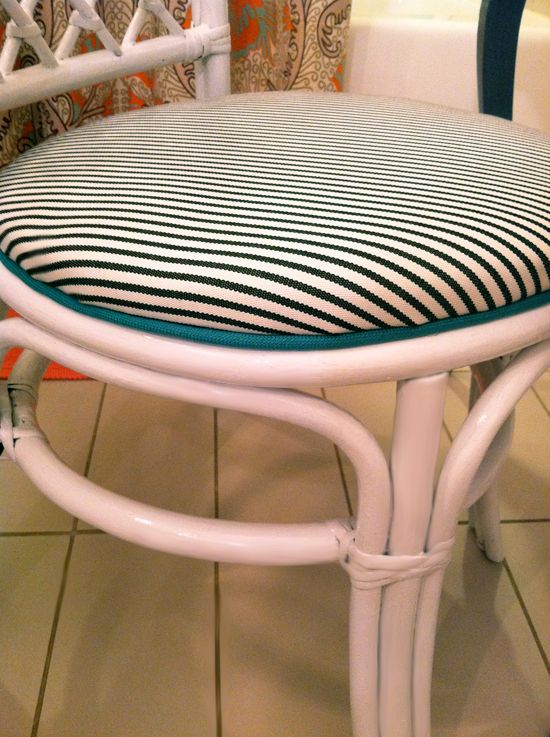
For the seat upholstery, I wanted to used some indoor/outdoor fabric since this thing will get inevitably doused during bath time. I had some woven black and white stripe from Perennials, which is a very nice all-weather line. It doesn't look or feel like outdoor fabric at all. They also make a great outdoor velvet.


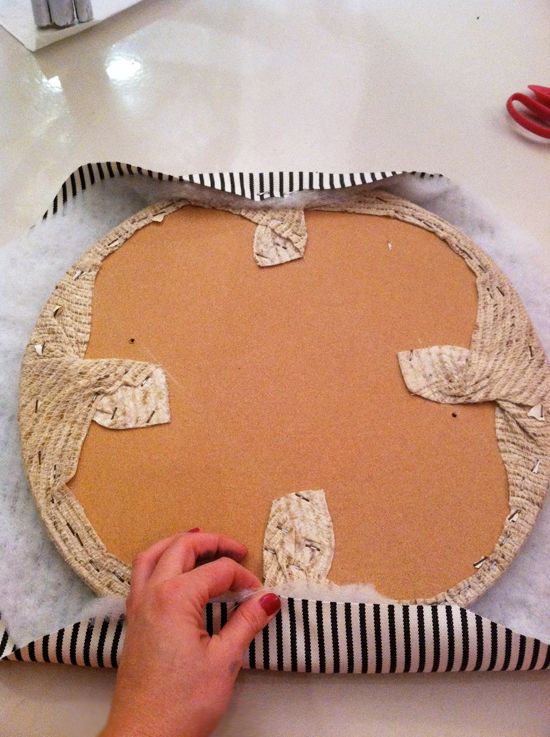
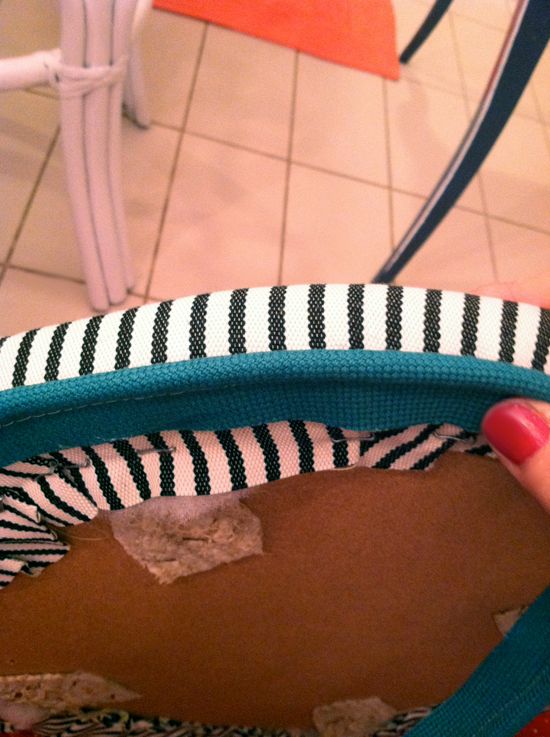
Whenever I'm upholstering a drop-seat, I staple on the fabric and batting like the way my dad taught me to tighten the bolts when changing a tire - in a sort of star pattern. It makes everything pull very neatly and evenly. So I put in a couple staples on one end, pulled the fabric taut on the opposite end and put in a couple staples there, then did the same thing for the sides.


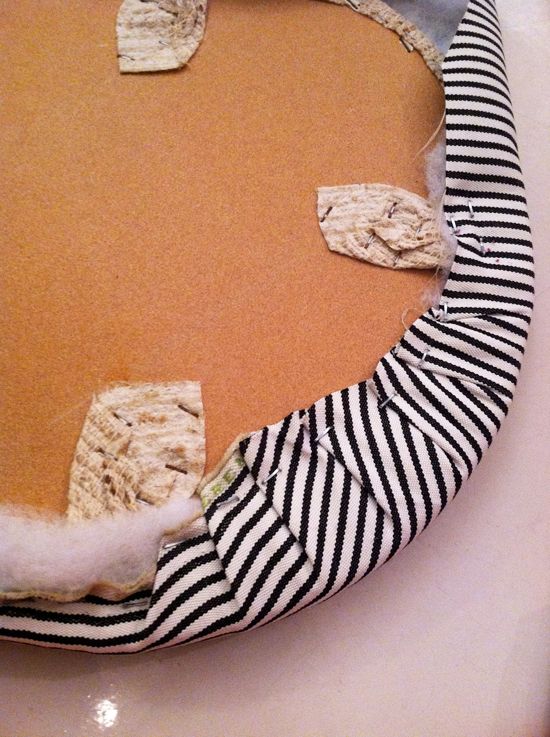
For the fabric between all the staples, you're just going to create neat little folds like these below and staple them into place as well. The goal is for the fabric at bottom of the seat to be as flat as possible. The fastest way for an upholstery job to look 'DIY' is for the edges to be bumpy. Don't give yourself away like that! :) Make those edges flat and smooth and straight by folding carefully.


I will never tire of black and white stripes!


I decided I wanted a little shot of color, so I pulled out some cording and some teal outdoor fabric that I used in this project. I've been a piping-making fiend lately! I love the difference a contrasting welt can make. It's such an easy sewing project too, there's no reason not to make your own. Since I've been making so much of this lately I'm fast and about five minutes after deciding to add the welt, I was gluing it on to the seat.


Isn't it funny how we talk ourselves out of doing something because it feels like too much work or too much time? My new motto is 'Less thinking, more doing.' It's crazy how productive I can be when I stop fretting about how much I have to get done and just start moving. I feel like I should have turned my brain off years ago! :)


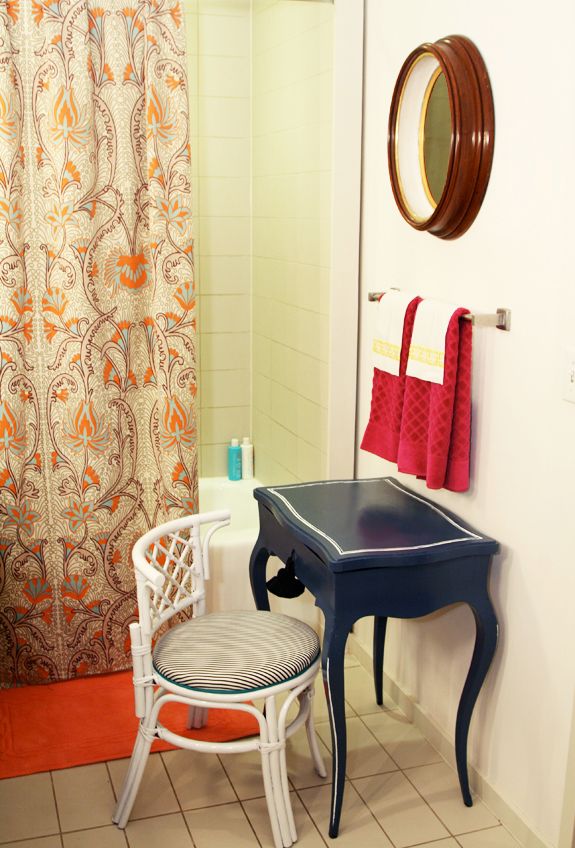
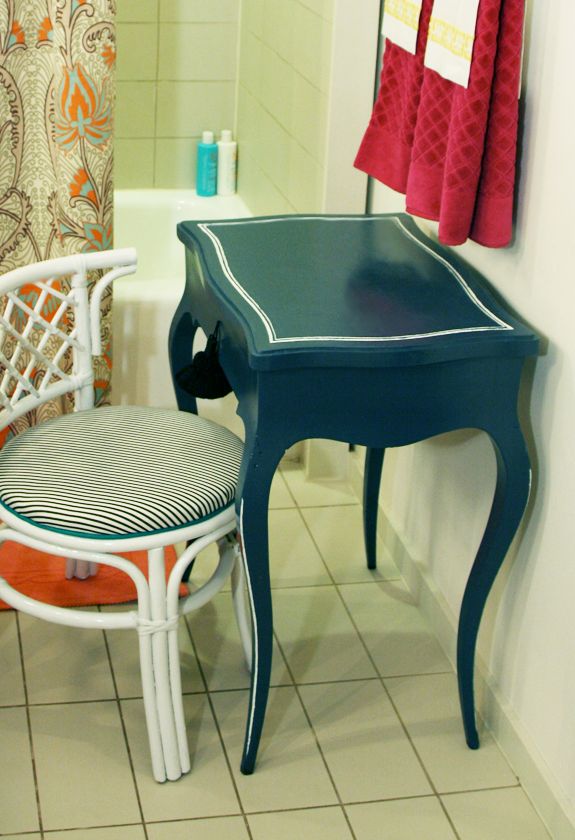
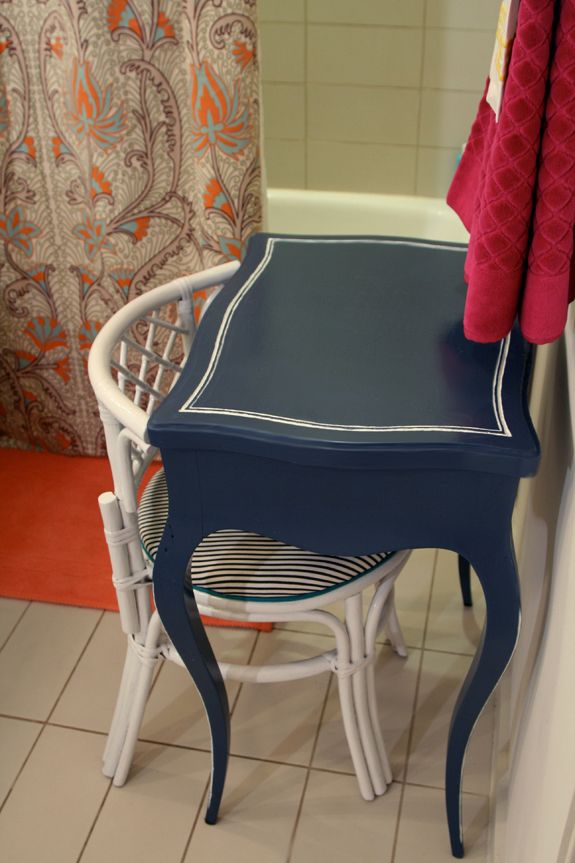
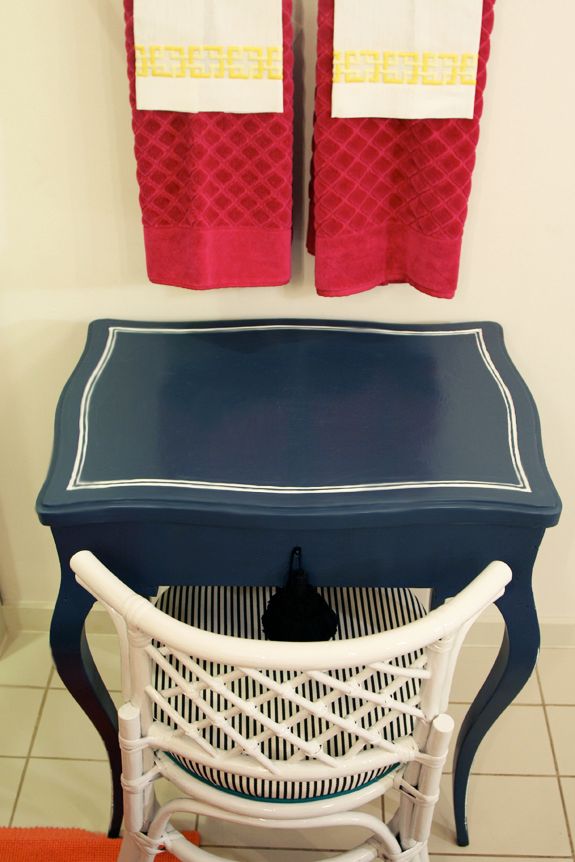
Anyway, here's the little vanity in our bathroom. I couldn't get the lighting right, so the colors are off a little. I'm so happy to have a little place to sit down in our bathroom now!


The shower curtain was made from Quadrille's Contessa (tutorial coming up!) and the hand and guest towels are from Gracious Home.


The coral bath mat is from the Williams Sonoma Home Outlet in Riverhead (I think it was less than $10! They always have the craziest sales).


See how perfectly the little chair tucks in?


The vanity top opens up, so I'm working on fixing up the interior next. I need to get a piece of mirror cut for the inside and also find a replacement barrel shaft key for the lock.


So what do you think? Do you like have furniture in your bathroom?