
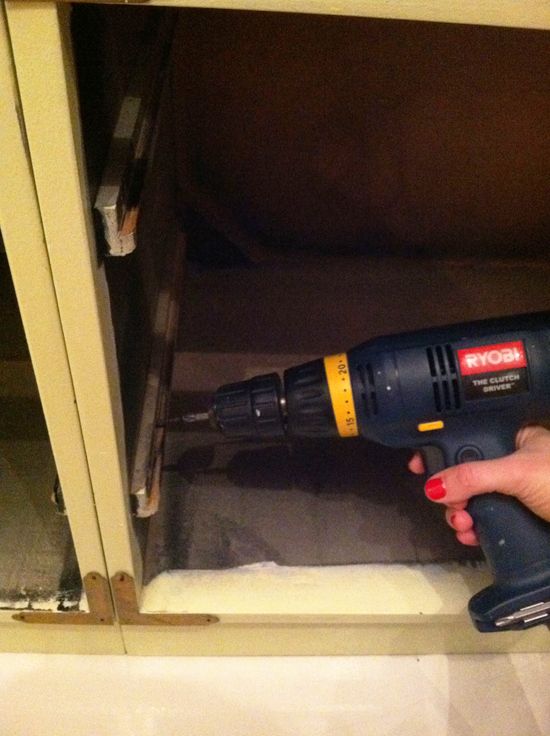
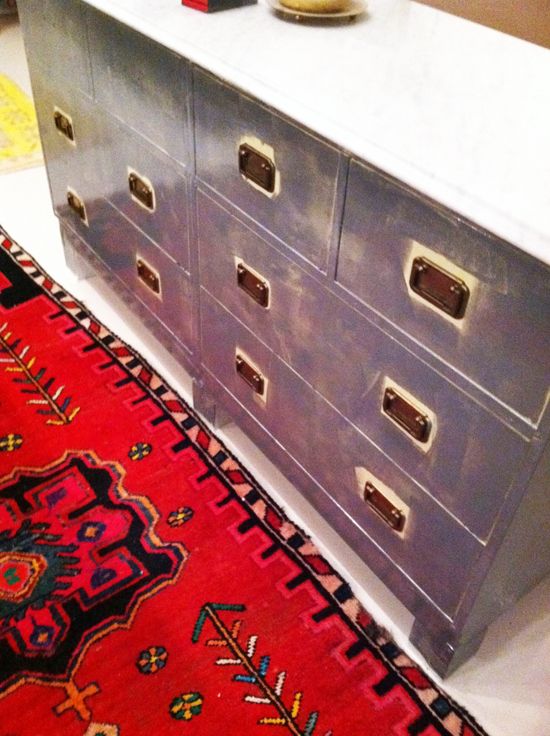
So to begin with I had a pair of campaign chests that were 31.5" tall and 30 wide. I used a power drill and a handful of drywall screws (which are really sharp) to screw the two dressers together from the inside.
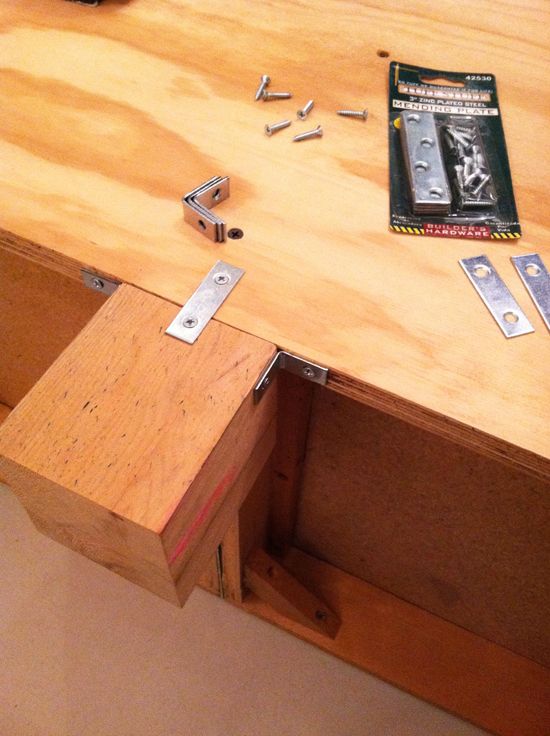
I had my local hardware store (Metropolitan Lumber) cut me a big piece of smooth plywood to fit the back of the connected dressers and also six 4" tall legs from a 3" wide post, all for less than $20. I asked them to be really exact with the measuring, which they really were. I did a little bit of wood filling and sanding to the legs first.

Then I attached the plywood and counter-sunk the screws so I could fill the holes and have a more seamless finish. The plywood backing helped the dressers to fit my marble top a little better and also helped keep the dressers better together structurally. Once the plywood was screwed on, I attached the legs using mending plates (a combination of corner and flat plates). I tried to sink these in as flat with the wood as possible.
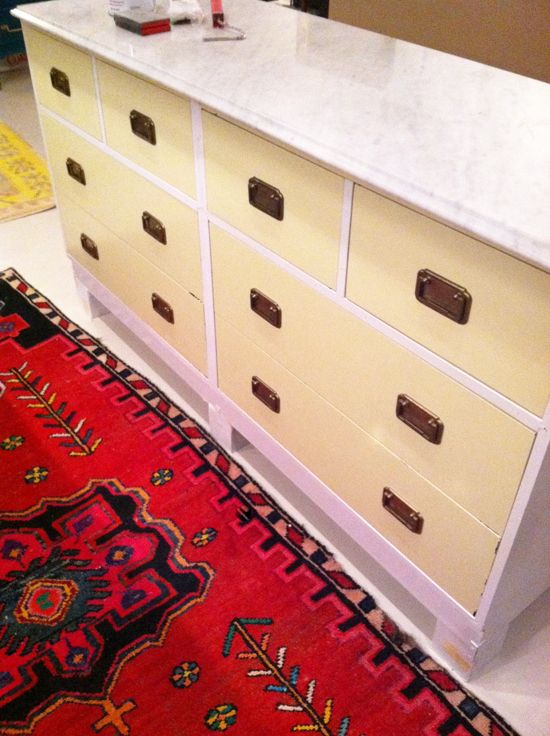
I started out with the plan to paint the new island white because I was sort of sick of having a dark colored island and thought white would be nice and bright in the space. I only had a chance to get one coat of white on the frame before I changed my mind. It was just too vanilla and boring.
And I couldn't get this image out of my head:
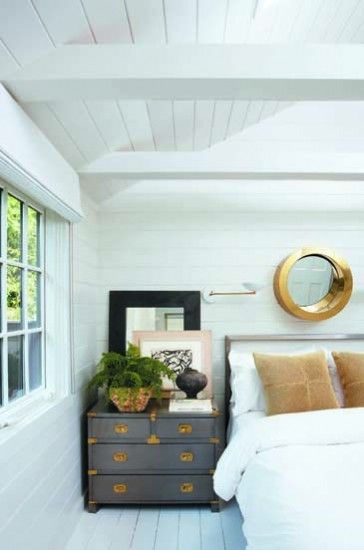
So I pulled out the Smoke Gray oil based paint from this project.
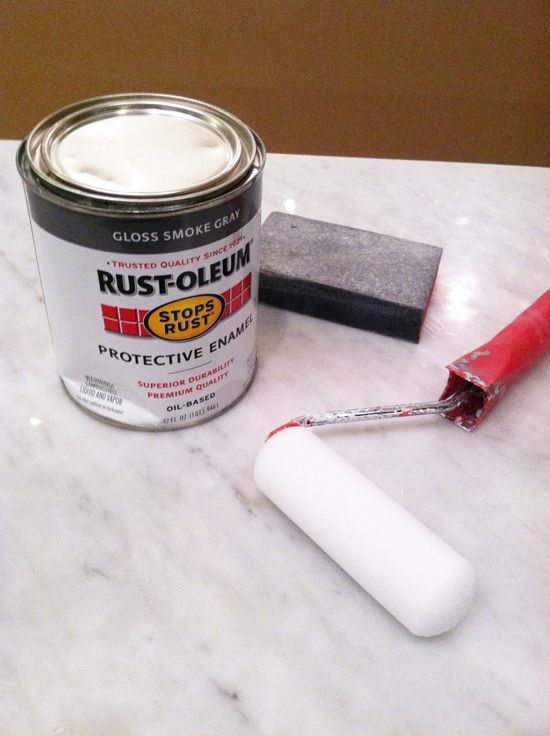
When I paint furniture, I always use a white foam roller and I do a sort of dry coat first and then I do a thicker second coat that really covers the old color. Sometimes you'll need to do a light sanding between coats.
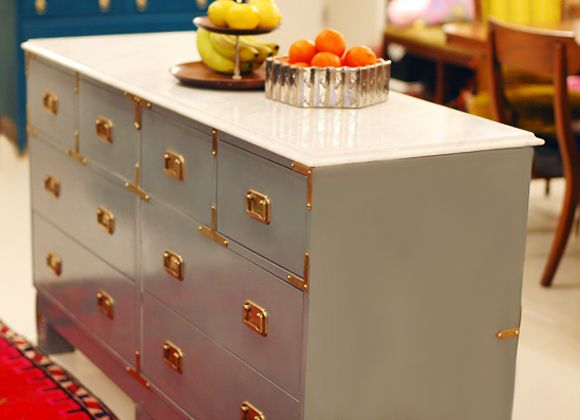
While the paint was drying I cleaned the pulls and plaques with Brass-O and discovered my mini nail head love.
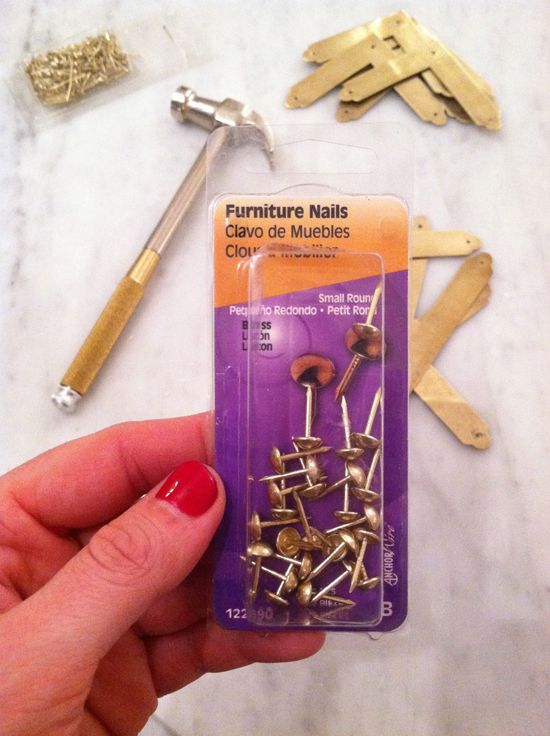
Since I didn't want to spend any money on this project, I just worked with the hardware that I had from the dressers and the bookshelves (which have been recycled). I made the plaques stretch and put a little less on the front so there could be at least eight plaques on the back of the island.

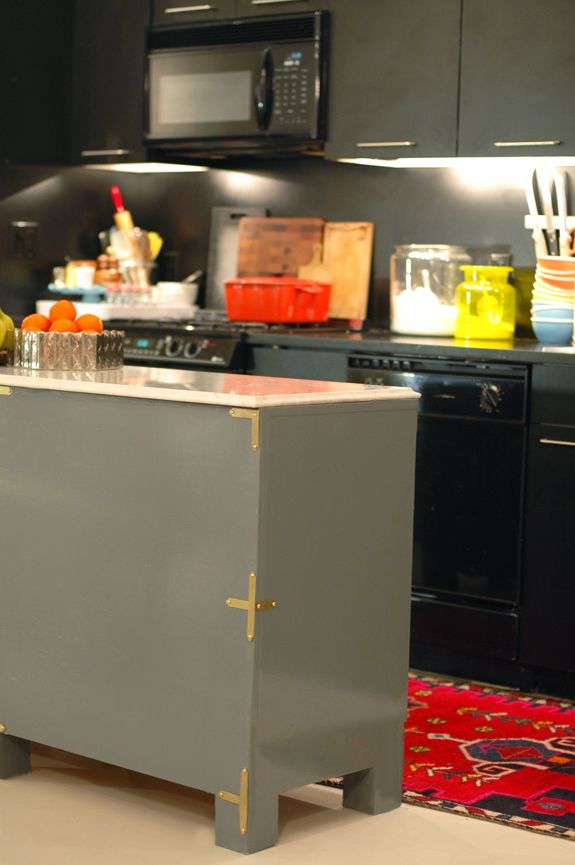
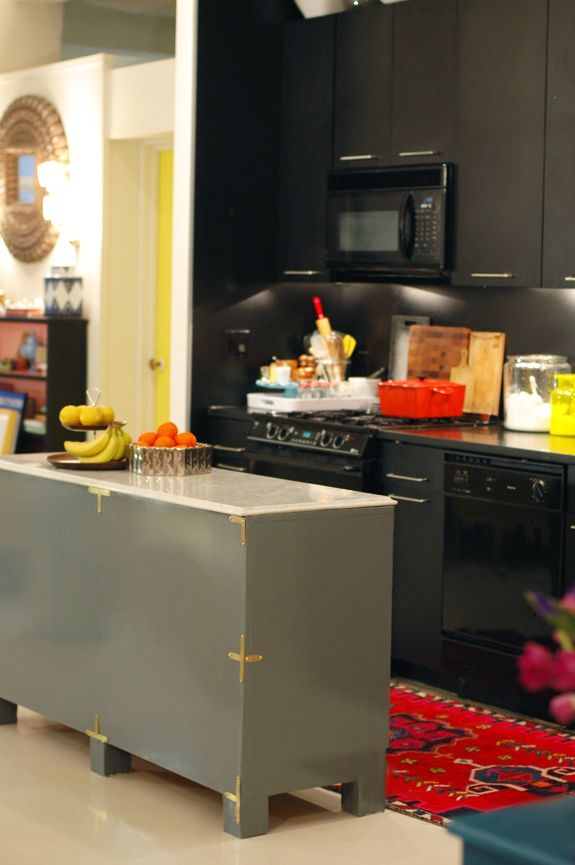
It's not perfect, but I'm really loving it! I love the color with my black cabinets and white floors. And the glossy oil based enamel finish has been a dream to clean. Everything wipes right off. (It's way more glossy than these photos show. You can see though in the picture above I'm wearing a hot pink shirt. Super glossy!)
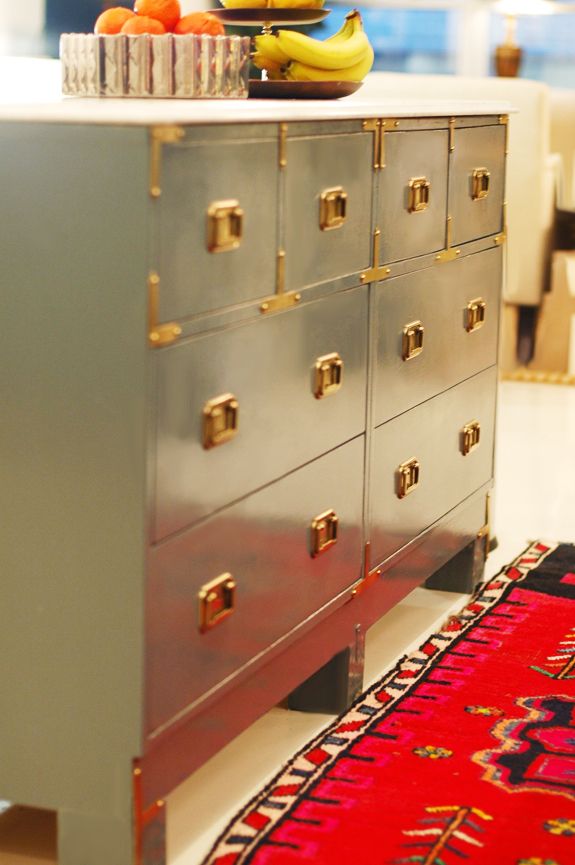
I might go back and order a few plaques for the sides, but I sort of like it a little more sparse. I don't want to go overboard with the brass.

I sort of think the more substantial nail heads make the plaques a little chunkier anyway, so it's okay there are less plaques.
Not only do I love the new look and color, but I LOVE the functionality. The much deeper drawers open and shut as smooth as buttah. And the top of the marble hits at exactly 36" (standard counter height).
Do you have a unique kitchen island? I'm a big fan of islands.


