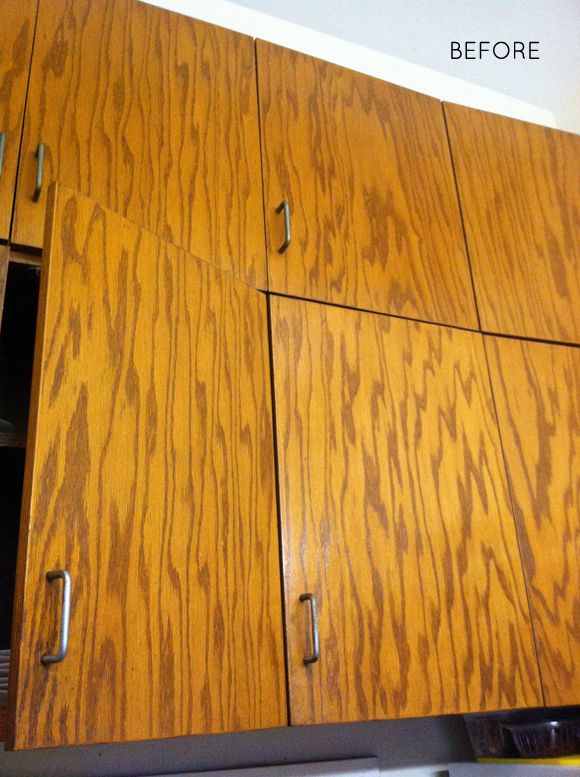
First I measured all the doors at once and had a huge list of measurements. Then I cut all the wood at once too (here's the saw I love). A little tip here - when working with precise measurements like with crown moulding or any trim work, make sure you take the saw blade into account - don't center your cut line on the blade. You'll need to scoot the cut line over a little to make it so the edge of the blade just kisses your line.
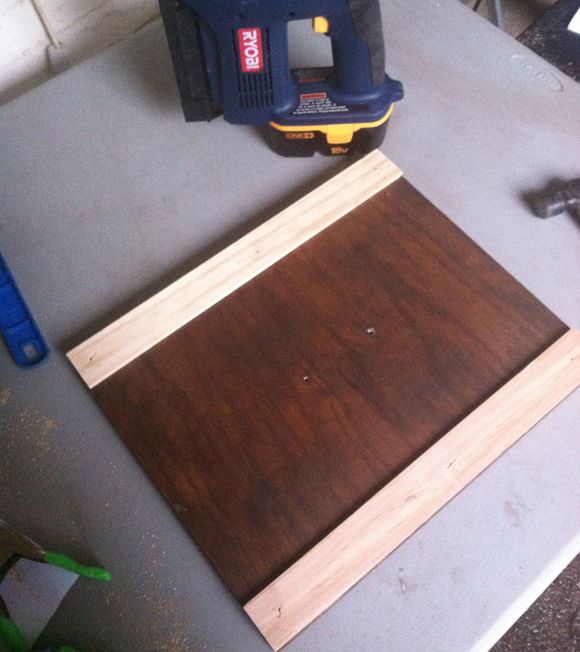
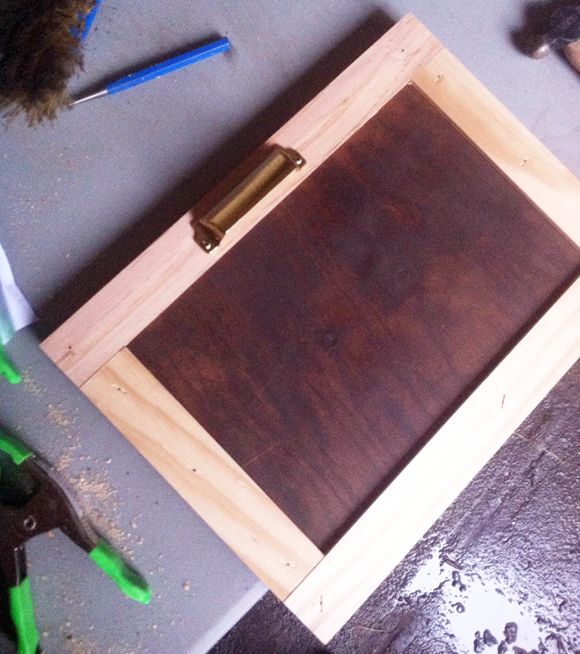
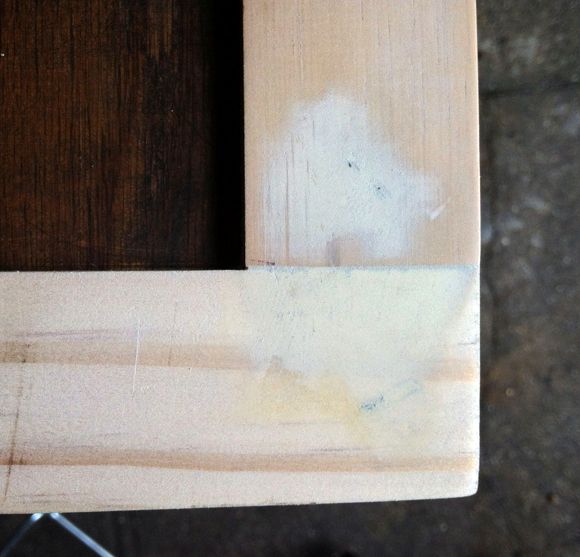
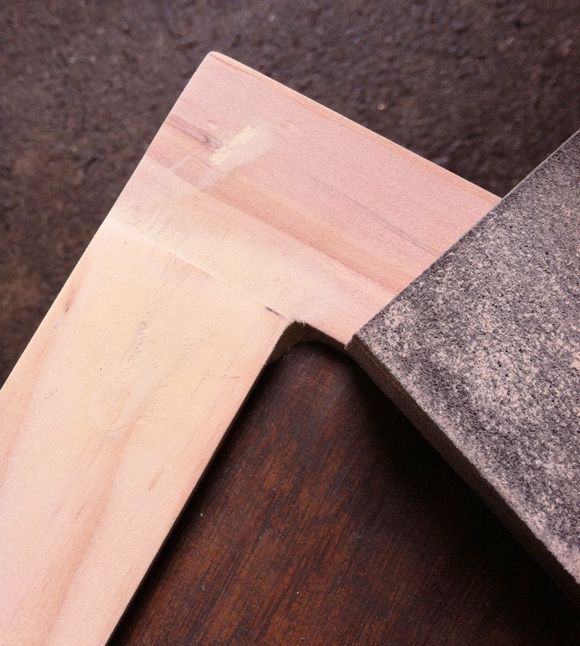
I thought a lot about whether I should do mitered corners, but ultimately I ended up going with straight cuts. It made my life a million times easier I think - after working on crown moulding inside, the last thing I wanted to do was more mitered cuts! I just had to subtract two of the trim widths to get the correct measurements for the side pieces.
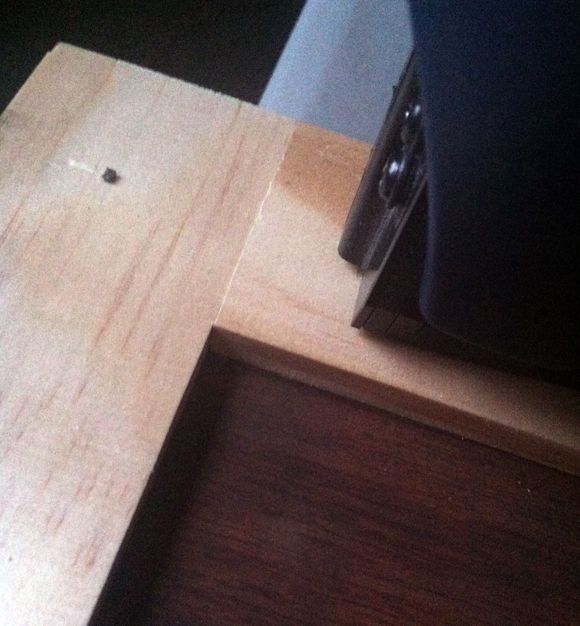
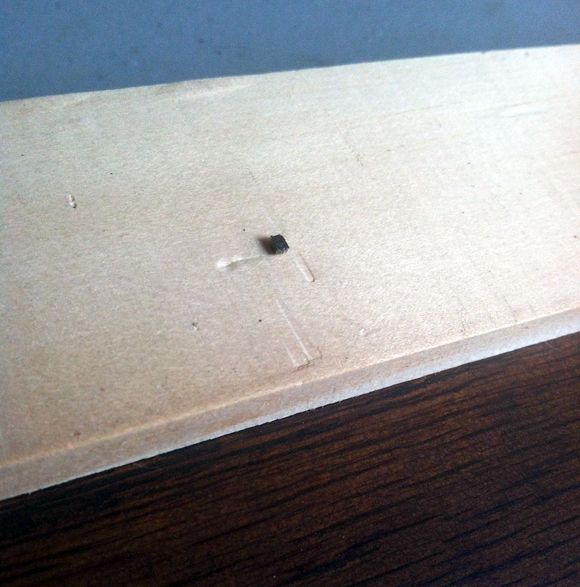
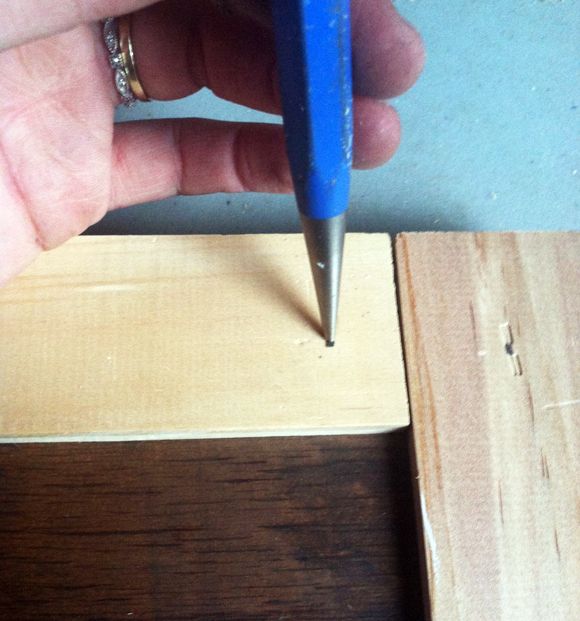
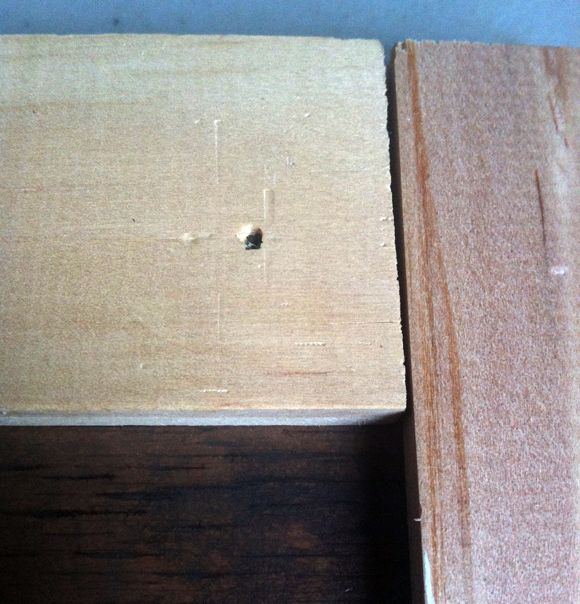
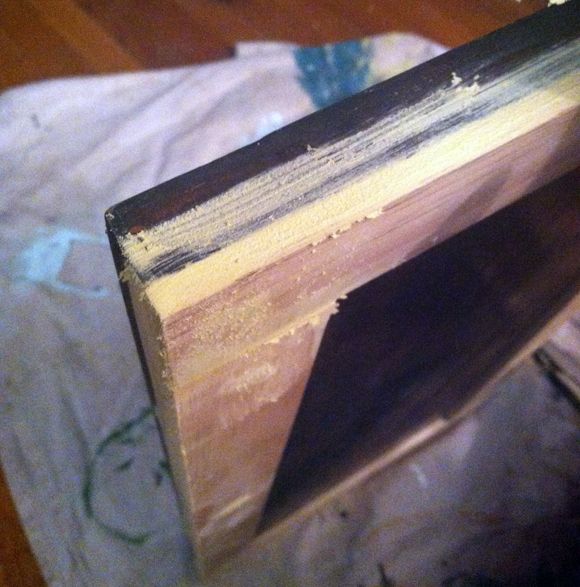
Once all the wood was cut, I used my brad gun to attach the trim. It took some playing with to figure out the right amount of pressure to use on the gun. If I pushed too hard, it dented the wood a little. If I just put a bit of pressure on the brad gun, the nail stuck out about 1/8" and I was able to set it in. The little nail set hole is a million times easier to fill! Don't dent that wood!
Most of my cuts were pretty precise, but every third cabinet or so, I had some gaps between the trim. It was no big deal at all though once I filled the gaps.
(oh man, guys, sorry for all the foggy photos. It was so rainy the day I trimmed these out!)
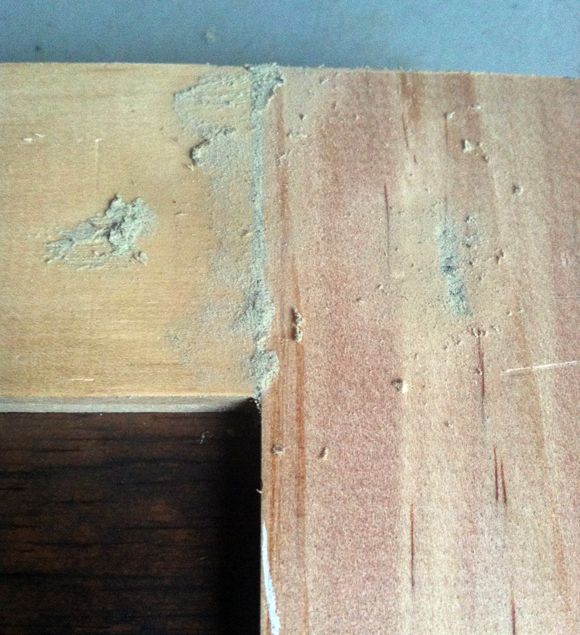
If there were any gaps on the outside lip of the cabinet fronts I filled those too.
I was so thrilled with how smooth and almost completely seamless the new trim was!
I know this was a little bit of a teaser post, but next up is priming and painting! I ended up spraying the primer and hand brushing the F&B Down Pipe and I liked the combo. Stay tuned!


