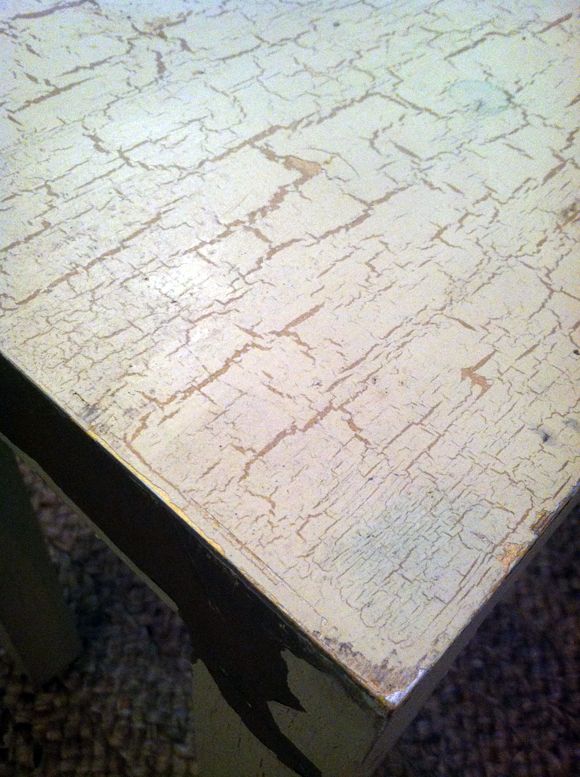
The old finish was not all too offensive from afar (this is why the table was not higher up on the to do list). Pretty neutral here, right?
But up close! BAD CRACKLE! NOOOooooooooooo!
Here's the run down on how I stripped off at least 11 layers of paint and even some thoughts on painting with oil-based paints for that lacquered, enameled look.
I've used Klean-Strip Stripper and Citristrip before with great results. I happened to have some of both around for this project and I thought I'd figure out which one I like the best. I used the Klean-Strip for table top and the Citristrip for the legs.
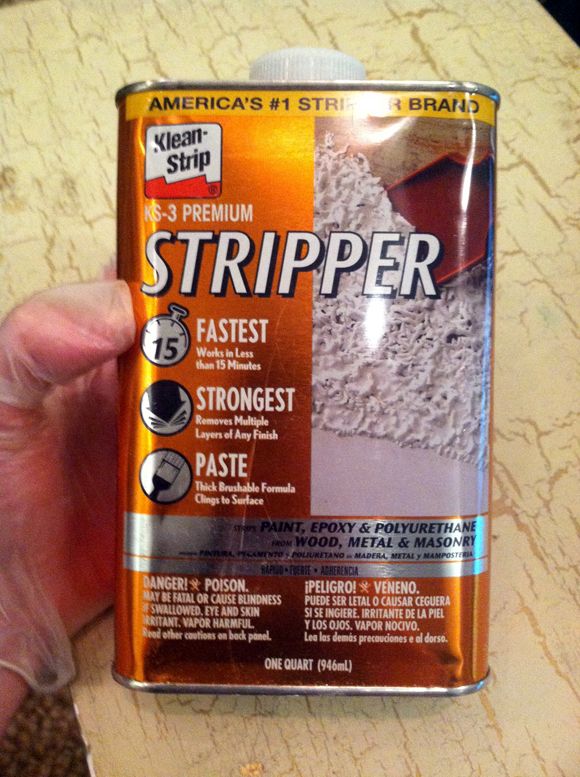
Klean-Strip is like MAJOR caustic. Use it only outside or in a very ventilated space. Keep kids and pets away, and definitely wear gloves. If you get any of the gel on you, you will know in about five seconds. Ouch!
So you're probably saying, "Jenny! Why would you use this product!?" And I'd say to you "Because I got stuff to DO!" This product works fast. In about 10 minutes, I scraped off the first few layers of paint. If I had waited another 10 minutes, it would have all bubbled completely and been ready to easily scrape up. I did end up putting on another quick layer of the gel and within 10 minutes that second layer was done. I should also mention that I don't usually use a paint brush to apply the stripper, like the instructions suggest. Mostly because I don't want to clean up a brush when I can use a putty knife just as easily (just like frosting a cake!), but also because the paint brush makes it harder to get a consistently thick gel coat. You're shooting for about 1/8-1/4" of stripper covering everything. If you're stingy with the gel, you'll be spending all sorts of time getting that old paint off.
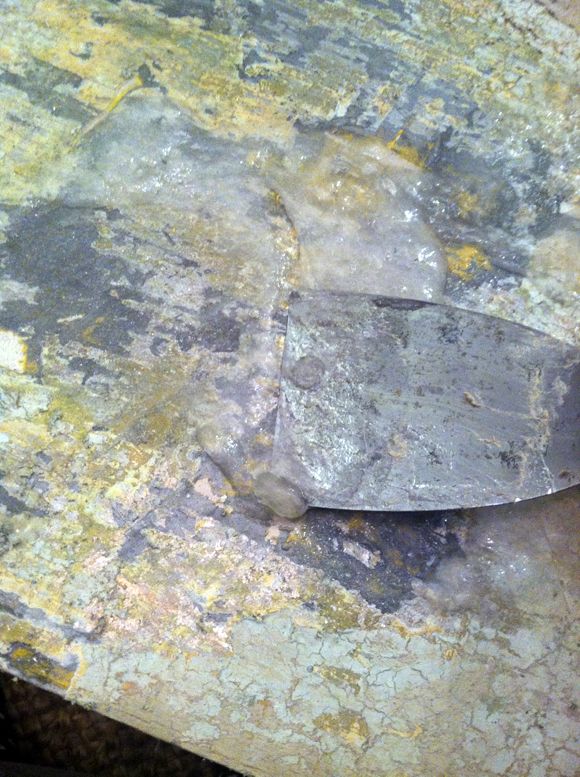
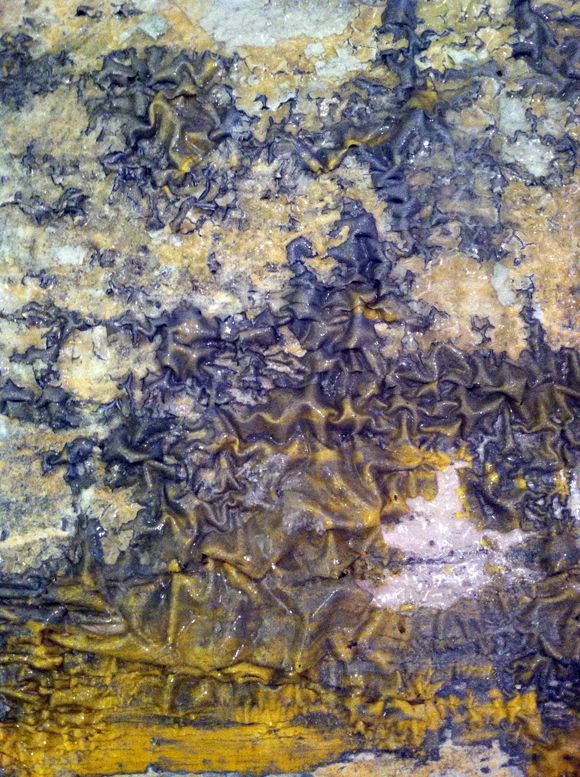
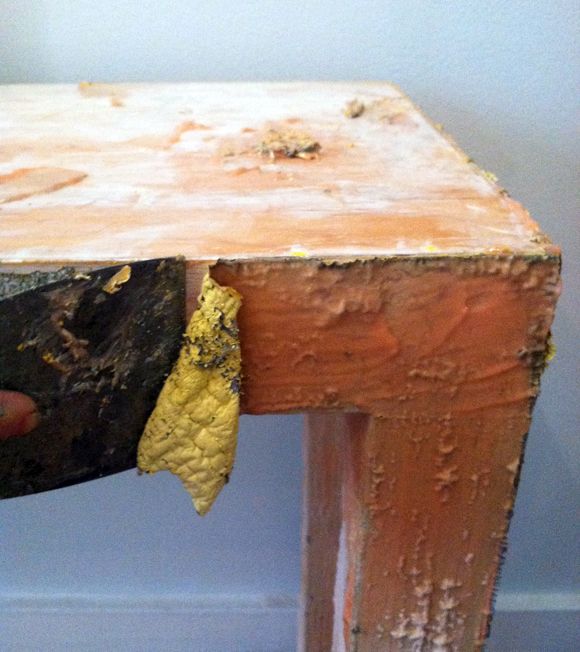
Here's what the old paint should look like when it's ready to scrape. Klean-Strip recommends scraping the old paint into a stainless steel bowl, letting the chemicals evaporate outside and then discarding the dried paint, which is what I did.
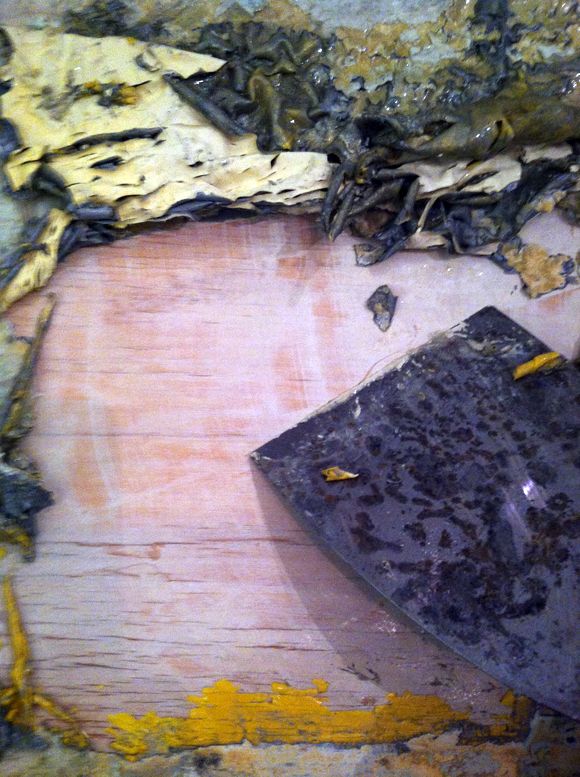
So, all in all, after 20-25 minutes of work using the Klean-Strip, the table top was down to raw wood. Not bad!
For the legs, I pulled out my Citristrip, which is not at all smelly (it actually smells like oranges a little bit), and can be used inside. I got some of this on my skin too accidentally and I didn't even know! It makes me wonder how this stuff actually stripped off layer after layer of old paint, be it did! And it did it well!
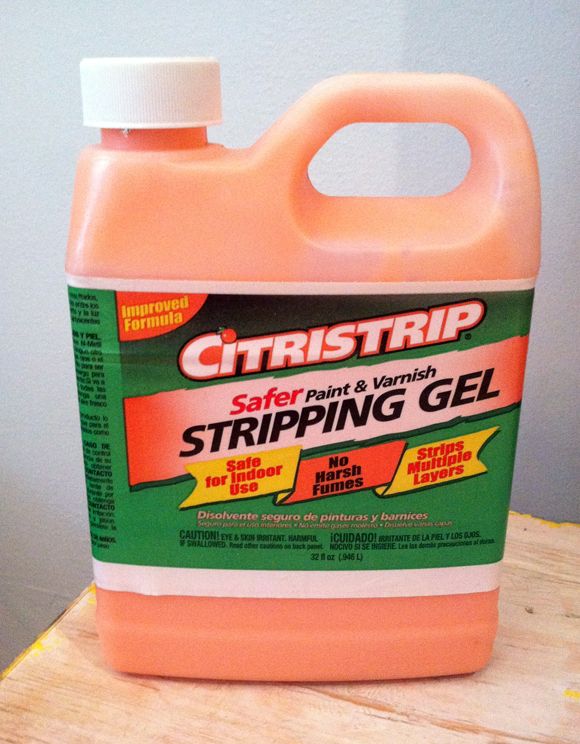
So, the biggest bummer about Citristrip is it takes a while longer to bubble up the old paint. It took me about an hour and a half of waiting to get about 90% of the paint to release. And I went back and did some spot stripping to clean up some of the old paint that didn't come up the first layer. I think the legs took about two hours, when all was said and done.
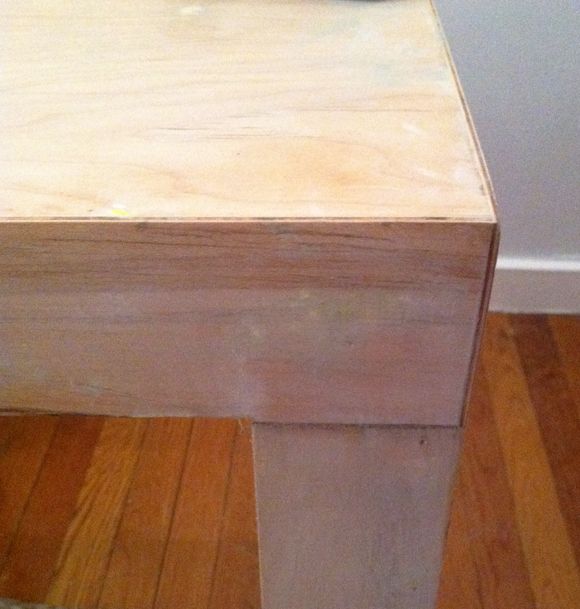
If you're doing this right, there should be zero amount of intense scraping. Wait until the old paint is super soft and bubbly, and they it just falls off. It's pretty crazy that in just a couple hours of easy work (most of that time was spent waiting), decades of paint jobs can be removed!
As far as a verdict goes between the two stripping gels, I think I'll probably stick with Citrastrip in the future. It did its job really well and it's easy to just do something else while you're waiting the extra time. I figure if I don't have the wiggle room in my schedule to wait an extra hour so I can avoid using super-toxic chemicals, there might be some bigger issues here. :)
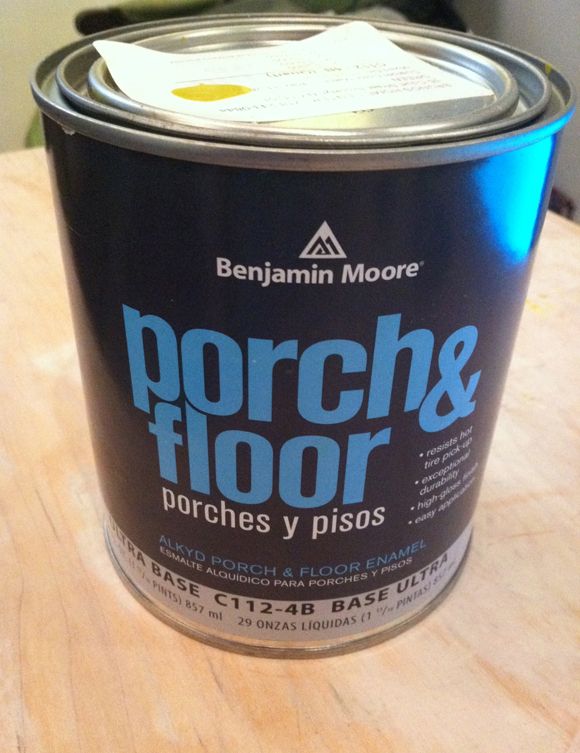
Now, as far as painting goes, I am completely converted to oil-based paints. Latex is for walls. Oil is for furniture and floors. If you ask for Porch and Floor paint (which is usually oil-based), or Door and Trim paint (which is usually a water-based alkyd), you can get any color you want mixed. I actually had my local hardware store mix a Home Depot color (update: the color is "Citronette" from the Home Decorators Collection by BEHR) in Benjamin Moore paints, which is the opposite of what I usually do! ha! :)
I used a two-inch brush to apply the paint. I don't like using foam rollers usually for oil-based paints, but I think that might be a personal preference? The texture of oil-based paints just works really well with a brush. Basically, and I'm sure I've said this before, it's just like putting on nail polish. It's like you're placing the paint. Once it's put on, don't mess with it. The brush marks will smooth out on their own. And if after the paint has fully dried (in about 24 hours) there are a couple of imperfections, you can sand or touch them up at that point.
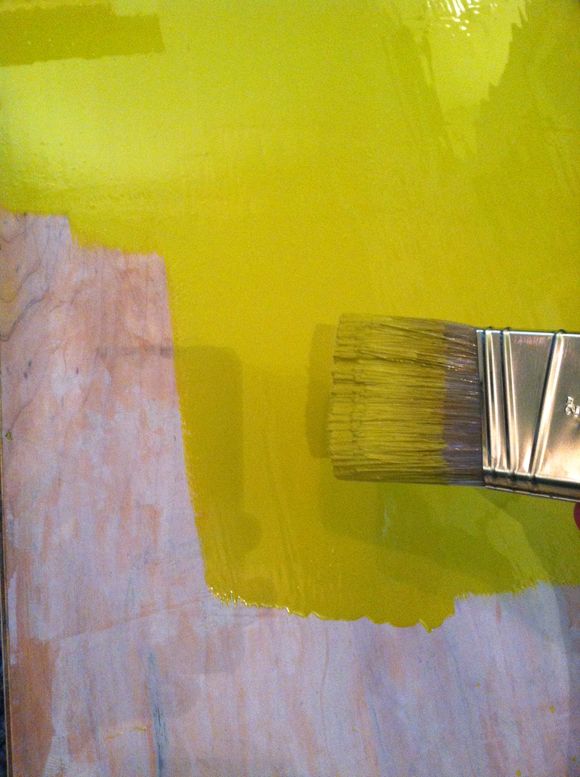
You can see here above that I work in sections. Each dip-and-one-side-wipe makes a roughly 4x8" rectangle. If you just slightly overlap each rectangle, all the while resisting the urge to go back and touch up parts, and you'll have a perfectly lacquered piece of furniture on your hands 24 hours later. Seriously, it's like magic.
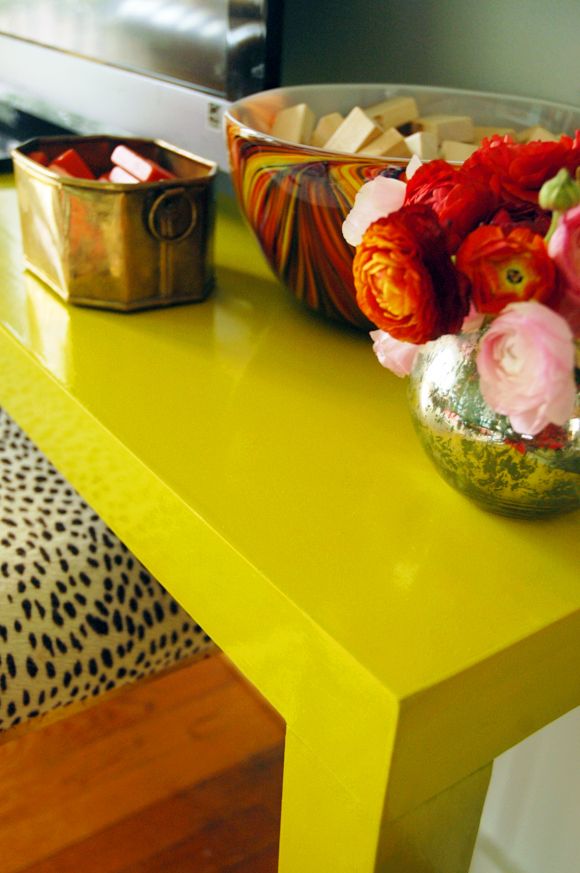
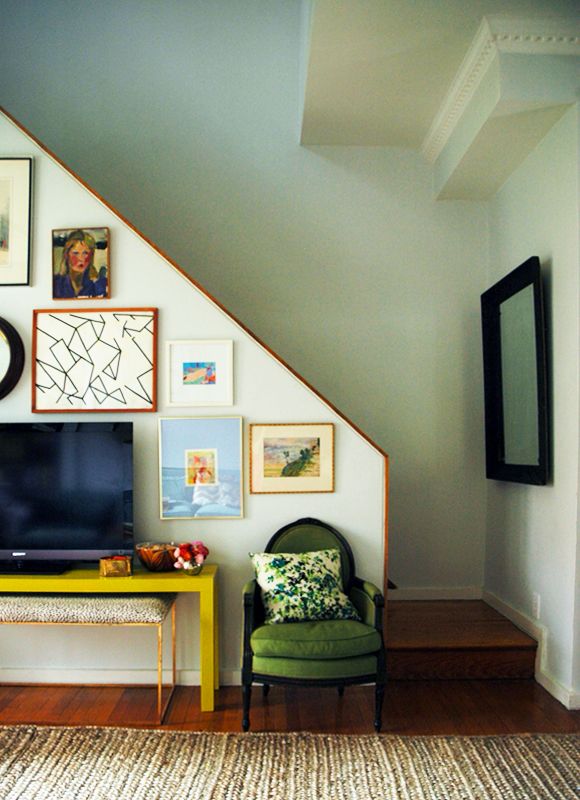
I love a punch of bright chartreuse in almost any room. It's definitely one of my favorite colors.
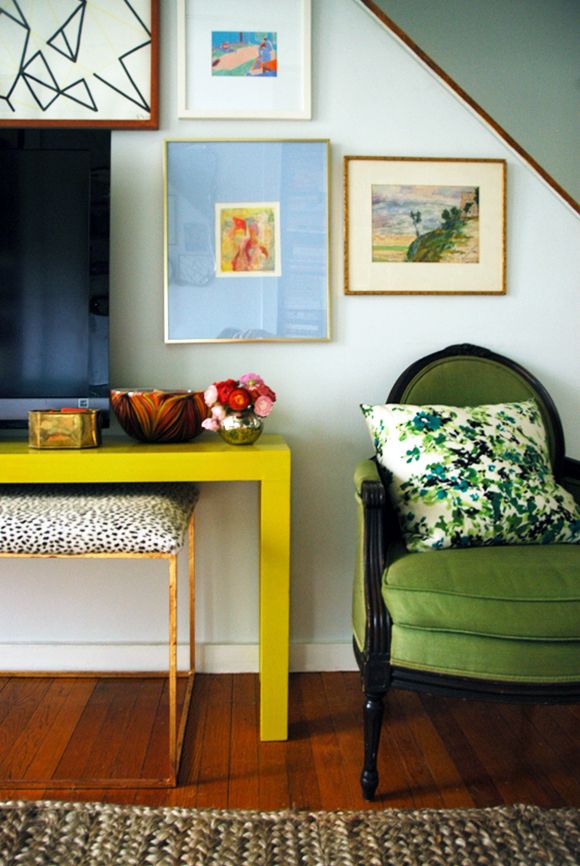
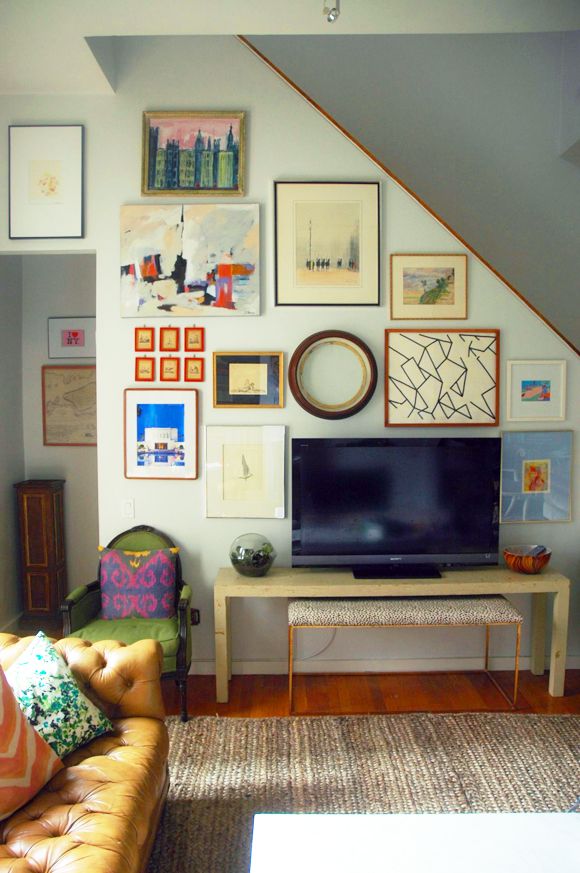
Ooh, also, on a whim I hung the Magnolia mirror that I painted with chalkboard paint on the little stair landing. I think I love it. It helps balance out the heaviness of the gallery wall a bit. Plus, the girls love it for fashion show purposes, which happen around here more often than I care to admit.