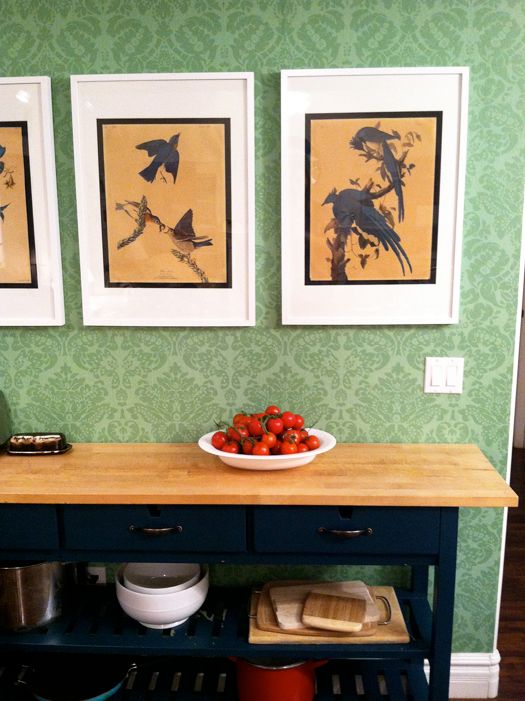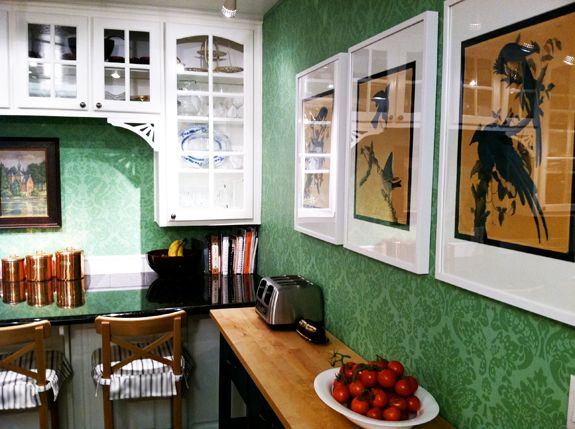
When I imagined what art we were going to put over the island, I really wanted two big botanical prints with fruits and vegetables. I did a little searching and nothing I found was the right size or price. So we went antique shopping and found these antique Audobon prints for $26 for all four.
We decided to use just the three blue bird prints in the kitchen and to put the yellow finches in another room. These definitely needed to be reframed though.
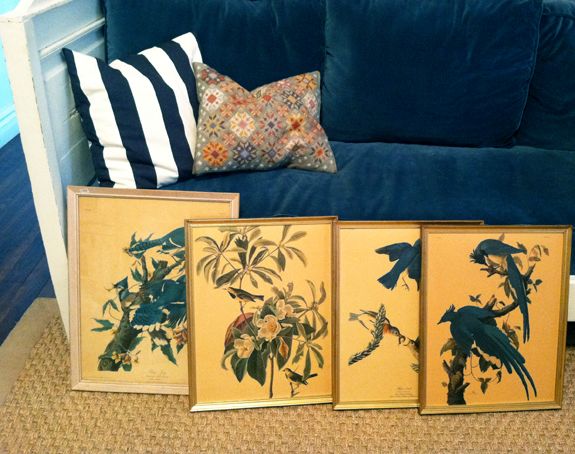
I love the modern look and the very reasonable price of IKEA's Ribba frames. My only complaint is the long, european sizing of the mats. It makes framing standard US sized prints very tricky. And getting custom mats cut is more expensive than these frames so we needed a make-it-work solution.
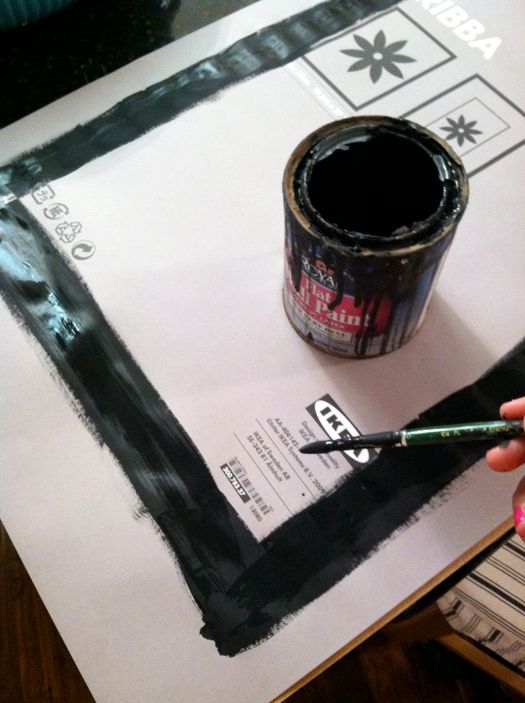
I thought about getting some velvet ribbon to cover the gap between the matting and the print, but first I thought I'd try just painting out the gap. I used a little bit of flat black latex paint right on the paper that comes with the frame. I didn't thinking it would work because it was a little ripple-y at first, but it dried pretty flat.
I LOVE the way the black accents the print. It looks really custom, right?
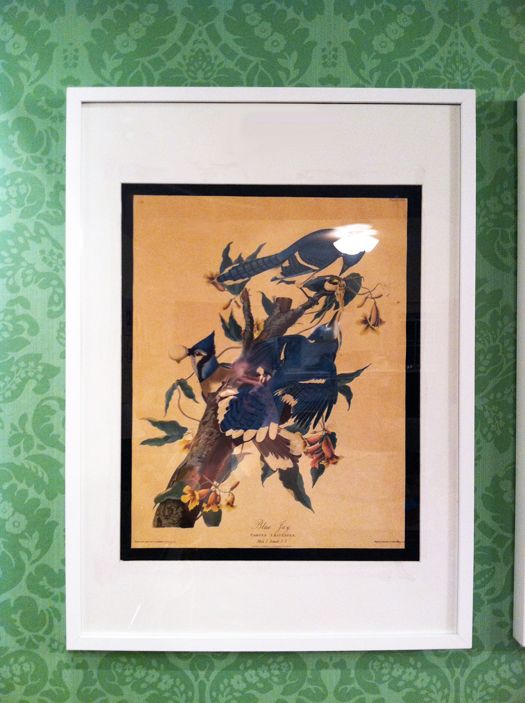
So, I guess I have two complaints about the Ribba frames. Those lame wire hanging mechanisms on the back always slip and are such a pain to use. And if you hang the frame just by the lip of the moulding, it eventually stretches the wood and the frame begins to sag.
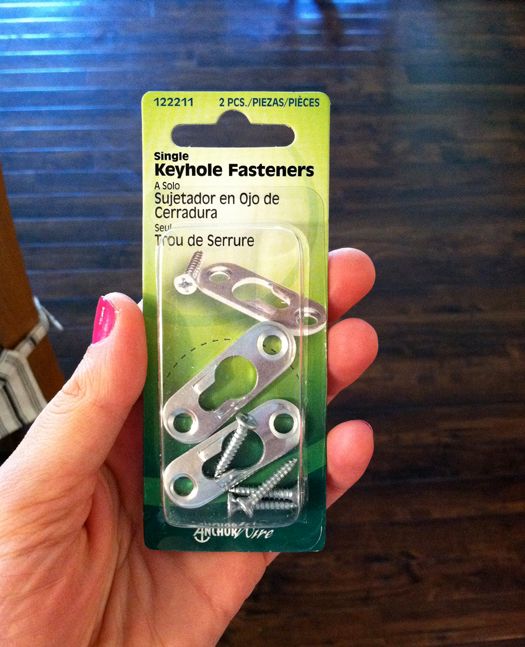
To fix the problem, we bought some of these keyhole fasteners:
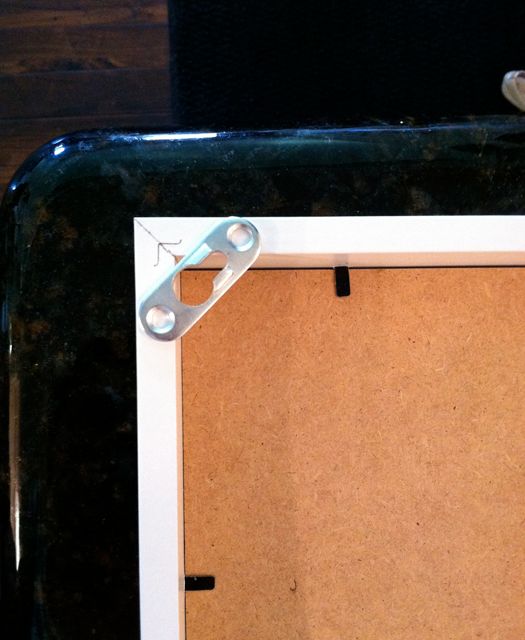
And attached them along the top corners of the frame, using a drill and the provided screws. It's a good idea to make a little pilot hole first to avoid any splitting.
We did a little marking and then my Dad drilled in a couple Wall Dog screws to hang these.

The frames are super secure with the new keyhole fasteners. My mom's happy she won't have to be constantly straightening these. And we both love the way the prints look against the wallpaper and with the navy island.
