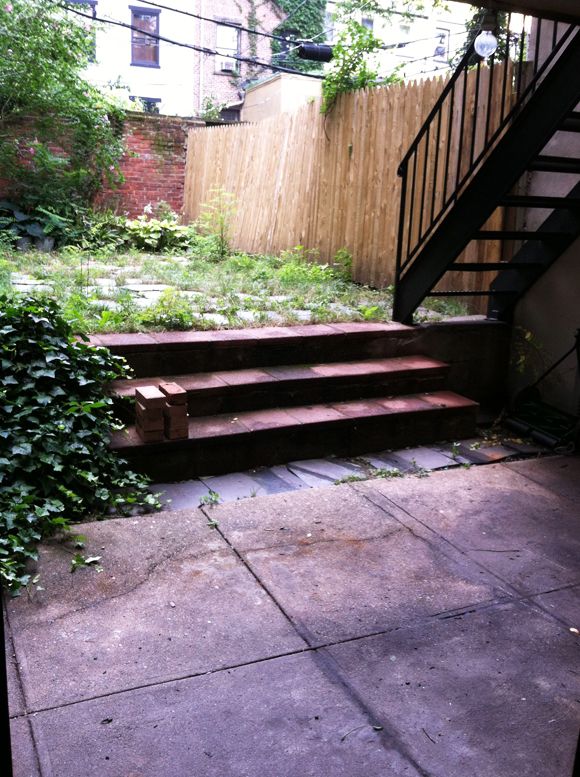
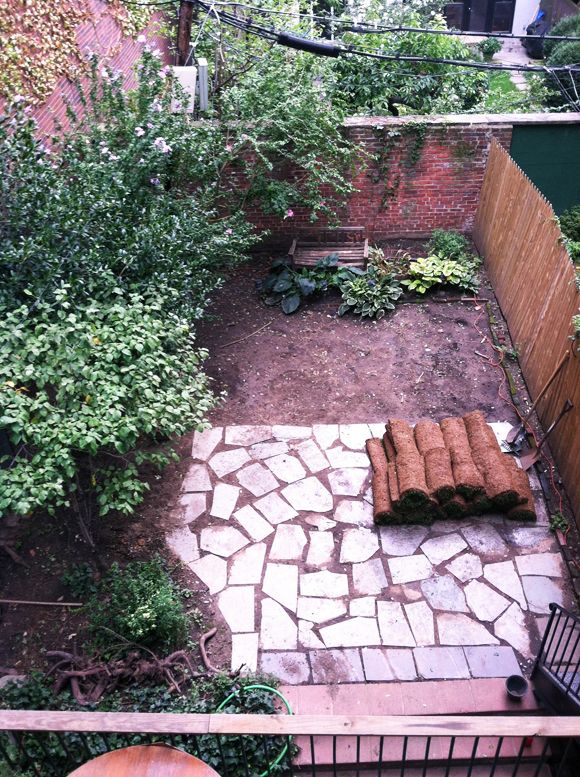
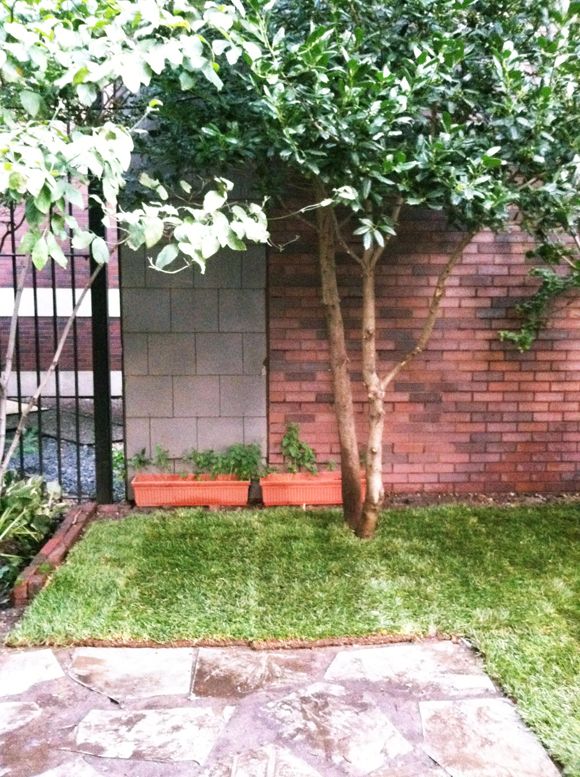
Remember this is what the backyard looked like when we moved in a couple weeks ago. Overgrown and a misallocation of the usable space, I think.
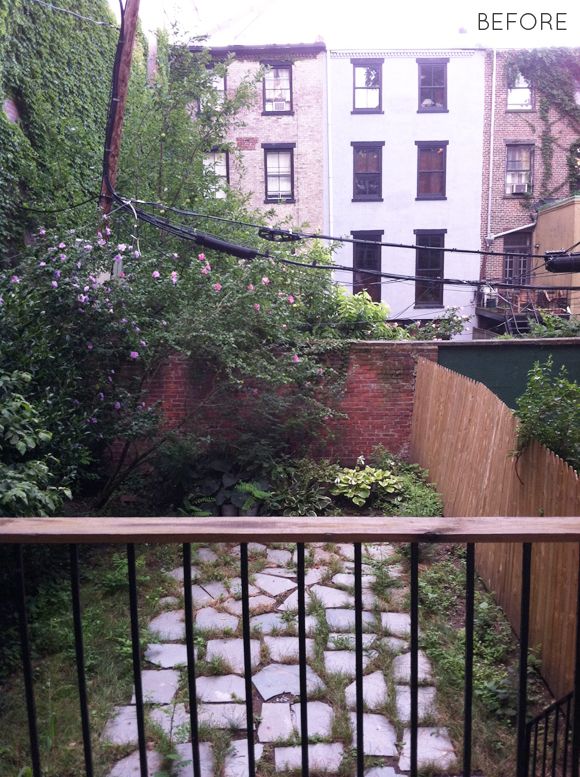
For what feels like millions of photos of the during and after process of the new grass and pavers (and an antique treasure from the bushes!), please join me after the jump...
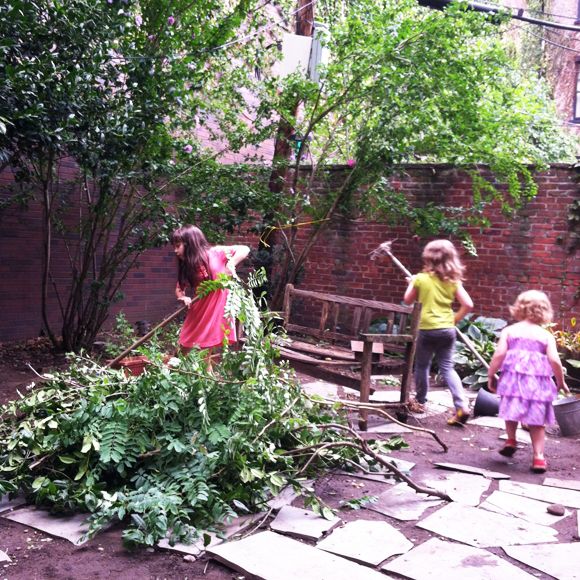
Oh, man. I'm tired just looking at these photos and thinking of all those weeds we pulled, dirt we moved and rocks we hefted this weekend! This place was a real mess!
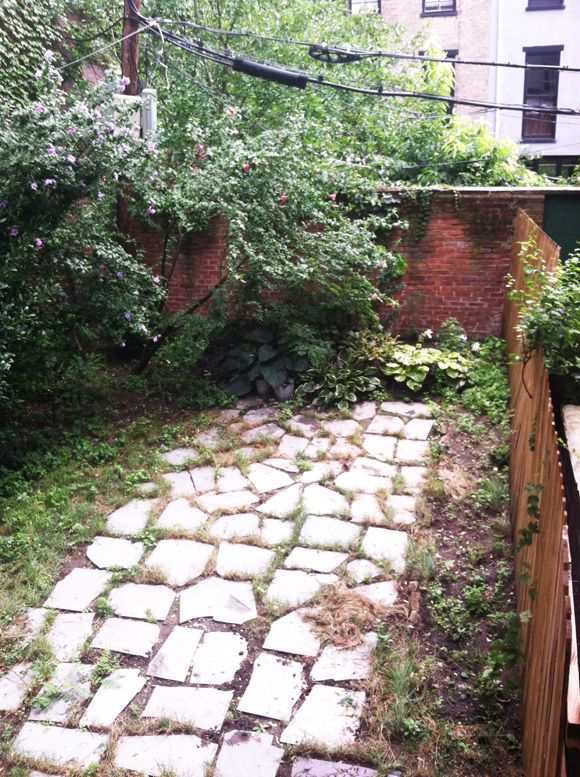

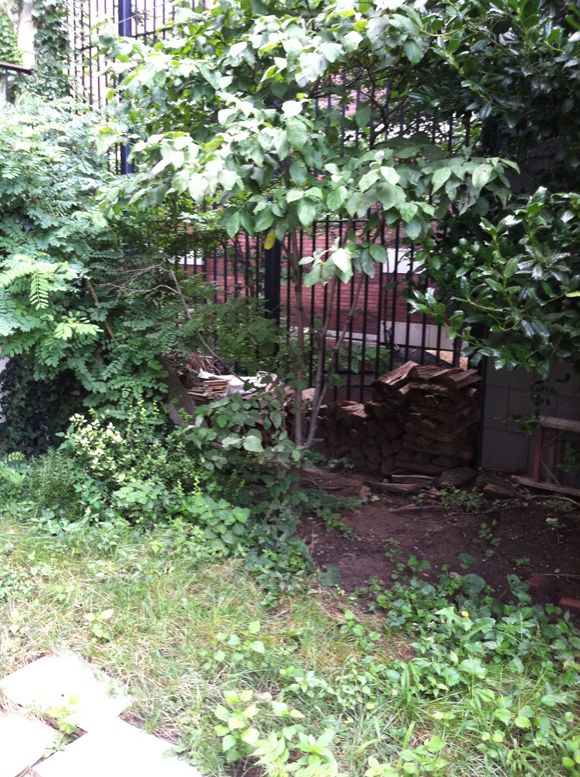
You guys were all right about saving the pavers. They are great (and not replacing these saved us a ton of money!).
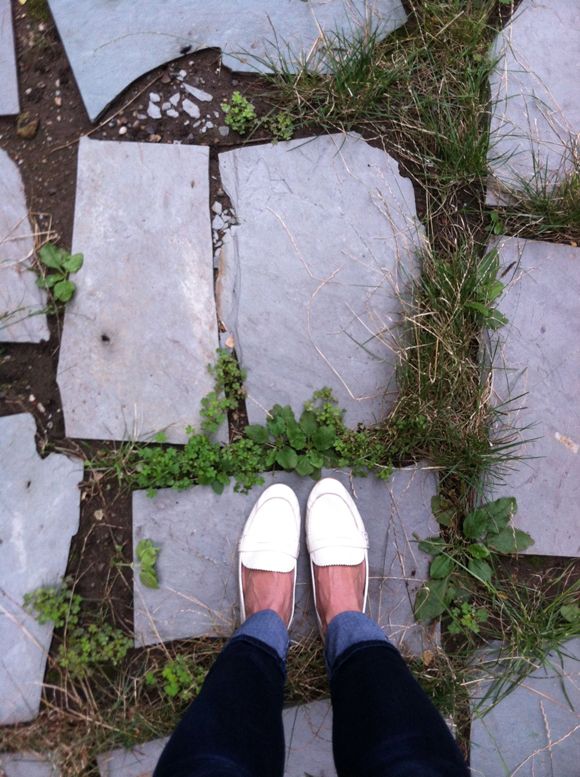
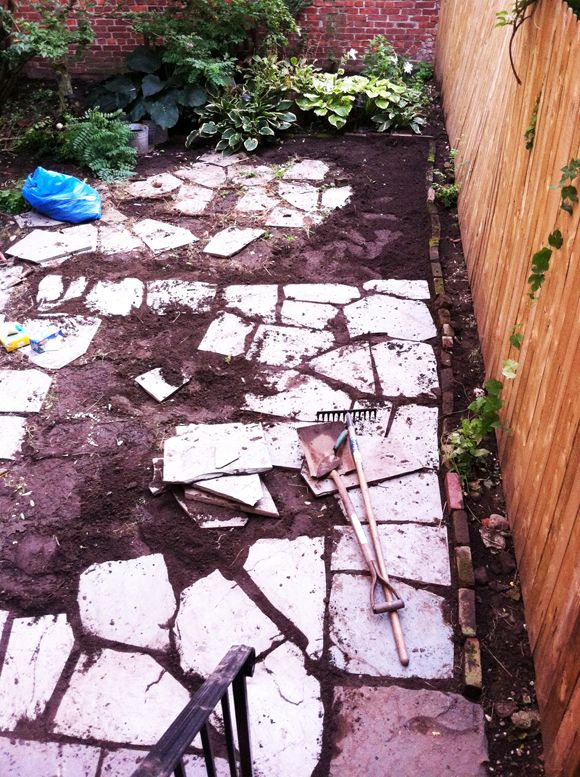
We started by pulling up and rearranging the pavers. We brought them all to the front of the yard and tried a little harder to make the gaps smaller and more uniform. They're not perfect, but we had *just* enough stones, and I think they'll look great once we grow moss in the gaps.
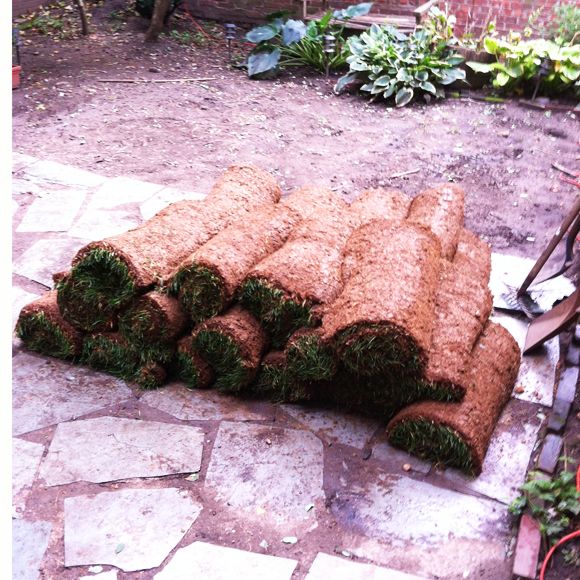
I was worried that we missed our chance to plant sod, but fall is actually a really great time to put out grass because the sun is a little more gentle. I read that even until the 1st week of October is a good time to plant. I think the species we bought (from Home Depot in Long Island) is Tall Fescue. It could be Sun and Shade though.
It's important to lay the sod the same day you buy it, so we had to hustle through some last minute ground prep before we got to laying down the pieces.
I wanted to keep but move these mature hosta plants, so we carefully dug them up and moved them to the little ivy bed nearer to the house. The bench there was absolutely crumbling. Same story with that wheel barrel planter. The girls also found an old rusted-over birdhouse.
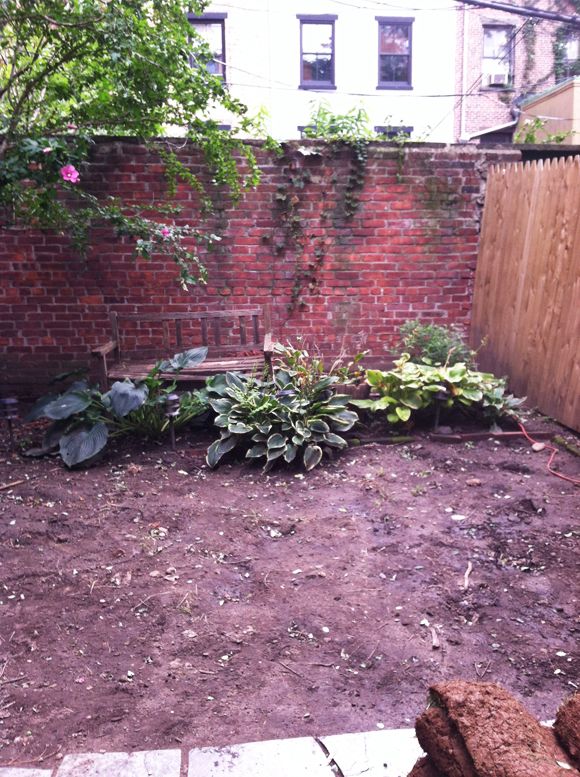
I however found a ground hive of bumblebees as I replanted the hostas and was stung on my stomach and face. Ouch!

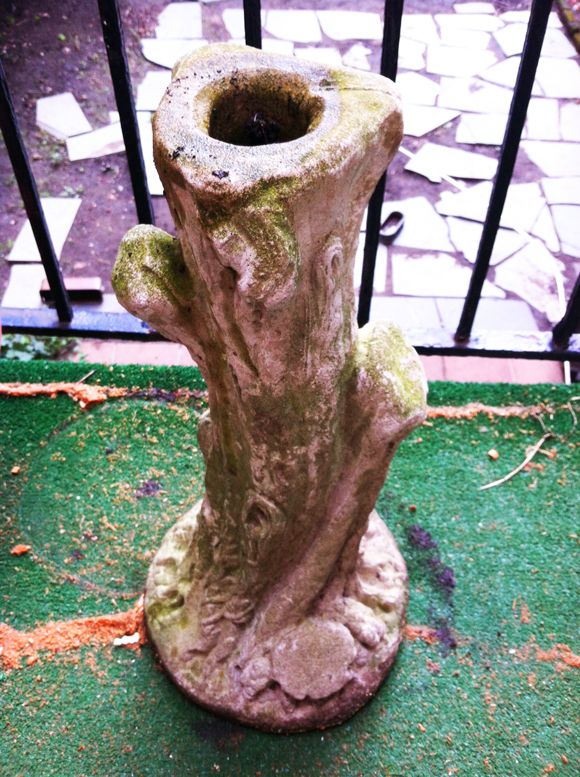
But I also found this antique faux bois side table base hiding in the hostas, so all is well in my book. I want to put a marble top on it and use it on the balcony next to a chaise.
Once all the plants were moved, I used a flat-edge shovel to level the ground as best I could. We've laid sod once before and we rented a heavy roller to flatten the ground and that worked really well for us. This time I just used a shovel and my feet and it was a little trickier, though definitely doable. It's the old school method.
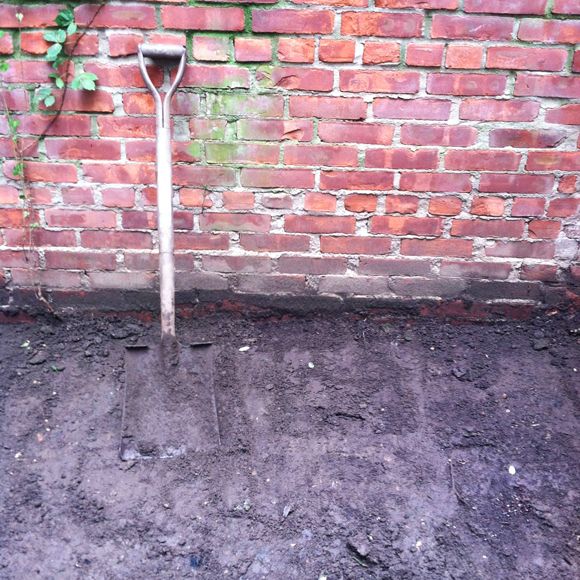
Raking also helps to flatten and smooth the dirt.
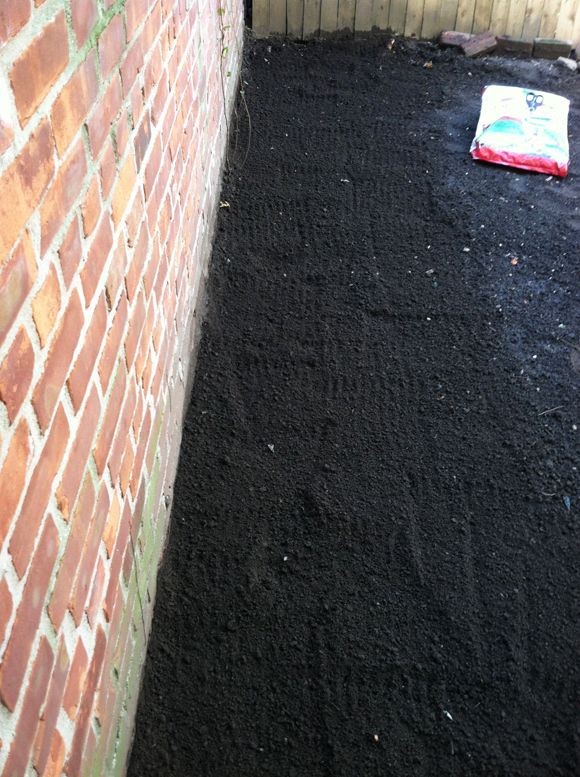
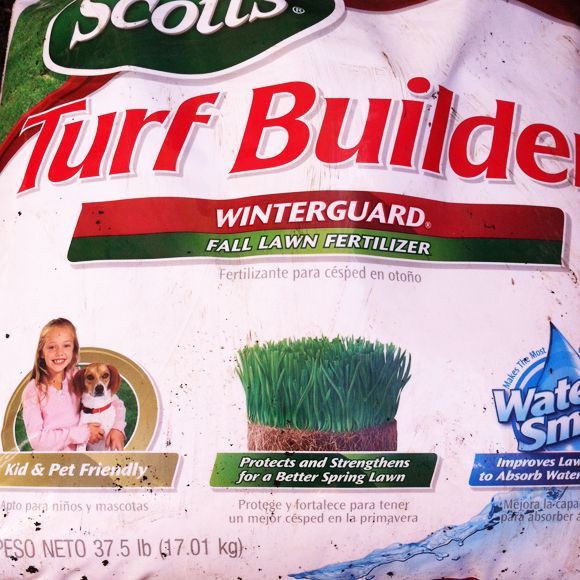
I sprinkled a winter formula slow-release fertilizer on the ground just before laying the soda down.
Then comes the fun part!! Unrolling the sheets of grass! You should lay sod just like laying brick. The seams of the rows of 2x5' pieces should never line up.
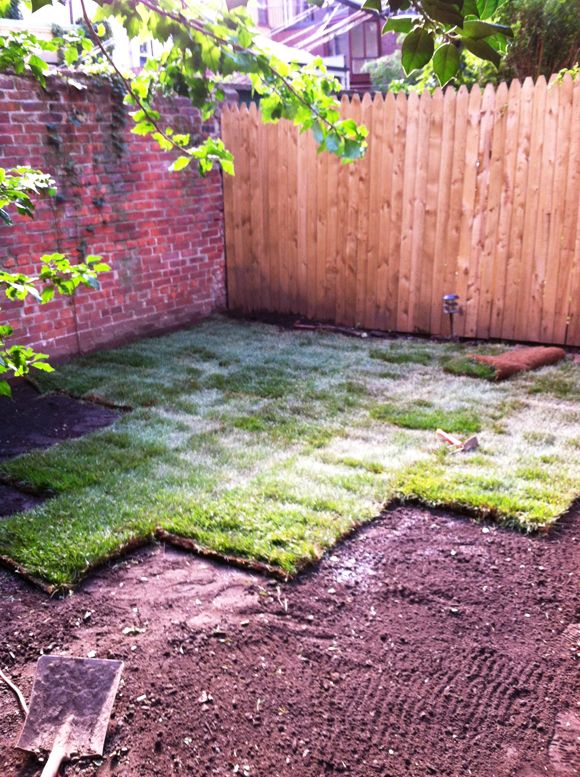
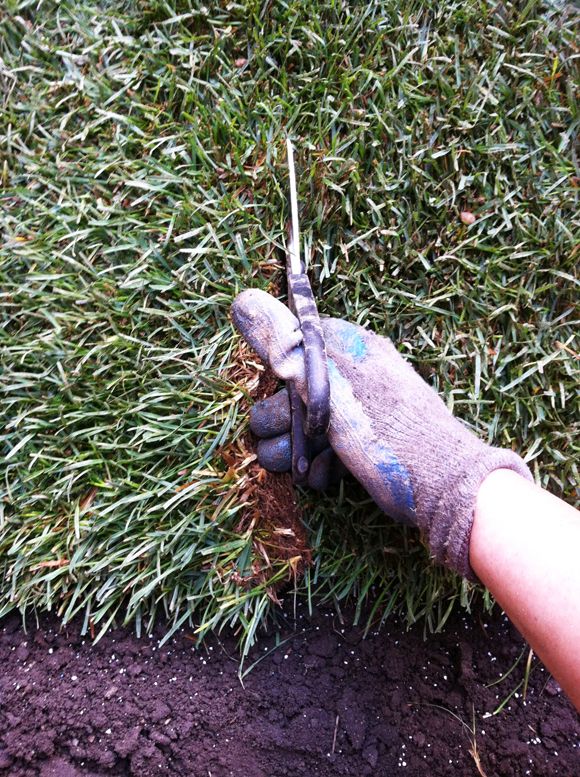
Which means that sometimes you'll have to cut the sod sheets. There is a sod cutter you can rent, but that's for fancy people. Old kitchen shears work well enough!
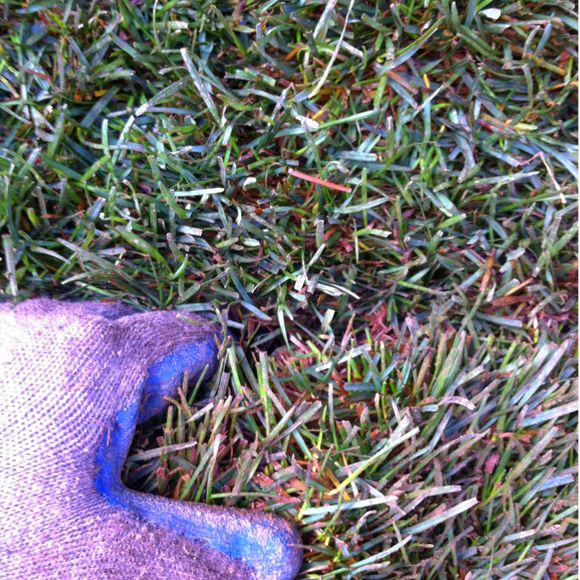
Don't forget to sort of roll in and tuck under the ends of the sod pieces, so they fit seamlessly together.
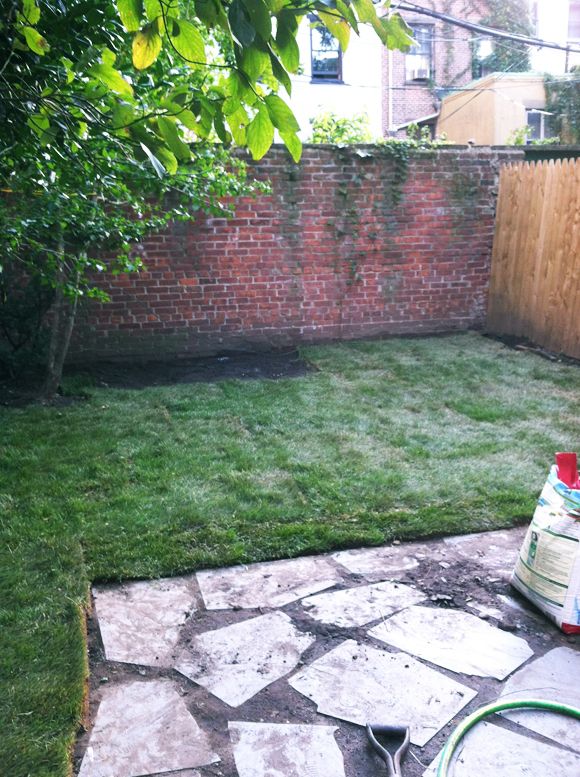
And then you water the sod till it's super soggy. It will need two or three heavy waterings every day for about a week.
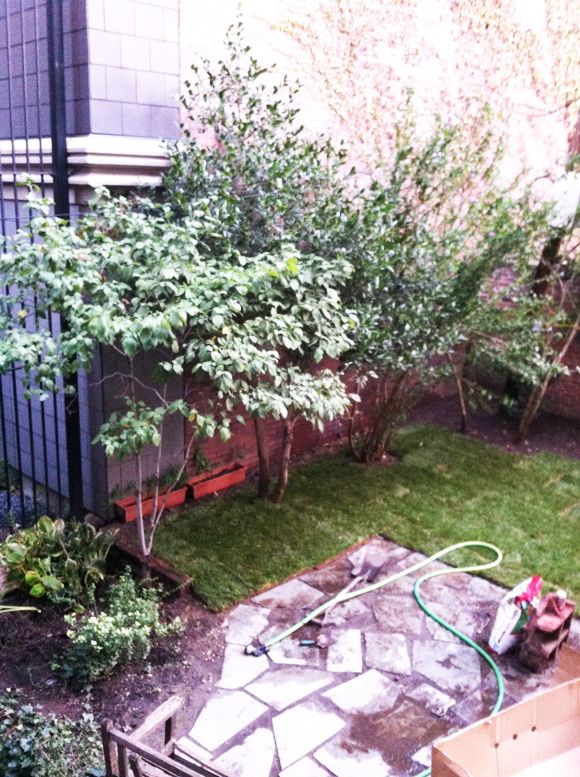
I sort of messed up on the edges here, but we were losing steam and daylight at that point, so I'll have to trim it up and fill with seed later. Overall, we're super happy with the way these two projects transformed the yard.
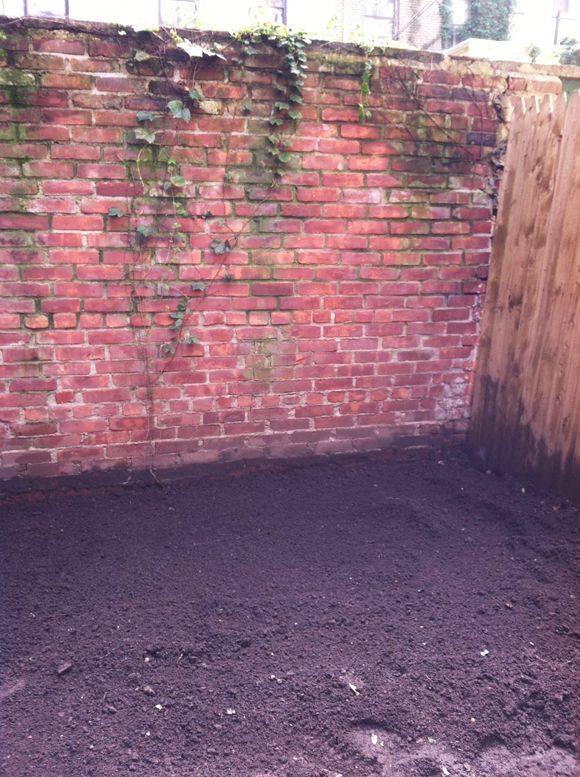
Oh, and did you notice the gap in the back against the brick wall?
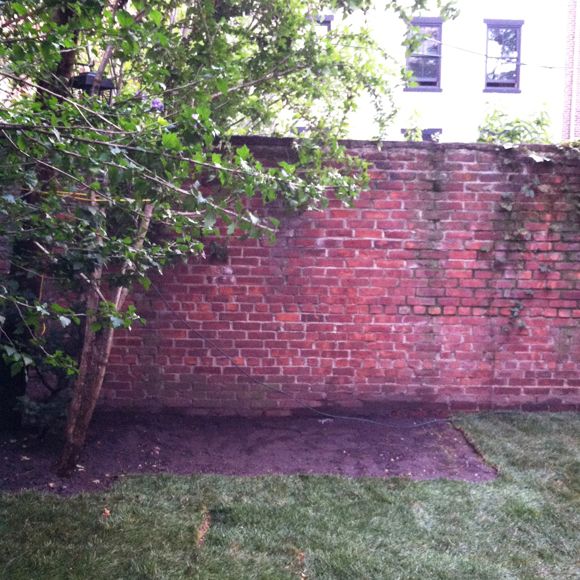
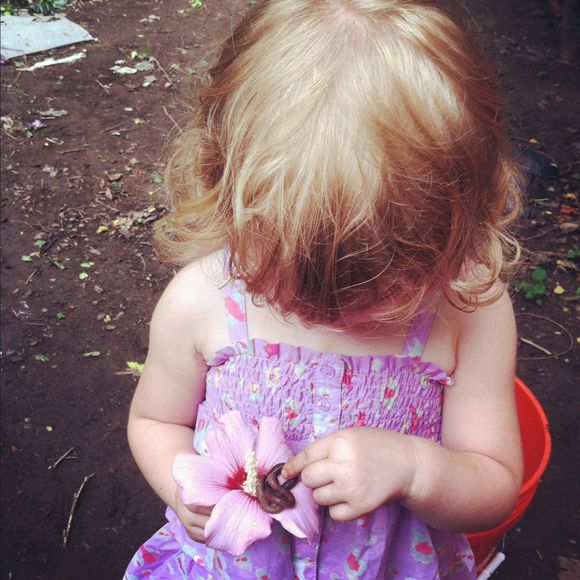
Future home to a playhouse for the girls! We ordered one a couple weeks ago (post coming!) and we're about a quarter of the way done building it, but decided to give the sod at least a couple of days to take root. Technically we're not supposed to walk on it for a whole week, but we're just so excited to let these girls play in the yard again. There are so many earthworms that need to be set in flowers!