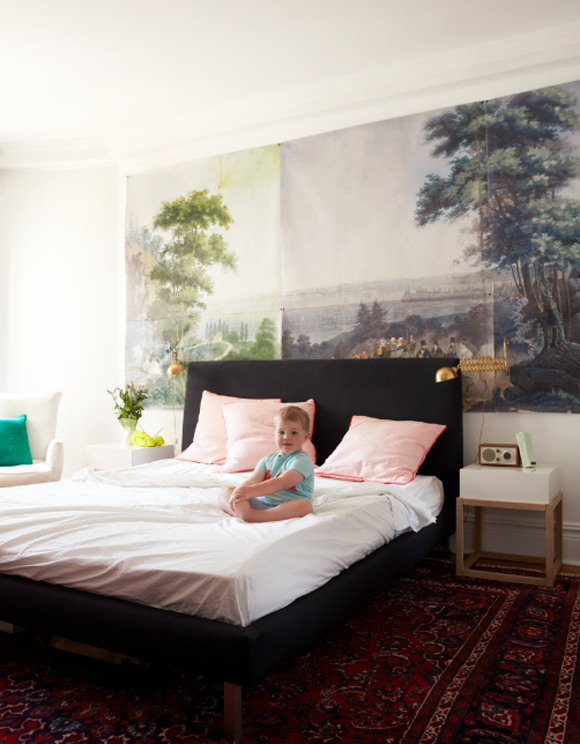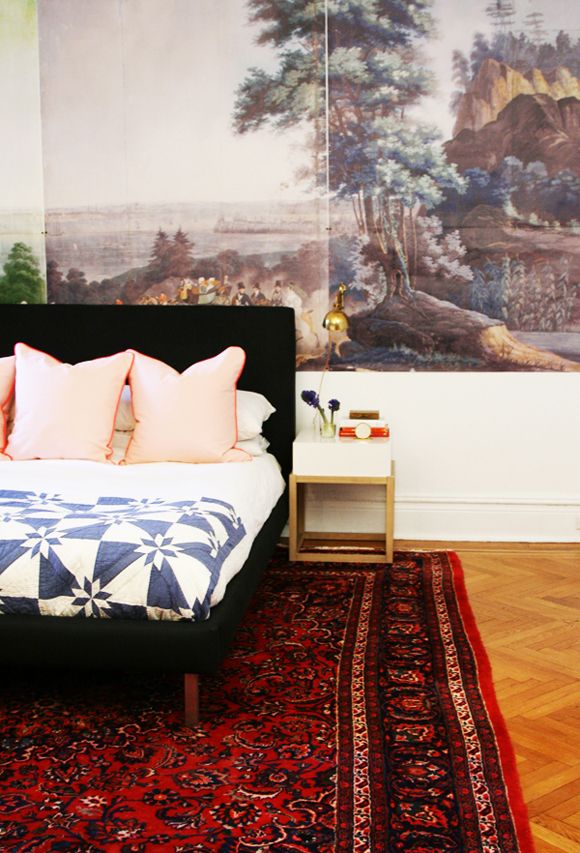
I'm pretty much crazy for landscape murals (in the right context!), so I was over the moon that we could put our version of that in Abbey's bedroom. We wanted something really unique and show-stopping in the master since you can see it from the entry if the bedroom door is open.

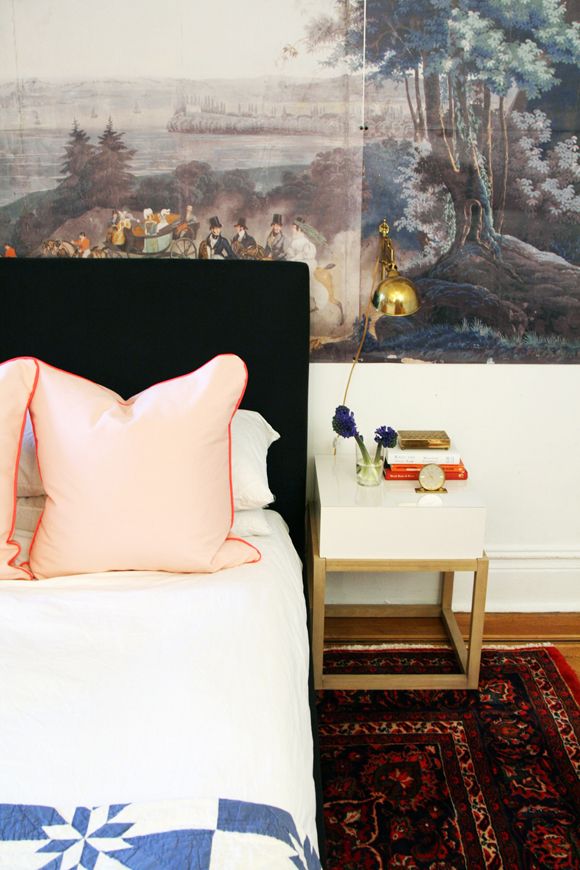
Abbey is a decorative arts historian and had access to this amazing scan of an antique Zuber mural. I had the scan printed on removable adhesive-backed paper using Wizard Prints. You can actually see in these photos that we just pinned up the panels of the mural rather than sticking it up on the wall. We knew Abbey was planning a move, so we wanted to save the adhesive for a more long-term application. (and actually! Abbey is moving this month and is selling some of her furniture, NYers!)

I love how the mural turned out! What a conversation piece if a visitor saw it peeking out from behind Abbey's bedroom door! If you want to do something similar, you can blow up your own images, or scan something in, or you can find large images online in public archives galleries. Those will most likely be a little grainy, but it's still a really cool look I think.

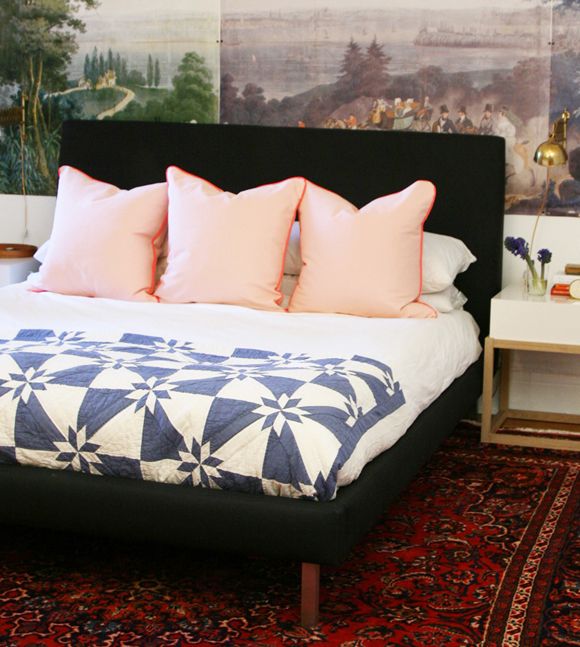
Another favorite part of the room - the antique brass scissor-arm sconces I found at the Chelsea flea salvaged from an old yacht!!! (you can see them best in the first photo). And also I think the pink euros are great. I made them using peachy-pink linen and neon pink nylon (you know that sort of wind-breaker material?!) for the piping. I love how they work with the greens in the mural.
Top photo by Seth Smoot, styling by Kendra Smoot, for Cup of Jo. Bottom photos are mine.
