FREE DOWNLOAD PICTURE
MORE INFO ABOUT NOTEBOOK
Showing posts with label Bedroom. Show all posts

Wednesday, March 6, 2013

Waxed Cotton and How to Upholster an Antique Side Chair


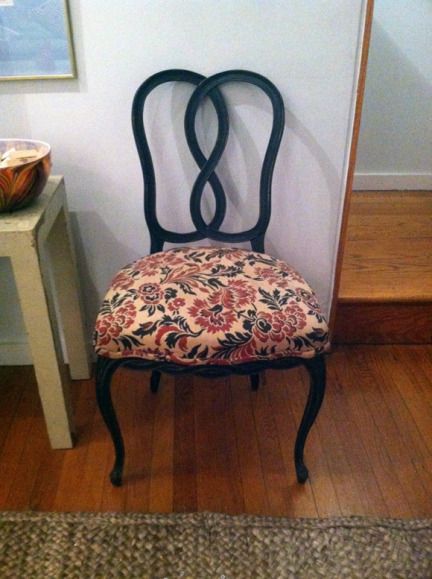
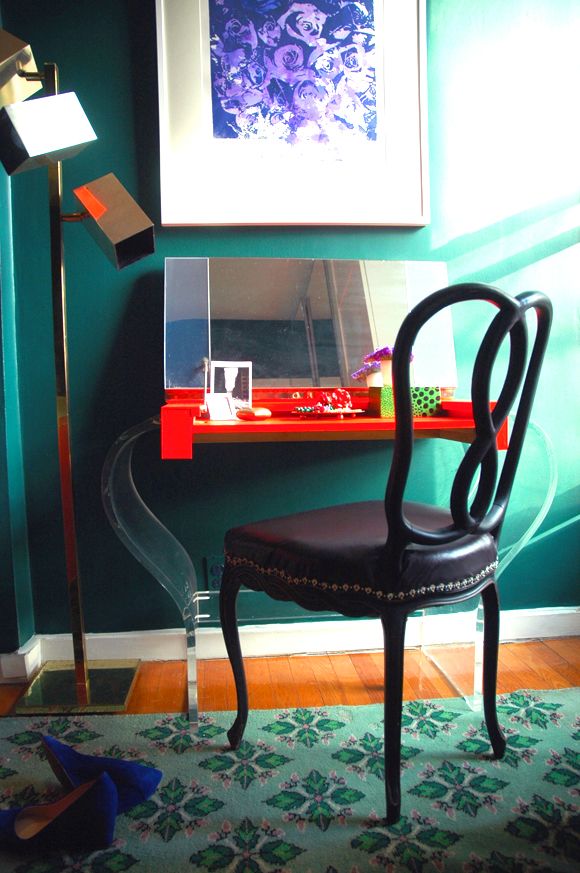
Some of you asked about the little antique black chair in Heather's room. I got it at the flea a couple months ago for $10! It's super old and the floral fabric was kind of cool as is, but it was pretty sun bleached. 

(You can tell how long ago I bought this chair - the console hadn't been refinished yet) :)

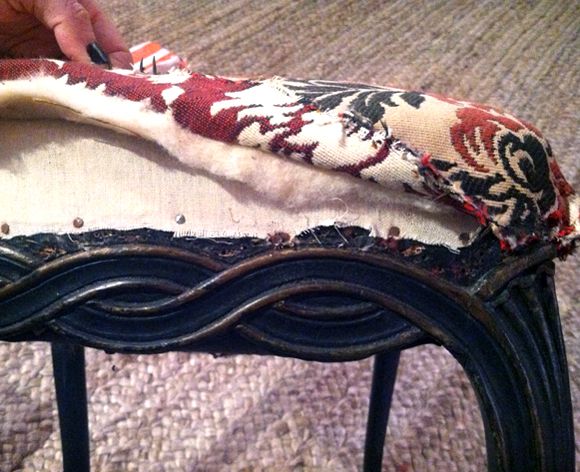
I pulled off the top layers of fabric without much effort - the fabric basically disintegrated. But it  was so thick that the inside was pretty pristine and wouldn't need to be replaced (which was lucky because this chair had springwork and I didn't want to deal with that!)


For the new fabric, I wanted something with a sheen to it, but I didn't want any color or pattern because there is already a lot going on in that room with the neon desk and the patterned green rug.


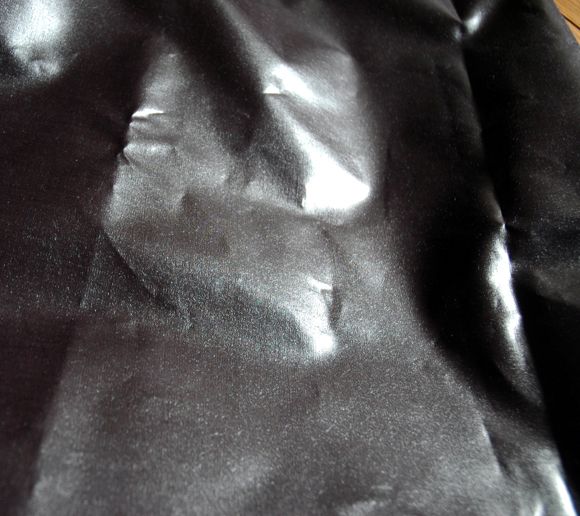
I'm a pretty big fan of waxed jeans, so when I stumbled across this black waxed cotton at Graylines in the garment district, I thought it would be cool on the antique chair. It actually kind of looks like leather a bit.


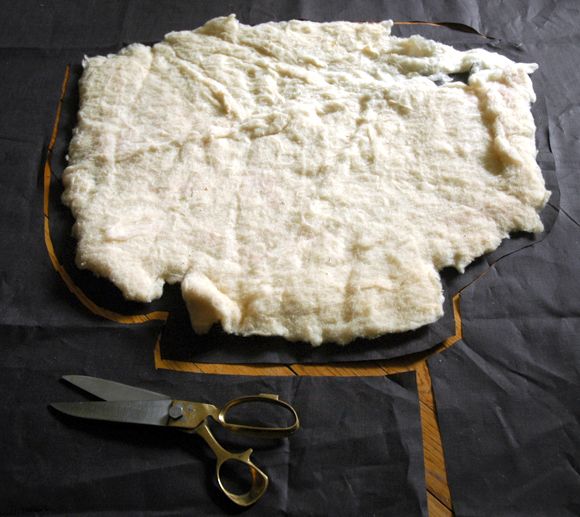
I used the old padding as a pattern for cutting out the new fabric. (the padding was a little stretched out, so it didn't end up working as well as this approach normally does, but at least I didn't cut the piece too small)


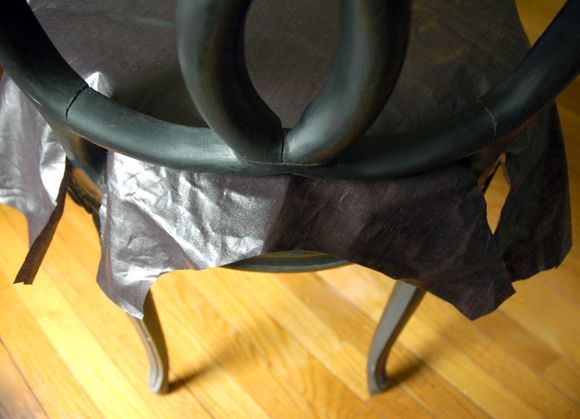
I cut out notches so the fabric would sit around the back pieces.


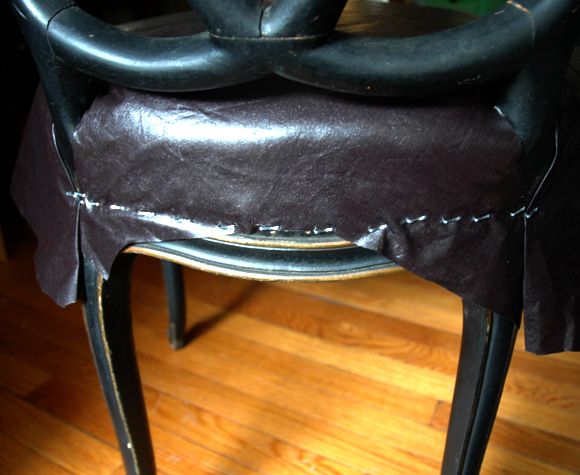
And then I started stapling. I always start upholstery projects in the most difficult area, which was the back in this case. I swear by this inexpensive stapler, especially if you use the same brand of staplers. The staples I had on hand were too long and that's why they're sticking out a little, but it's no big deal at all to tap those in with an upholstery mallet.


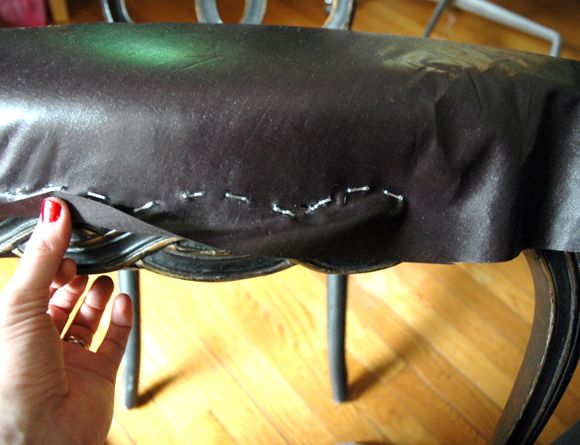
Once the back part of the chair fabric was secured, I started on the front of the seat and pulled the fabric as taut as I could. It was a little tricky to pull the fabric enough while also getting the scallop shapes right, but that's the great news about upholstery projects. It's hard to really screw things up. If you put a staple in a the wrong place, you just pull it out and try again.


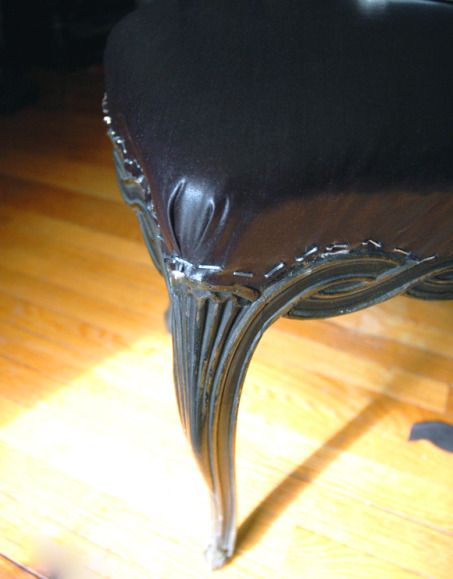
The sides and then the corners of the chair are stapled last, again, pulling tight and smoothing with your hand the whole time.


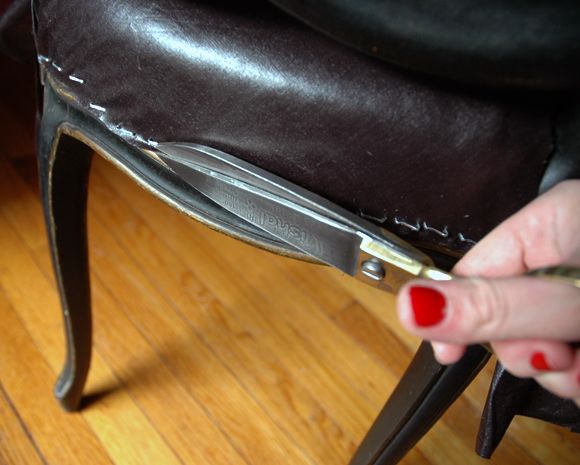
I trimmed the excess fabric and then tapped in the staples that were sticking out a bit.


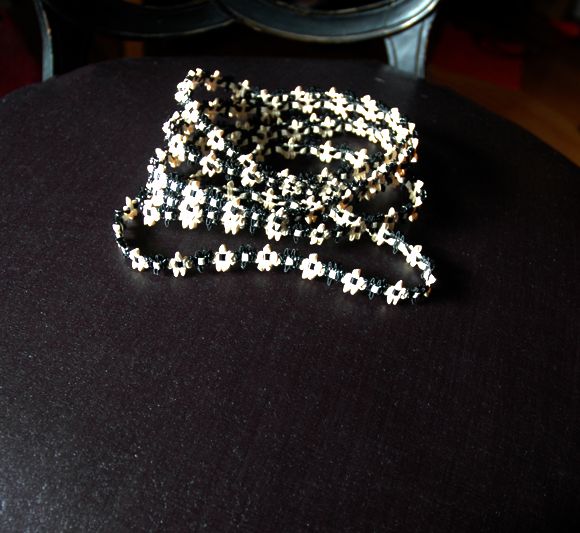
I was going to do a self welt for the trim, but I fount some of this really cool vintage woven leather for sale at JEM fabrics in Tribeca. It felt all Chanel-y to me with the alternating black and white flowers. 


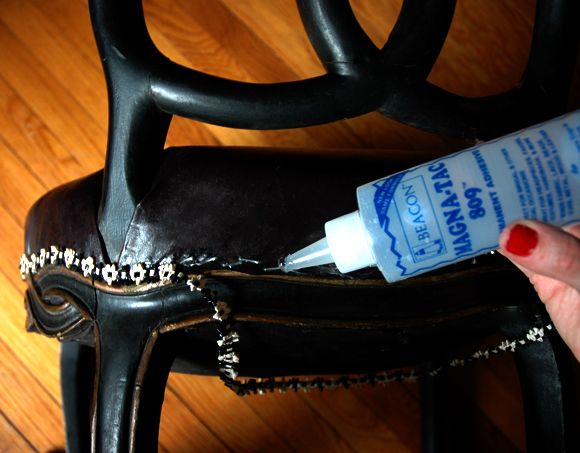
I started the trim in the back (it's a good idea to start your trim in the least conspicuous place) and used a not-too-thick line of my beloved Magnatac to secure the trim and cover the staples.


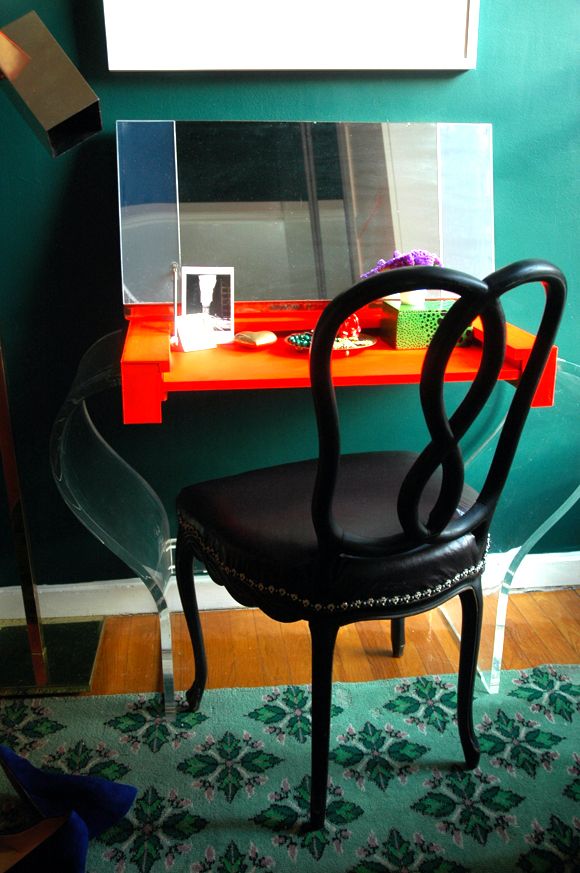
I love how the trim adds just a little bit of texture and interest to the desk area. The black on black upholstery could have been a little stale without it.


And doesn't the waxed cotton look a bit like leather? I'm thinking it would be a great choice for dining chair upholstery since it's water and stain-resistant, but looks way better than vinyl in person. I'll have to poke around online to see if I can find any more colors.

Monday, March 4, 2013

Neon and Lucite Vanity Desk


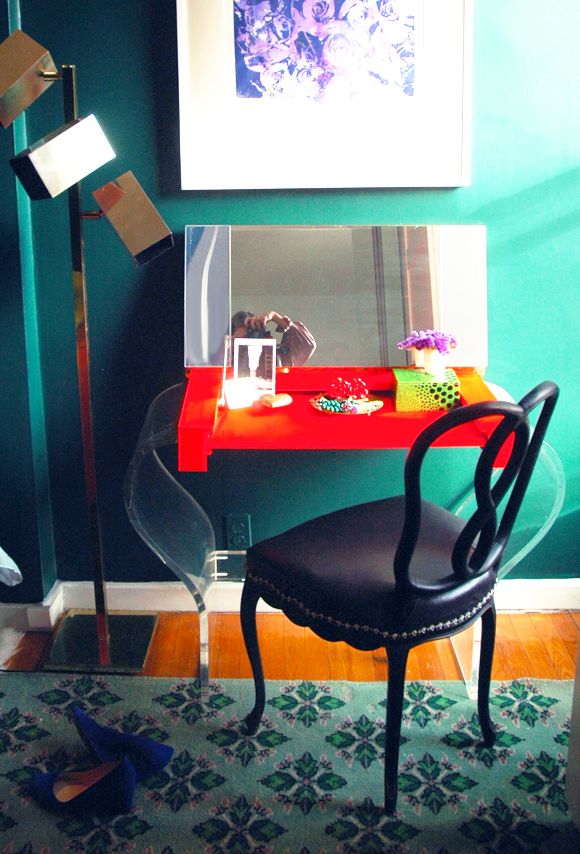
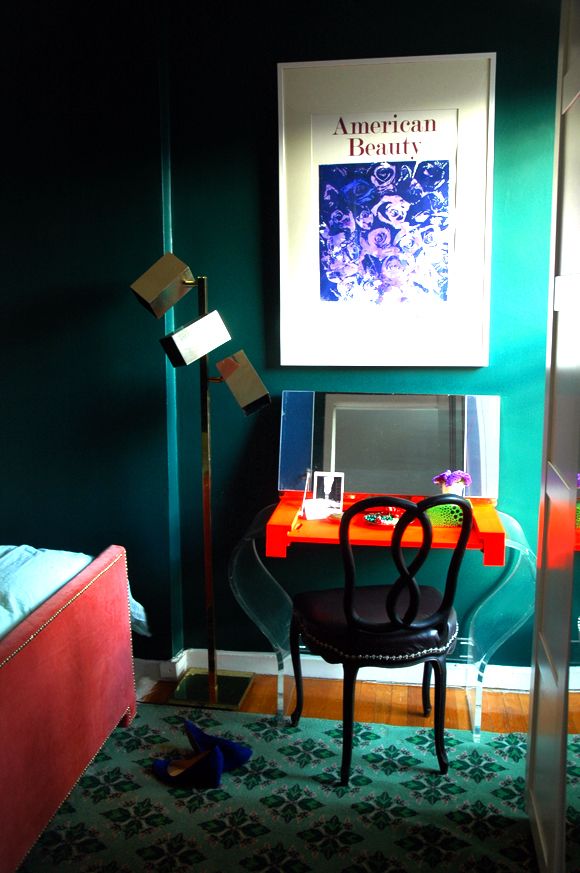
One of the things I was excited to pick up for Heather's room redo surprise was this vintage lucite vanity desk from the Chelsea flea market. I loved its cool shape and I liked that the hinged mirror top could fold all the way down.


The laminate desktop underneath the hinged mirror was not in the best shape though and it was a dingy-looking cream color. So, inspired by the side table in this image, I picked up a little tub of neon orange paint at my local hardware store...


I ended up adding a little Penetrol to the paint to make sure there would be no brush marks.
It's hard to photograph neon, but the color is great in here - it's punchy and perfect for Heather's room.


I picked up the brass cube floor lamp at the flea market too. And Heather and I picked out the art together.


We both thought something in the purple-blue-indigo family would be pretty in here, so when we stumbled across these gorgeous (and affordable!) screenprints from the Vivian and Beverly etsy shop, we knew our search was over. (PS I think I need the flamingos print too and maybe the zebra?)


I love the print and think it's a great color combo with the desk color.


Also, I like how the bright orange is a more intense version of the orangey coral velvet bedframe. I think the "tone on tone for a cohesive room" approach works even with neons! :)


I know it's a bold look, but this is a pretty contained application. Plus, how easy will it be to change up when we tire of the color? It's usually a good idea to do more neutral/classic colors on expensive upholstery, but paint is such an easy way to try out color trends without making a huge commitment 

So, what's the craziest painted piece you have in your home?

(PS If you're struggling to find a good balance of painted pieces to stained wood pieces in your home, I usually suggest a 1:1 ratio. A little too heavy either way feels unbalanced to me. What do you think?)

Monday, February 25, 2013

Swan Prints

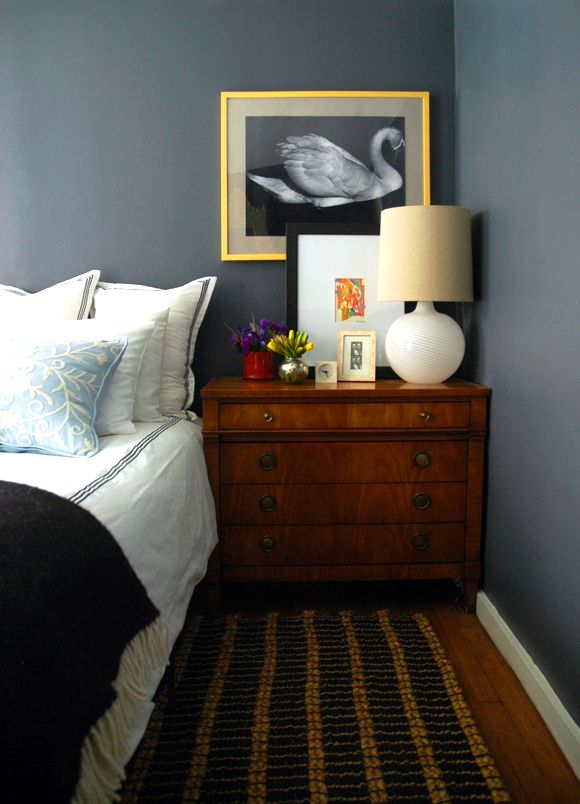
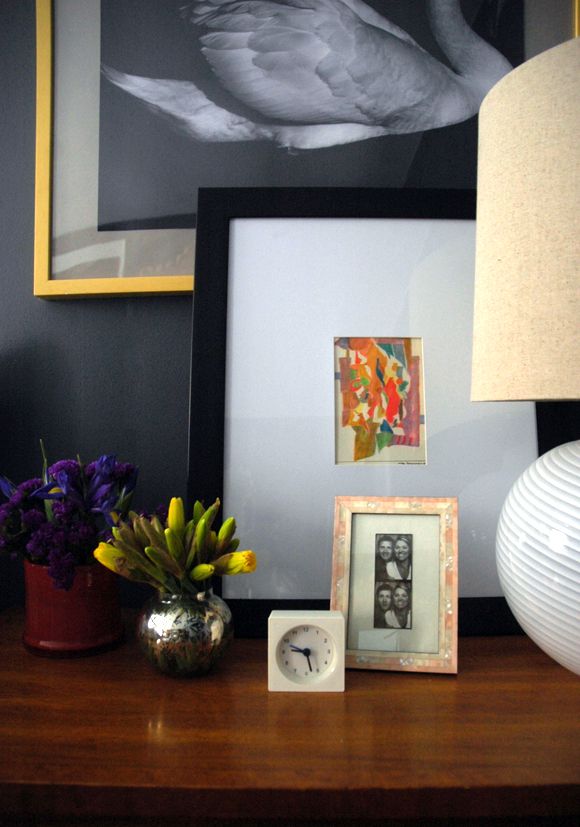
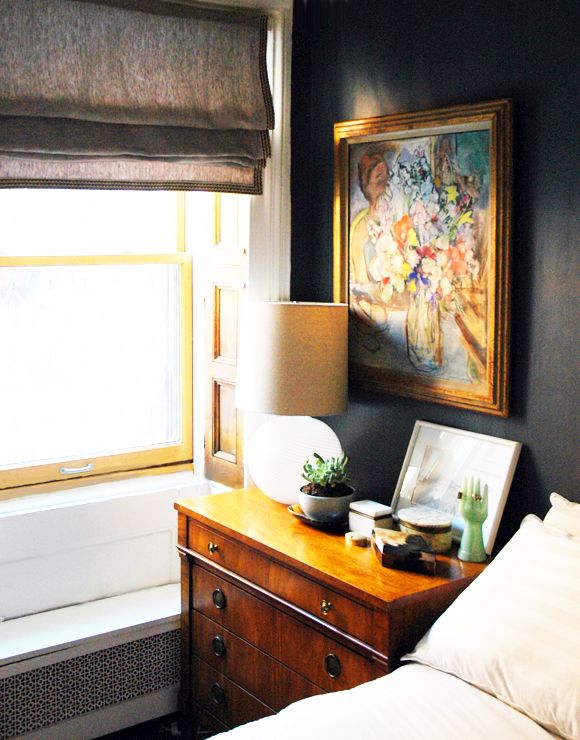
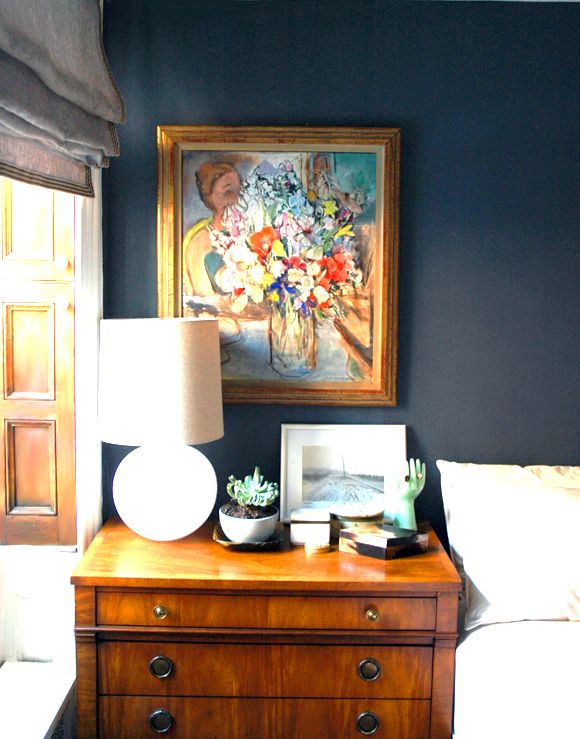
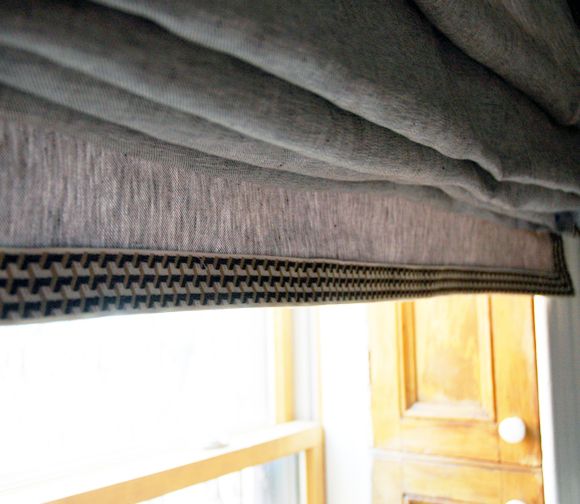
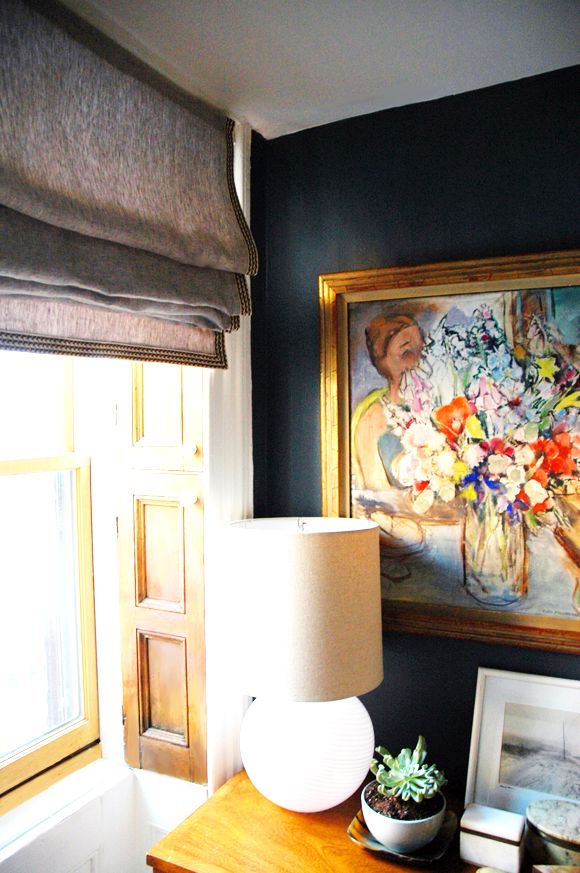
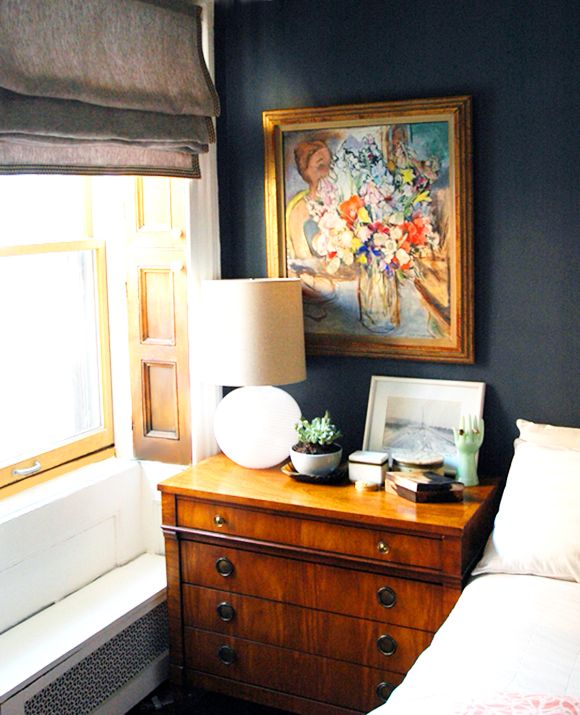
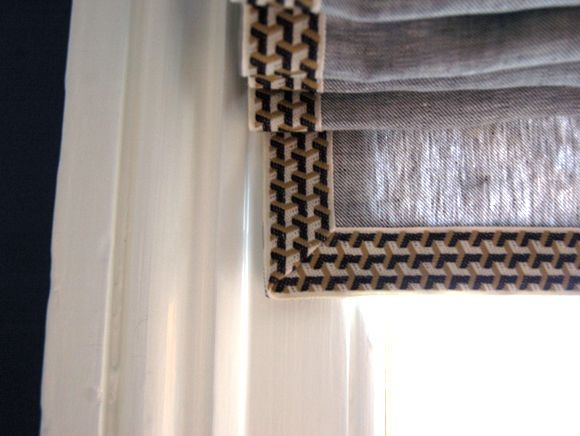
Our bedroom is starting to come together. I guess really all I have left is to figure out a headboard (that's why we have an extra row of pillows stacked on our bed - something soft to rest our backs on for the time being!) and maybe a little art project for the long wall to the right here. There's also a chair on the other side of the room that could probably use new upholstery. But for now we're enjoying our recently purchased bedside chests, lamps and rug (on super-sale!). The DIY roman shades are working beautifully (still enamored with the tumbling block tape trim!) and the art has been hung. I'm happy with both the vintage oil painting on the window side of the bed and the swan print on the right side:
   
Remember this post? I ended up buying the swan print thinking it was going to make it up in the gallery wall in our living room, but somehow it fit our bedroom vibe better. It's a little funny how much I love swan photography because I'm actually not the hugest fan of birds in real life (I swear the pigeons can sense my distain and they seek me out). But swans! Aren't they just hauntingly beautiful? And I think they photograph so well, sort of in the same way horses do.

I layered the swan print with a small abstract pastel (that looks so blah here in these photos - promise it's a great little piece in person). I bought it at the flea market a couple years ago and completely forgot about it. When I was looking in the basement for a frame for the swan, it resurfaced, and I think the two pieces were meant to be paired. I like how they work together in the space since I wanted a contained amount of color in here (this green Brunschwig wallpaper and bright blue door are in the hall just outside our room).


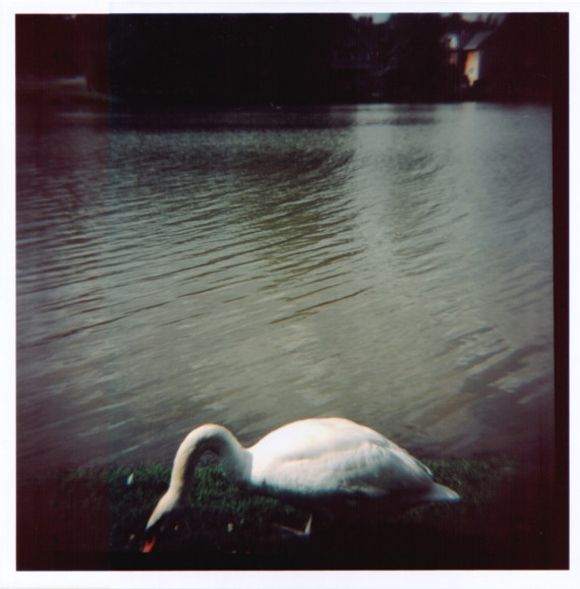
Here are a few other swan prints that I'm loving, in case you're in the market yourself:

Patrick Cline used to sell these polaroid prints in an etsy shop, but the shop was taken down recently. (Might be worth reaching out to him to see if he has any of the limited edition prints left?)


If Patrick doesn't, this print is sort of cool, too (and is super affordable).


This $10 print is simple and juvenile in the best way possible.

How was your weekend? It felt a little like spring yesterday here in New York. Everyone was out walking their dogs and playing with their kids, and smiling and brunching and buying flowers. The general enthusiasm on the street was pretty contagious and it made me suddenly remember how much we really do like living here. (side eye over to you, Winter.)

Wednesday, February 13, 2013

Stripey Glass Table Lamp

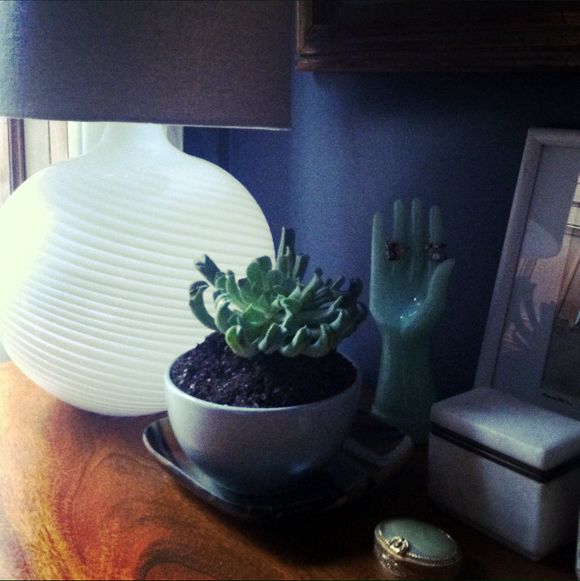
Some of you asked about the table lamps in my bedroom and I just noticed they went on sale! $89 is a steal for these beauties considering they come with a linen drum shade. And I love that they really look a lot like Murano glass. They cast the prettiest glow when they're lit and even when they're off and the sunlight's streaming in through the windows.

Tuesday, February 12, 2013

DIY: Roman Shades from Mini-Blinds (Revised!)

Thank you again for your votes with the Homies! It's the home stretch (voting ends tomorrow! yikes!), and the race is so, SO close! If you have a minute, I would love your vote HERE and/or HERE. Winning would mean a lot of great traffic for me for years to come. Thanks a million! xo


One of my most popular posts ever is a no-sew project where I made roman shades by glueing fabric onto mini blinds. I think it was one of the first tutorials I ever put up. So crazy to think about how long ago that was! I've done the no-sew project a bunch of times now and I've figured out a few tweaks that (if you're willing to pull out your sewing machine) make the shades look a little more professional and will help them last much longer than the all-glueing method.


You'll still use the mini-blinds mechanism for the base (which helps keep the cost of this project way down), but the vinyl slats get ditched. The result is a slightly more relaxed shade, which I often prefer over perfectly stacked flat folds of fabric that look a little too-uptight or something. Also, I usually suggest a linen for DIY-ing roman shades because the loose weave is super forgiving for those of us that struggle to cut an exactly straight line. :)


Okay, let's jump in!


As you can tell from the photos, I ended up going dark on the walls in our master bedroom. The color is Benjamin Moore's Anchor Gray. I'm in love - it's really pretty and moody. I wanted to find some fabric for shades that complimented the wall color, but that was still in on the lighter side. I popped into Mood and they had this really pretty linen from a Marc Jacobs line that called to me from across the room. (one of my favorite things about Mood is they often tell you what fashion house made and used the fabric first - the printed silk section is OUT OF THIS WORLD)


The linen had just the right amount of black and brown and blue to work right with the new wall color. 


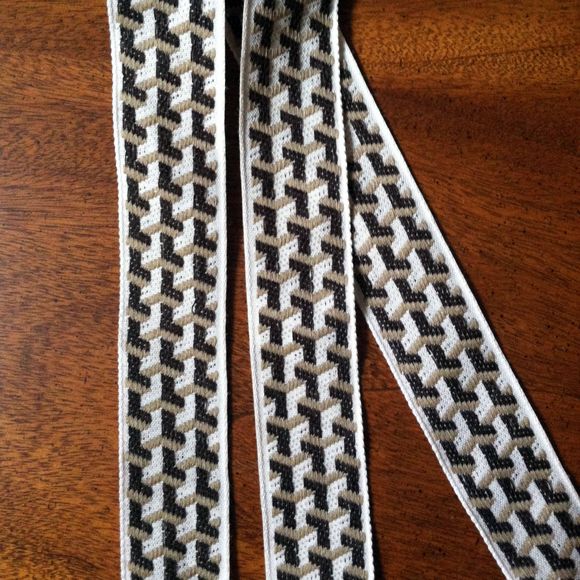
Then Mood came to the rescue again. As I was waiting for the elevator after checking out, I was admiring the tumbling block pattern on the floors (remember here?) and I suddenly thought of a vintage trim I bought years ago and had been hoarding for the perfect project.


I checked and there was barely enough to trim out two roman shades (so it must have been fate), and I was ready to roll. :)

So, I know tutorials (especially ones involving sewing) can be a little confusing, but trust me that picking out the fabric is the hardest part of this easy project. :) If you're tackling this make sure you read through all the steps first so you have a general picture of how everything works together. The individual steps will be a cinch once you get the full picture.

1) Buy a cheapie vinyl mini-blind to fit your window (you can choose to mount it inside or outside of the sash). Cut your fabric to be three inches wider and four inches longer than the dimensions you want the finished shade to be. 

2) Press your seams with a hot iron. For the seams along the sides of the shade, I folded a little more than half an inch, twice:


And then along the top and bottom of the shade, I folded about an inch of fabric, twice, so that the raw edge is hidden:


3) If you don't want to line your shade, go ahead and skip this step. I chose a lighter liner (just some mid-weight white cotton, really) that wouldn't really block the light, but just sort of give it a nice filter. It also helps the shade look better from the outside of the house. You can do a black-out liner here if you want. Be sure to use a heavy-duty gauge sewing needle on your machine, though, if you do.

You can cut the liner out to be pretty close to the dimensions of your finished shade. You just tuck the liner under the seams of your shade fabric so no raw edges show. Pin everything in place.


4) Sew along the perimeter of the shade - just one big rectangle. And that's it for the machine sewing!


5) Pull out your mini blinds (remember to keep the mounting hardware!) and completely cut off the heavy slat at the bottom. Snip all the strings.


Then snip off all the ladder-shaped strings, being careful not to cut the cord. Pull off all the slats and the ladder strings so that you're left with only the top mechanism and the thicker cording.


6) Lay your shade fabric face down with your mini blinds mechanism and cords laying on top in place. Using the cords as your guide, mark out where you want your fold lines to be (I just drew little X's with a pencil). 

I think a 10" gap makes for a nice fold size. Here's an important part though: I wanted there to be a bit of a drop on the bottom of my shade so that the trim wouldn't be hidden by the folds. So I made a mark at 8" above the bottom of my fabric. (this will make more sense in a second)


7) Sew one of these little drapery rings at each of your markings, or basically where the cord meets the fold lines.


I used invisible thread and stitched all the way through to the front of the shade. My shade is pretty wide, so there are three cords in the mini-blinds mechanism, so I ended up sewing 18 plastic rings on by hand. This is by far the most tedious part of the project, but it should only take about an hour. If your shade is shorter, you'll probably only have two cords and much less ring-sewing to do.


8) I used a small slat of flat, 1" wide wood and three very small eyelet screws to make the bottom part of the shade.


9) Glue the bottom slat 8" above the true bottom of the shade, so that the folds would not cover the trim. Be generous with the fabric glue, but make sure there's no seepage happening through the front of the fabric.

(also, you can sort of see the line of three plastic rings sewn in place here, 10" above the bottom wooden slat)


Also glue the top mechanism to the top of the shade. You'll want to leave a little bit of fabric on the top and sides (I should have left more room on the sides). Also, make sure your cord is coming out of the back of the mechanism and isn't glued down to the fabric.


10) Thread your cords through all the tacked down plastic rings and then tie the cord to the eyelet screws in your bottom slat.


Then just hang your shades like you would a mini-blind, using the mounting hardware that came with the blinds, and you're DONE! Unless you want to add trim like I did, but that's just a matter of a quick line of fabric glue. I usually do shade trim in a U-shape so the top of the shade has no trim.


The biggest benefit of this approach over the no-sew version is there are no ugly mini-blind slats peeking through the fabric. And the finished product is probably more durable.


I love how soft and relaxed the linen looks and I think it works for my space, but if you're looking for perfectly straight folds with no slouching at all, you'll have to sew in wooden dowels along every fold. I've done it once before and it was about three times the amount of work and ten times the cost of these relaxed shades, but they are really lovely.


It is SO nice to have window treatments up so we don't have to keep the shutters closed all the time! And seriously, isn't this trim just perfect? So worth the wait to use it here!


PS Don't forget to vote! Thanks again!! :)