FREE DOWNLOAD PICTURE
MORE INFO ABOUT NOTEBOOK
Showing posts with label Lighting. Show all posts

Thursday, April 18, 2013

Inexpensive Black Lamp Shades

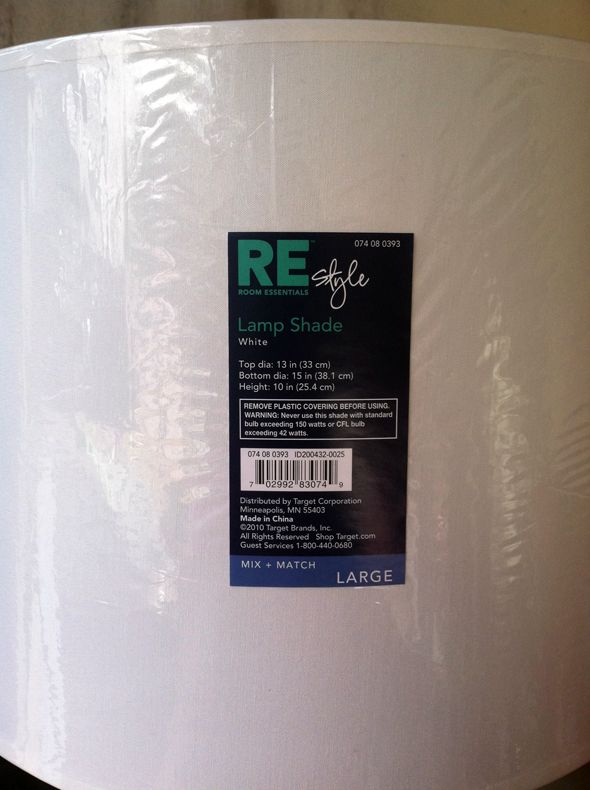
I love black lamp shades best, but seriously, who wants to pay $50-100 for a largish drum shade? Not I. The good news is these $16 white shades from Target take paint really well.

 photo IMG_2417.jpg

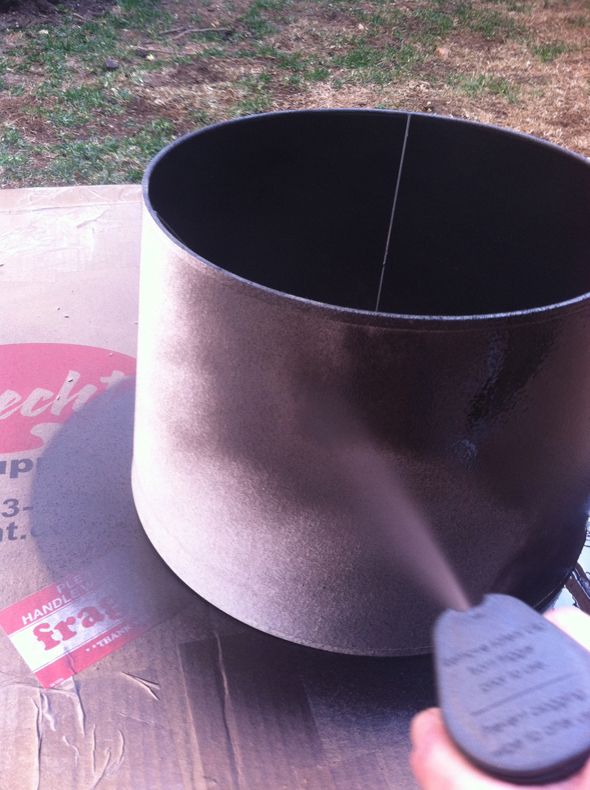
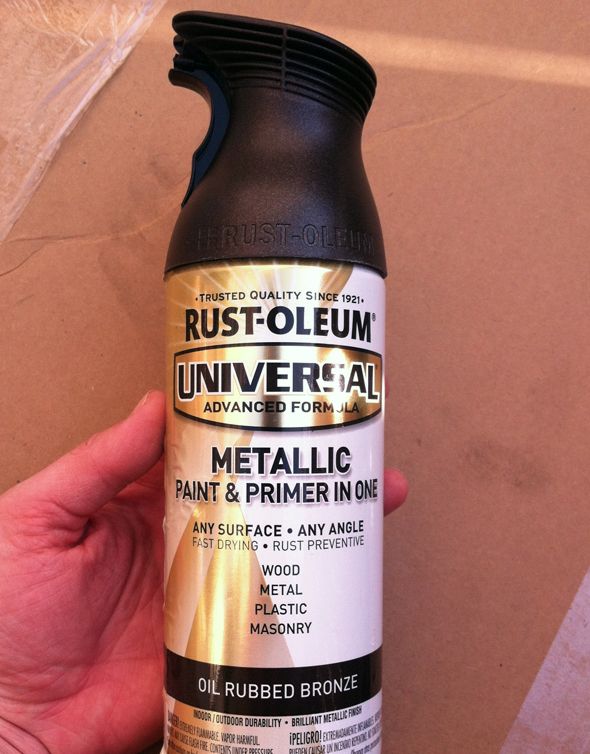
I was in a time crunch, and didn't have the right black spray paint on hand (like I thought I did), so I sprayed the shades with oil-rubbed bronze paint first, which made it really easy to cover the inside of the shade well.

 photo IMG_2420.jpg

 photo IMG_2422.jpg

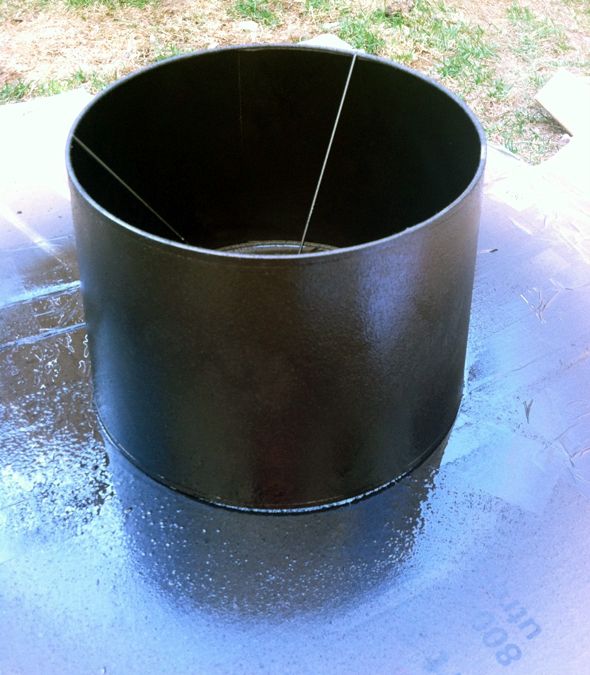
The spray paint worked on the outer fabric wrap too, but it was a little trickier to get the saturation  just right. 

 photo IMG_2426-1.jpg

 photo IMG_2430.jpg

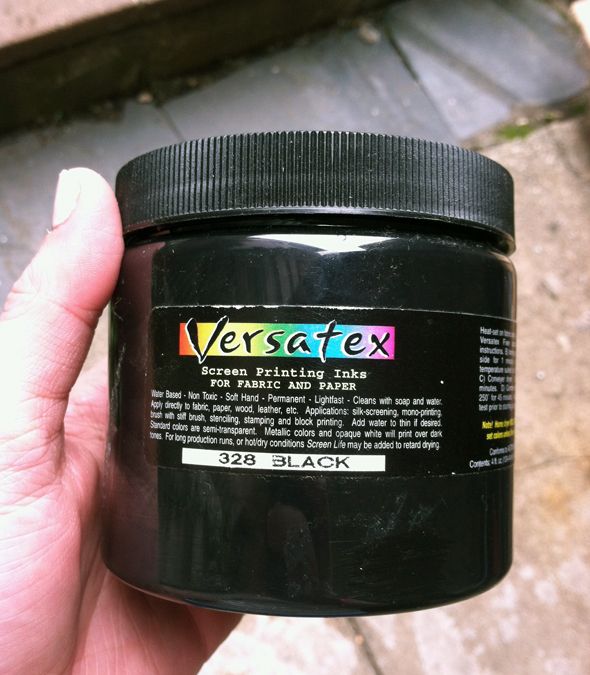
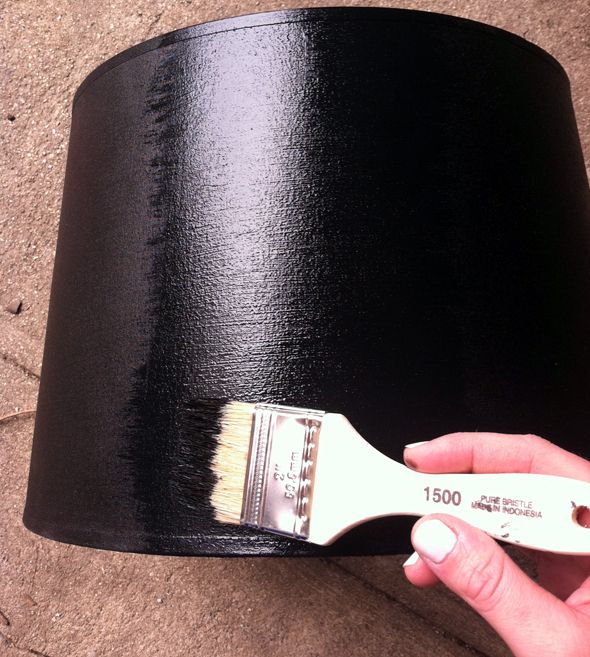
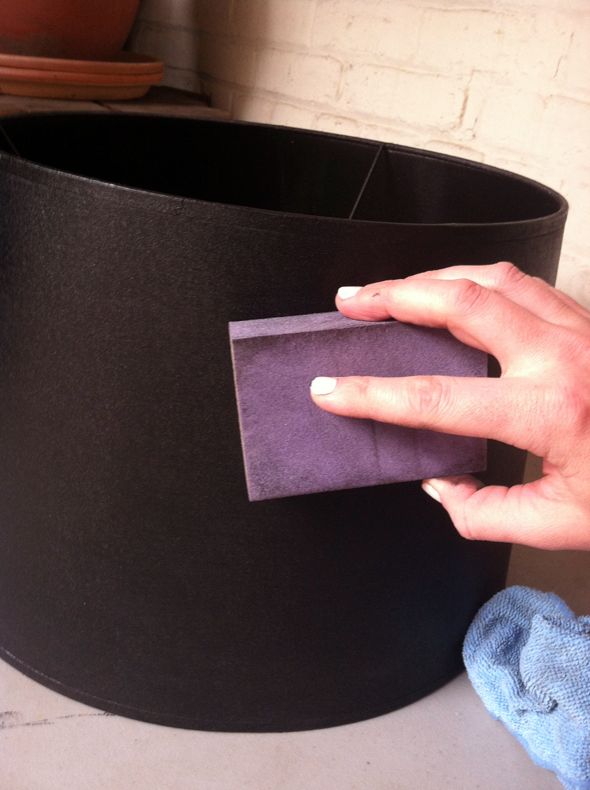
I did a light sanding after the spray paint dried, just to get any of the loose stuff off and and to smooth out drips. And then I lightly brushed on some black screen printing paint, which I'm learning is the best type of fabric paint around.

 photo IMG_2611.jpg

 photo IMG_2615.jpg

And I ended with a final light sanding.

 photo IMG_2618.jpg

It ended up being a lucky surprise how much I like the way the oil-rubbed bronze and the matte black paint finishes work together! Not at all sparkly like oil-rubbed bronze paint can sometimes be, but just enough of a sheen to look nice and, well, not spray painted. :)

 photo DSC_0289.jpg

Besides the obvious cost savings, fabric shades are much more durable. Paper shades start to show their wear after a couple years of being in a house with kids and moving a few times. And I think these look almost as good in person as a $120 shade from Just Shades (my favorite splurge shade source).

Tuesday, April 16, 2013

Lantern Hunting

You know those crazy lighting show rooms that look really lame from the outside? They're usually called LIGHTING EMPORIUM or LAMPS AND MORE! or some other such nonsense. The fixtures they have up front are really tacky and really, really overpriced, but if you wander to the far sides and the very back of the store, sometimes you can find serious treasures that have been passed by for who knows how long.

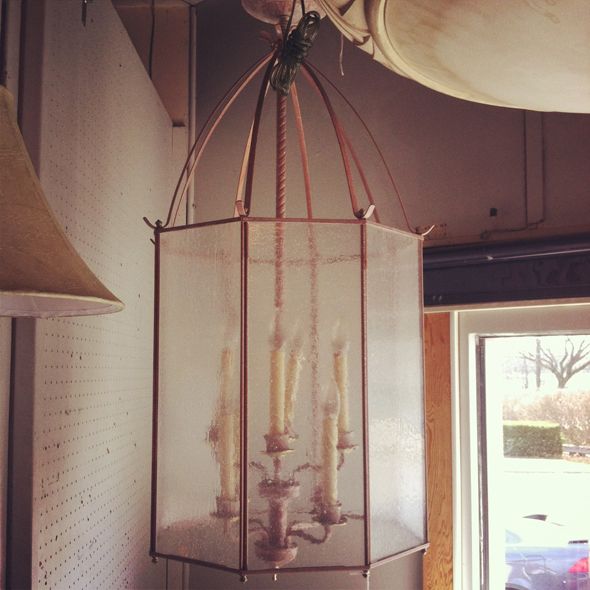
I wandered into one of these showrooms while I was shopping in the burbs last week and at the back of the store I stumbled on this huge lantern (it's 20"x40") for less than $100! The company that makes it (Nulco Lighting) has gone out of business I guess, so all their stuff is super marked down in most stores now (or so I hear from the sales guy). I've since poked around online, but it looks like everything is sold out. I bought the two lanterns they had in the store and asked the salesman to call around to see if he could secure a couple more for me (for which I'd gladly pay a little more). I'm supposed to use these for a client's mudroom, but what I'm dying to do is use them in my kitchen.

 photo IMG_2306.jpg

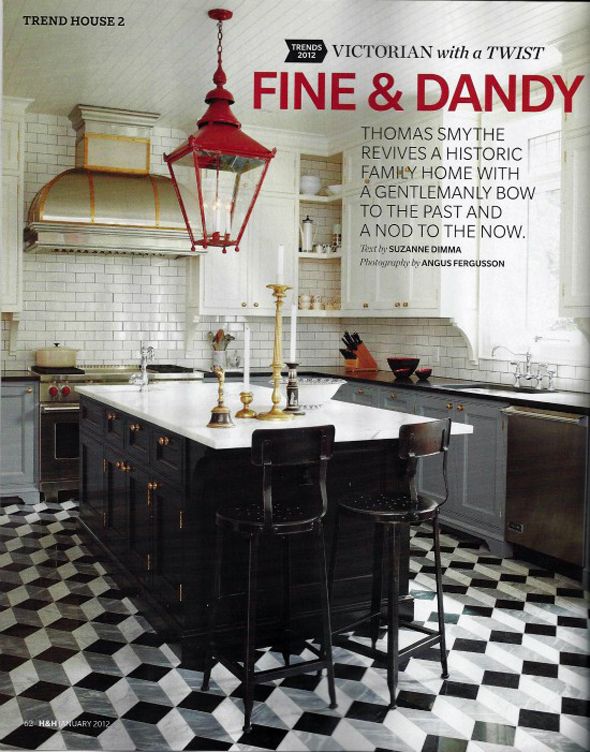
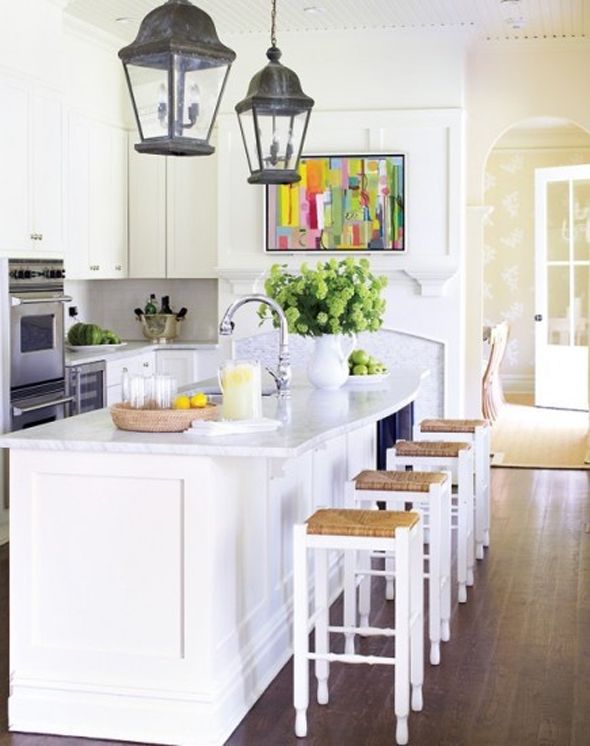
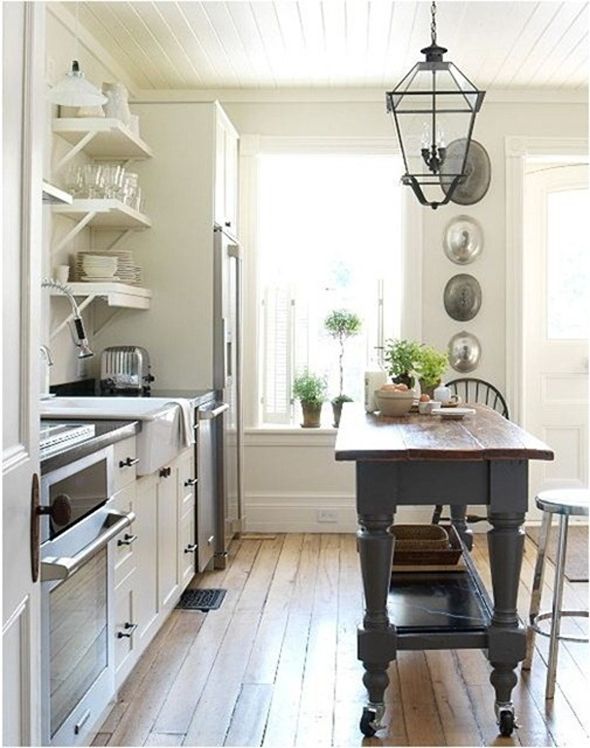
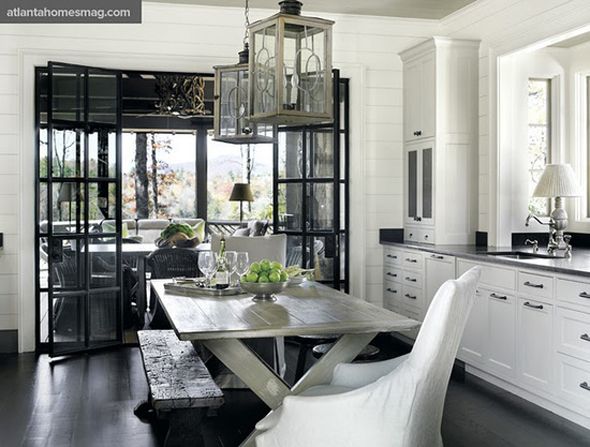
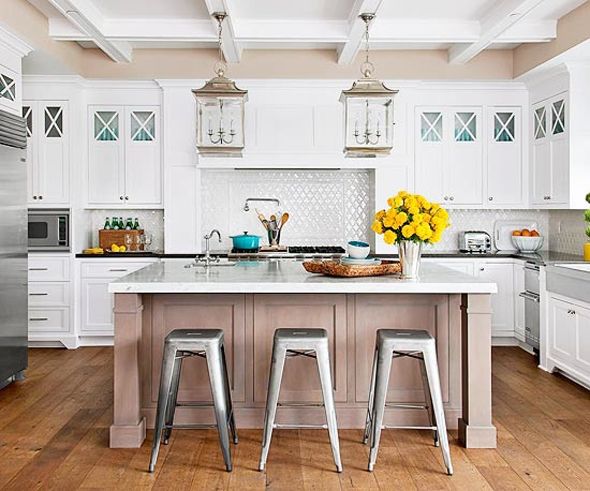
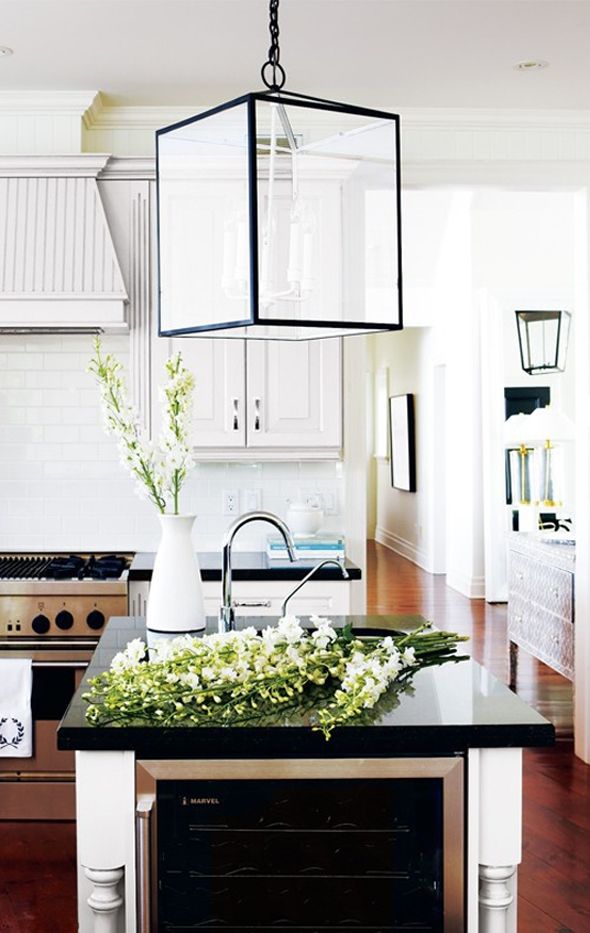
They are that weird bumpy pink brass finish, so I would paint them. Black is always a good choice. White would be really pretty. And of course you know I like red!

 photo FineDandy_TommySmythe_CHH_1.jpg
Tommy Smythe in House and Home (scan via)

 photo 4e5acd31ed82a8101c4321c7ad042359.jpg

 photo 285f7b91e9a49863d87c6c262734dbbc.jpg

 photo atlhomes26d209a20f1eedaf1493eef94ad949c3.jpg
Atlanta Homes and Gardens

 photo 38dad6160c2b5a8a1ff92655945c2214.jpg
BHG.com

 photo viaemilyaclarkaa42310d4dc8a07a373a5df7ffa9d26f.jpg

A couple of lanterns could be pretty sensational in here, right? Cross your fingers for me that we can find a few more!

 photo sitckygram12-1.jpg

Thursday, February 28, 2013

My Kitchen Pendants and a Circa Goodman Substitute

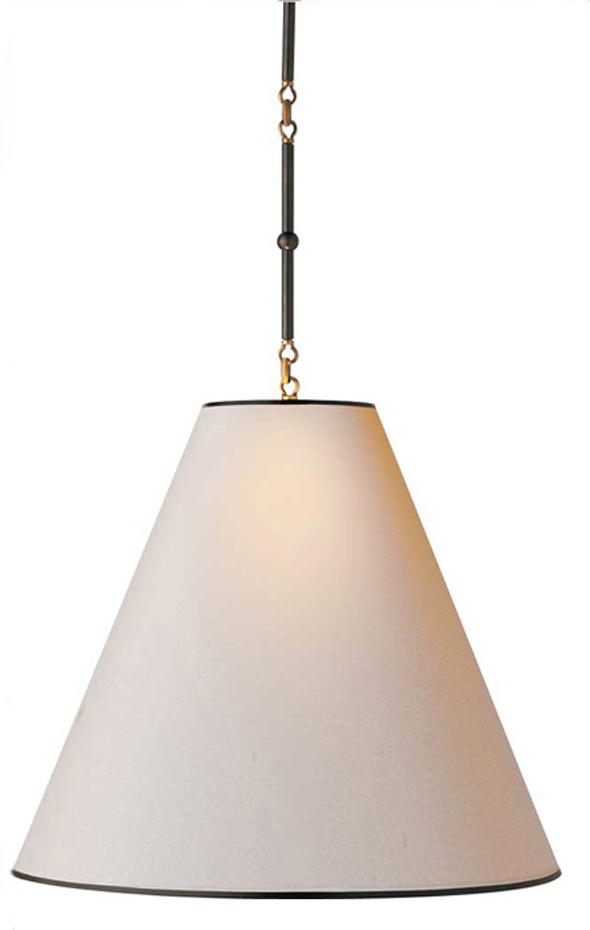
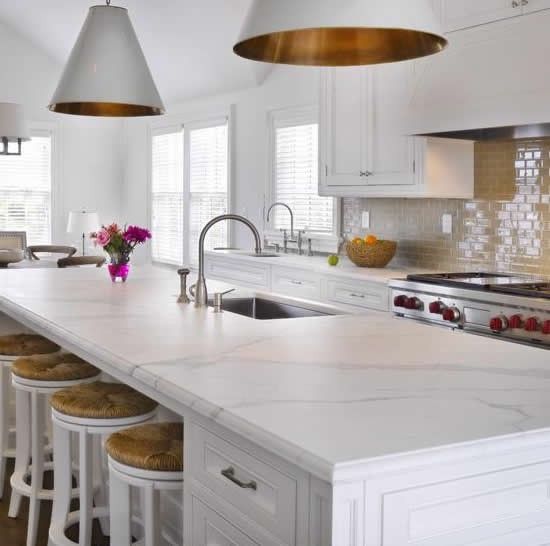
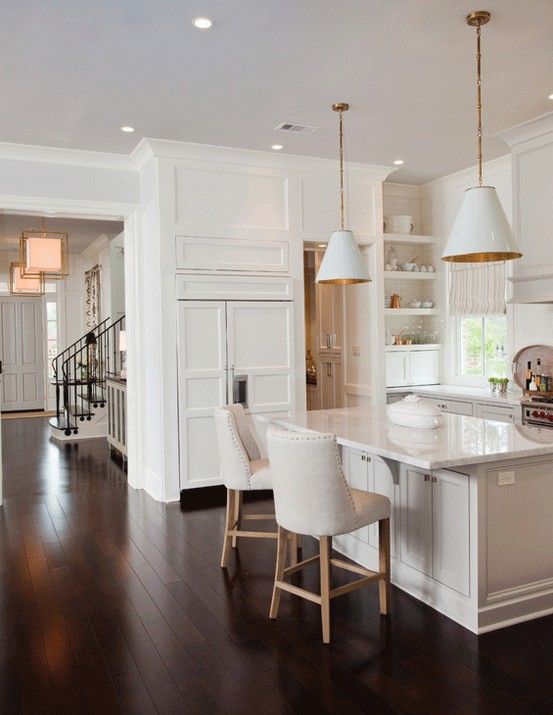
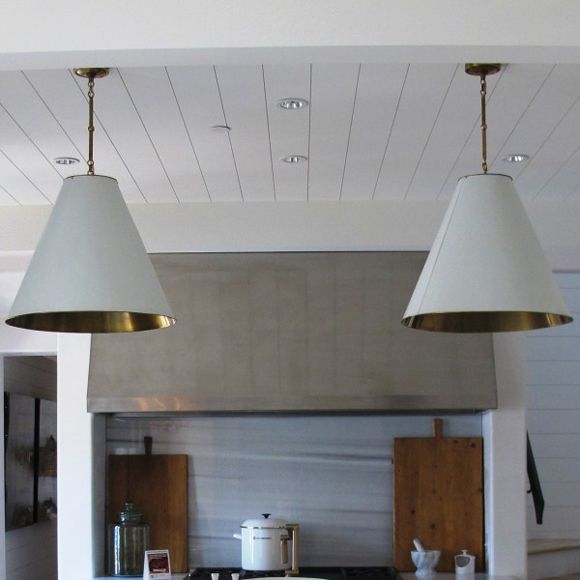
Along with what seems like every other decorator on the planet, I love Circa Lighting's Goodman cone pendants. The prices rance from about $400 to $900 each depending on the finish. They are so gorgeous:


(all images via Circa's Blog)


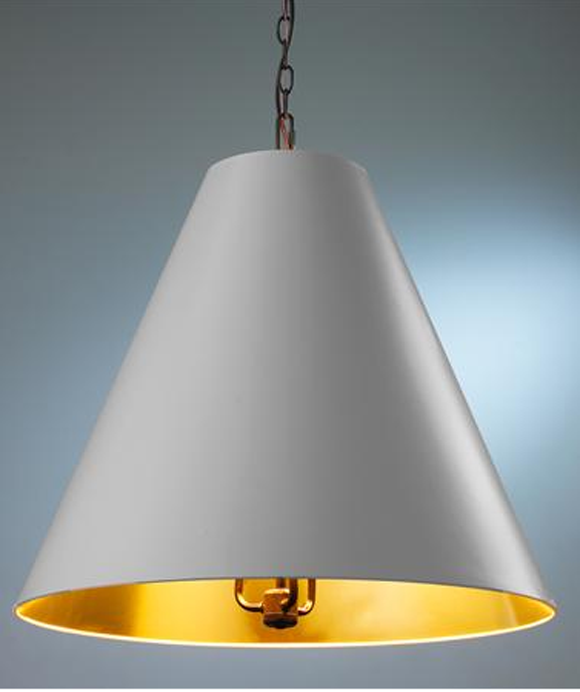
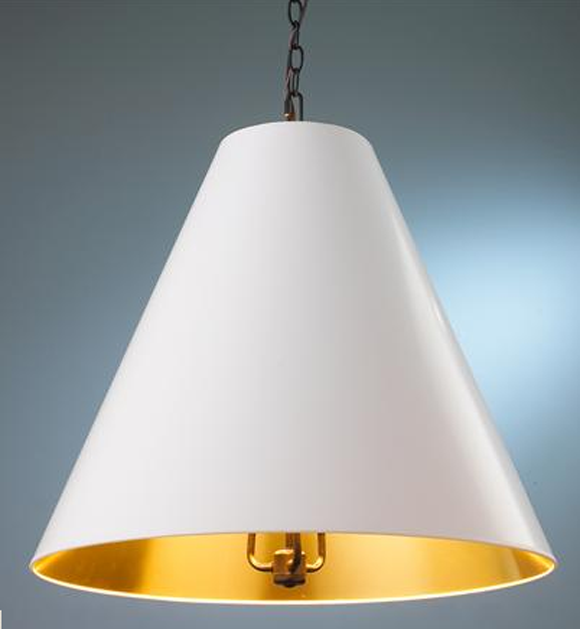
When I was deciding on pendants for our little kitchen remodel (both in size and in budget), I really wanted something like those from Circa. If only these paper shade cone pendants from Shades of Light existed at the time! Maybe for our next house :)


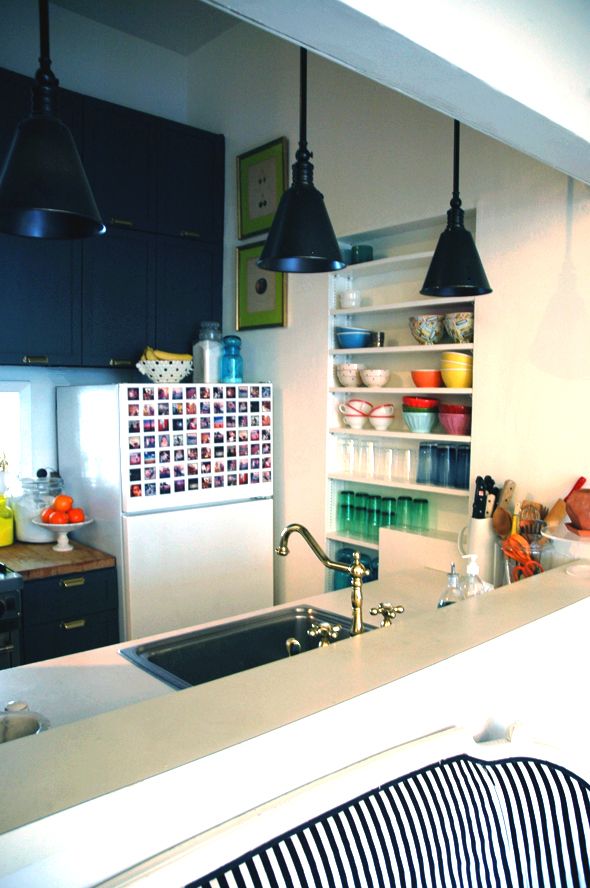
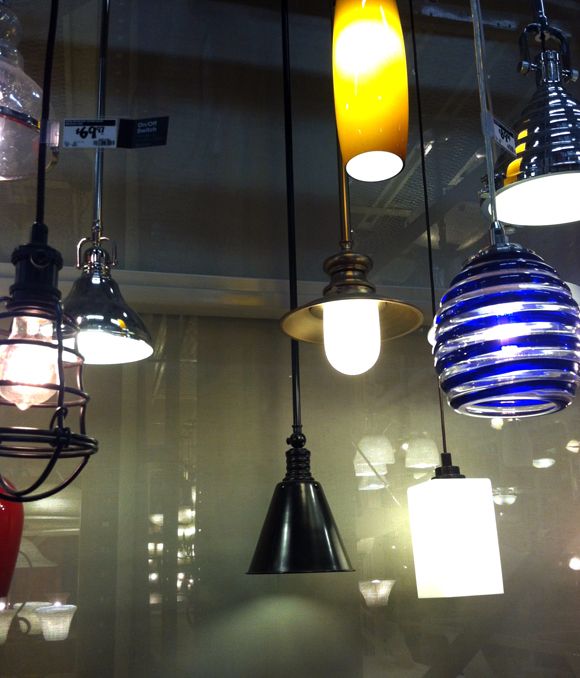
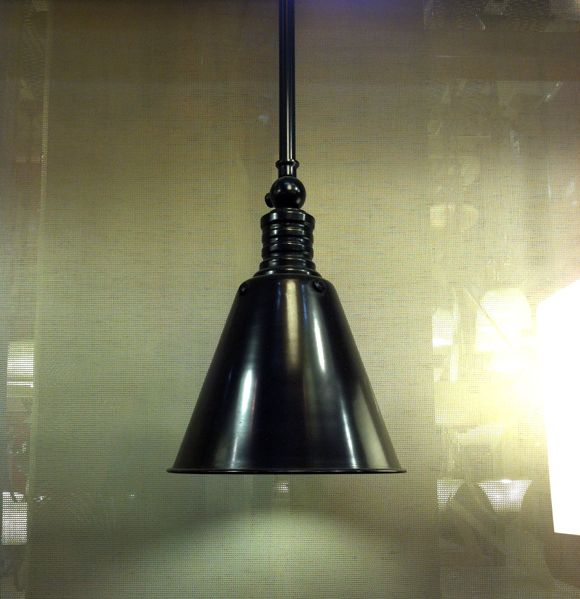
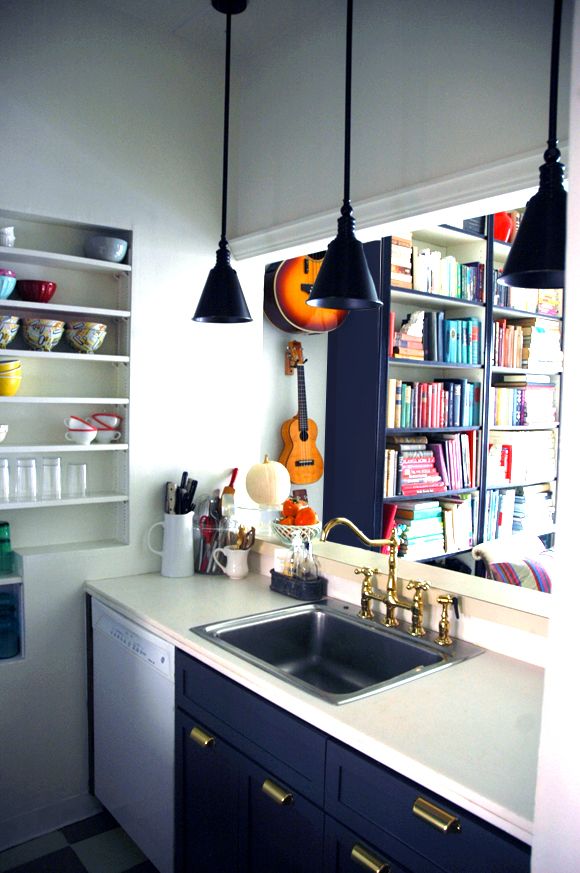
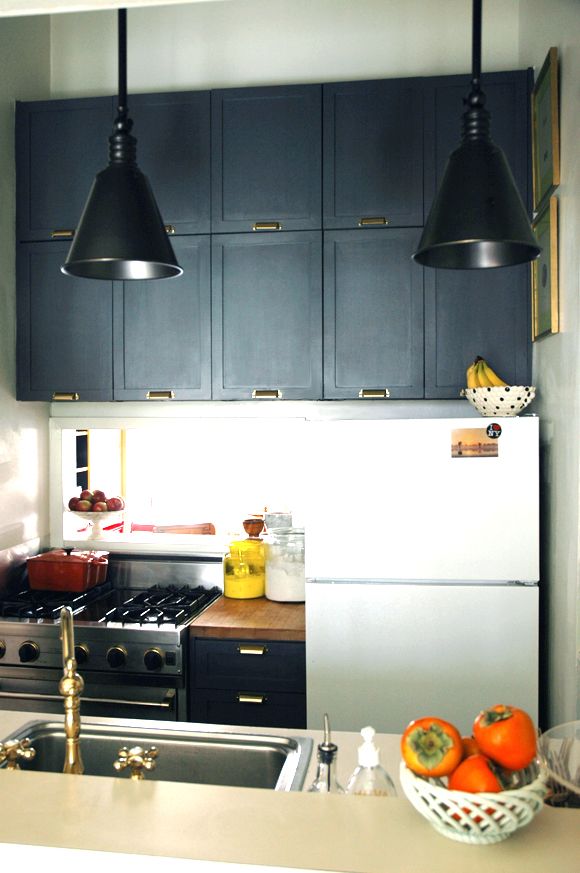
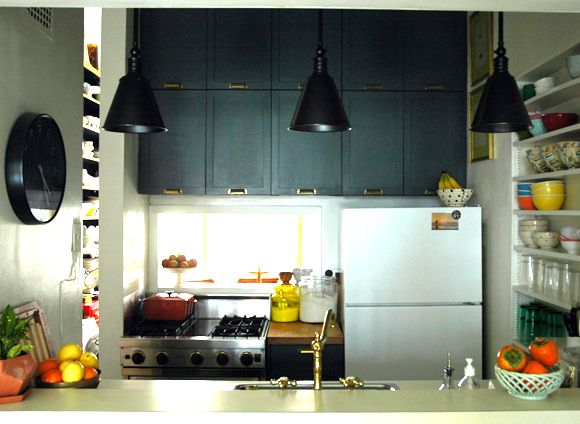
For our kitchen though we ended up with these black/oil-rubbed bronze pendants from Home Depot (of all places!). I wasn't even looking for pendants that trip to the HD, but they sang out to me from across the light bulb aisle.


I bought three on the spot for about $75 each, which is a pretty great deal, I think.


We love how they look with the newly painted cabinets and they work great - so no regrets here for going the inexpensive route this time.


Where did you buy your kitchen sconces?

Wednesday, February 13, 2013

Stripey Glass Table Lamp

Some of you asked about the table lamps in my bedroom and I just noticed they went on sale! $89 is a steal for these beauties considering they come with a linen drum shade. And I love that they really look a lot like Murano glass. They cast the prettiest glow when they're lit and even when they're off and the sunlight's streaming in through the windows.

Thursday, January 31, 2013

Talking Shop, Letting Go and Trimming a Lampshade

Dear Readers,

I'm at my parent's house in Arizona. And I always get a little wordy with my posts when I'm out here in the country. All this fresh air clears my head, I think. :)

I've been keeping up this site for a long time - going on six whole years! (how did that happen?!) I've been a blog reader for even longer, and by now, I've learned a bit as both a producer and a consumer of creative sites. It feels like there's a change in the wind lately, doesn't it?

All of us content-producers that work for ourselves, we're all trying to figure out our place in this fast-paced, idea-sharing world - with its Pinterests and Tumblrs and Instagrams (and now Vines!). I know it's weird to be on the content-consumer end of things right now as well. Blogging is such a new, and kind of weird media. Martha Stewart Living Omnimedia, we are not (which I think is part of the charm and allure of blogging). As we all know, most of the time, blogs are run by one person, out of their home, who happens to have a passion, who wants to share it, and who hopes to eventually make a fair wage for their labors. We're still trying to figure out the money bit. What's appropriate when we genuinely feel that our readers are our friends, and when we're often talking about deeply personal things? You readers are front and center as we muddle through all of this and more: sponsorship opportunities, attending and feeling the need to report on conferences about blogging, then also dealing with difficult "real life" situations as well as just the small-scale highs and lows of everyday life. And then of course (!), producing content all the while.

I've tried to be better about this in recent years, but back in the day I felt like I had to have a project *done* before I shared it here. It wasn't like that in the very beginning though. When I first started blogging, I was openly sharing everything I had on my mind - big and small. When no one's reading your site (and with no mean-spirited comments occasionally coming in) there's nothing to be self-conscious of. When I started getting more traffic (and some of those less-fun comments), I noticed myself holding back a little more. Also, some of the real joy of sharing was starting to leave, which is a bummer for me to think about.

Well, I've decided to let go a little, to get back to basics. And I'm determined to reclaim some of that lost joy, especially now that my interiors business is doing well and other media opportunities are opening up to me. I know now that I'm not blogging as a means to an end. It's the blogging itself that I think I love the most. So, how to make that more sustainable and more fun?

As a blog reader, I know that I love getting to know the writer behind the blog as much as I love their great content. I love the small projects just as much as (sometimes even more than) the grandiose room reveals. I like feeling like I'm along for the ride as the blogger lets me get inside his/her head. This is where bloggers can differentiate themselves from the other social media outlets. We can dig deeper into the story. We can share more. 

And what's the point if we're not? Might as well stick with Instagram.

I know this is a rather wordy, out-of-left-field post, and I don't mean to pull back the curtain in an unsavory way. And I don't write it to make any sort of announcements about the future of this site. But, as my site redesign and url change (!!!) are finally reaching completion (and after several lengthy, late-night conversations with other bloggers at Alt), I've come to the realization that if I want to keep going with LGN, I need to be willing to share more. All with less worry for what other people think of my projects and my style, because that is the whole point. I named this site Little Green Notebook after an idea journal I used to keep in my bag (before the days of iPhones) that would record all my notes to self. Project ideas with sketches, shopping lists, clothes and shoes to save up for, stores to look up online, dreams and goals. So, all that to say, I hope you keep joining me here during the week as I get back to sharing more of these things again. I love, love, love having you. I imagine you all as my girlfriends that I feel comfortable enough to have over even when my house is a bit messy. Thanks for being so chill, thoughtful, respectful and cool to me as I put my ideas and my personal life out there. :)

I did this little project last week. As I snapped the photos I thought, no one is going to care about a piece of ribbon on a lampshade in an unfinished room. But those sound like the worries of Old Jenny, don't they? And New Jenny digs simple, achievable projects and shares. So, onward with the post!


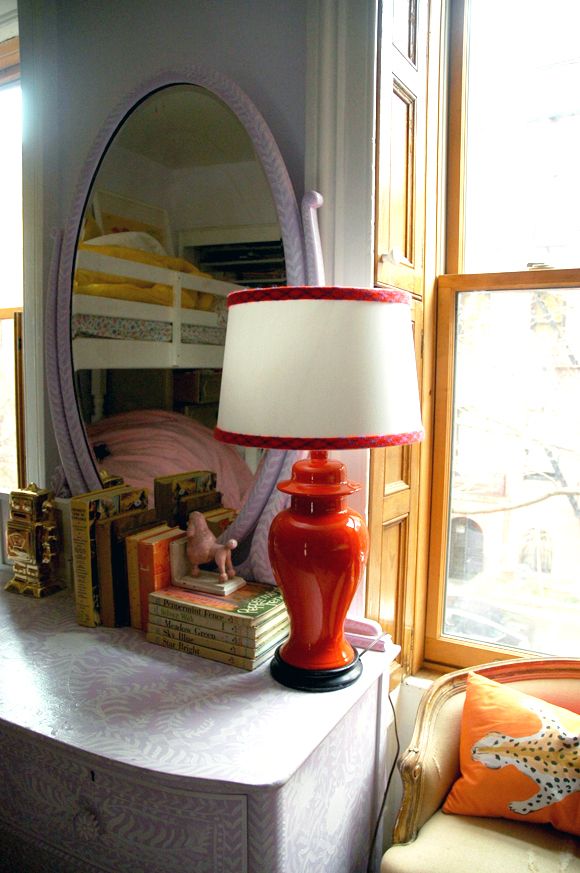
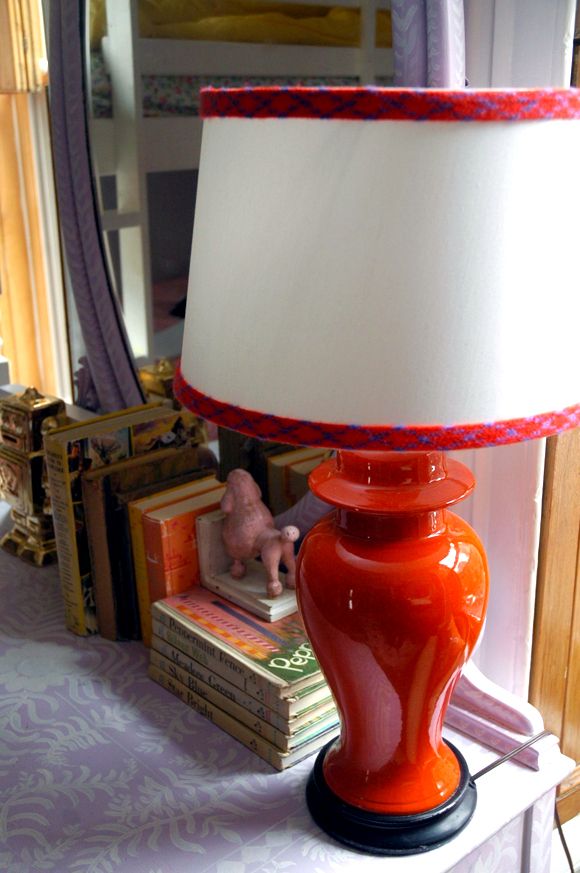
Before I went to Alt, I was changing the girls' sheets, dreaming/lamenting about how much I want to do to their room this year (like new bedding - stat!). In the spirit of making small, but impactful changes, I decided there needed to be more red in the room. I ran down to the lamp graveyard (as Michael calls it) in the basement and grabbed this tomato red ginger jar lamp (seen here previously). I wish I had a black paper shade on hand, but this cheapy white one from Target worked too. (It is so hard to pass up those dang uno shades at Target. They are SO inexpensive and accessible! I just wish they would make more shades that work with harps. Same with IKEA's shades).

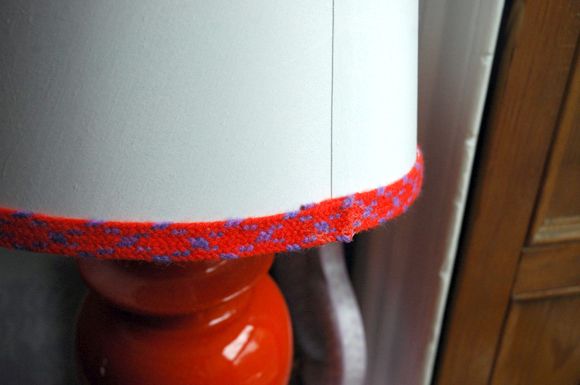
Table lamps in kids rooms can look a little stuffy, you know? So one of my favorite tricks is to glue colorful trim to the top and bottom lips of the shade. Instant whimsy! (...I hate myself a little bit for saying that word). Like with almost every textile project I do, I used MagnaTac here (but Fabritac works equally well). Also, I used to recommend grosgrain for trimming out shades, but I think something with more stretch and give works best with shades that have any kind of sloped sides. This orange and violet vintage woven trim I picked up from SAS in Phoenix worked perfectly. Just roll under and glue the last inch where the ends meet to prevent fraying.


Five minutes of gluing later, I had some tangy, bright persimmon red in the room, and I felt better about the space. And (to bring it all back home) isn't that what it's all about? Small and simple steps. :)


Thanks again for sticking around, friends. Here's to six more years of DIY adventures on this little piece of the interwebs.
xo, Jenny
Thursday, January 10, 2013
Gems at Urban Outfitters

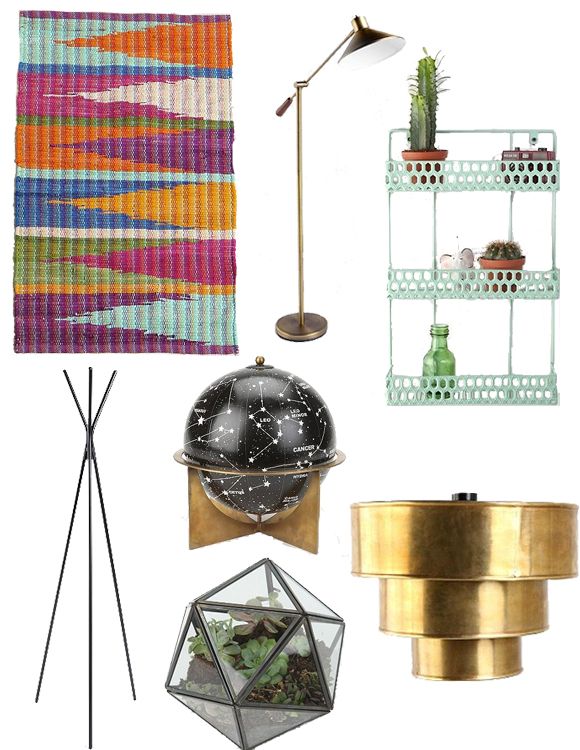
In the past I've not always been an easy style fit for most of the home offerings at Urban Outfitters, so I don't check out their website regularly. But I popped over last week and ended up buying a bunch of things. (A lot of it was on sale, too. Bonus!). I can't believe all the cool lighting they have right now. Floor lamps galore.


The robot bank below is really cute in person and the girls love it (are your kids obsessed with piggy banks like mine are?).  I'm also so excited about those cute brass sconces. I bought a pair for Heather's room redo - they were only $29! Total steal.

Monday, December 3, 2012

DIY: Painting a Brass Chandelier

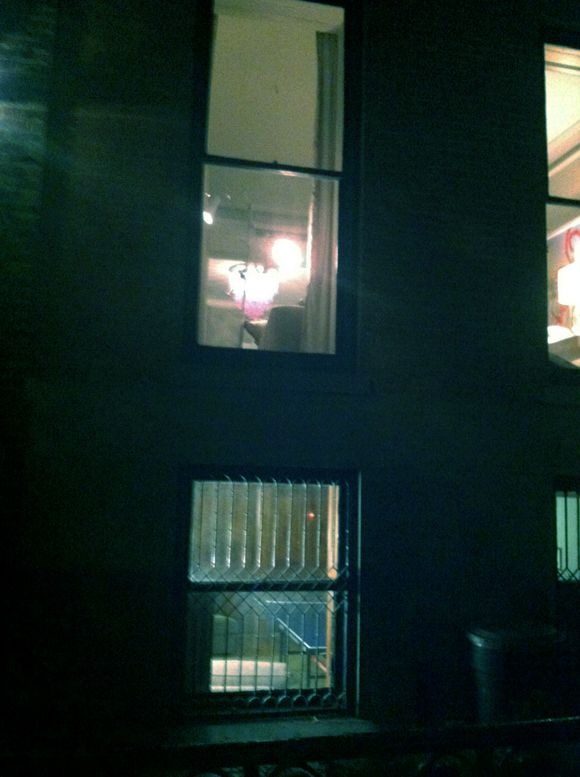
When I was hospitalized with tetanus shortly after we moved to Brooklyn, my mom flew out to help. She saved the day and helped keep the house running and distracted my girls so they didn't get too scared about the situation. (I'm doing much better, by the way :) One evening when I was recovering at home, Mom came back from a walk around the neighborhood with the girls. She asked me if I had seen the purple chandelier in the neighbor's house down the street. "You will die when you see this thing" she said.

In most cities, if you walk around a residential neighborhood at night, you can sort of see into apartments. It is way too much fun to me - probably one of my favorite post-dinner date night activities. I know it sounds creepy, but it is amazing to get a glimpse inside these beautiful homes, and plus, everyone does it (city dwellers, back me up!). I tell myself it's just like looking at real estate listings. Ish?

So by the time I was feeling well enough, I hobbled down the street in search of a fabulous purple chandelier in one of our neighbors' houses. I know I gasped out loud when I finally saw it. It is the most incredible blue-purple murano glass chandelier EVER. I snapped a single sneaky photo that doesn't even begin to show the fabulous-ness of this fixture (trust), and I felt like a total creepster (though I have been known to snap sneaky photos). The whole house looks like it's amazing - the art! the paneling! the moulding! - so I keep hoping I'll run into the owners one day on the street. I would shamelessly out myself and beg/plead for a house tour.


ANYWAY (wow, this is going to be a long post), the chandelier has been stuck in my brain for months now. I go out of my way to walk by it often and it's somehow even more lovely every time I see it peeking through those windows. When it came time for me to choose a color for the big brass chandelier, I knew there was no way I could pull off a lavender or lilac, but I thought a pale blue that leans toward periwinkle could actually be really cool.


Here's the full run down on how we painted this beast of a chandelier...
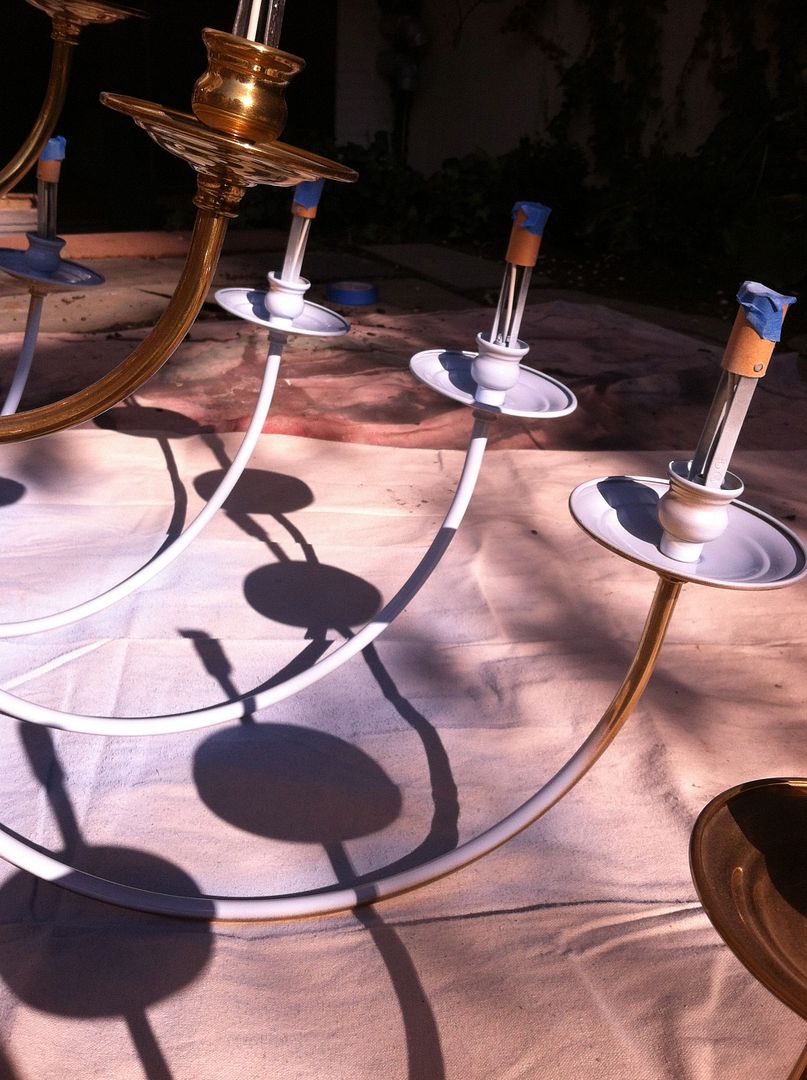
I enlisted the help of my girls to tape off the sockets on all 24 arms. Just a little piece of painters tape works fine. Make sure to take off all the candle sleeves first.


While I had the chandelier on the ground still, I wiped it down well and then lightly went over some parts with a leftover can of white spray primer I had lying around. This was a lazy step and I probably should have primed everything here, but I felt like it wasn't really necessary. Nothing really touches a chandelier after it gets installed anyway. 


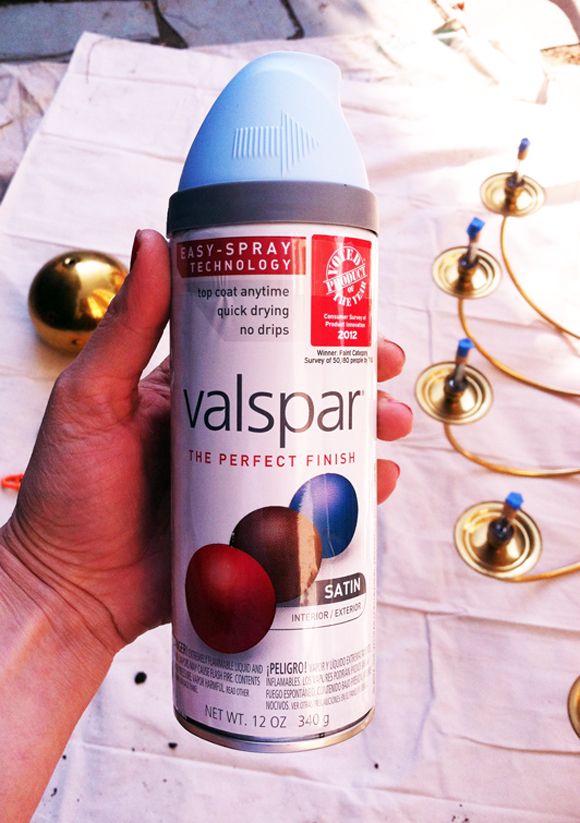
My local hardware store has a fantastic selection of spray paint. More brands and colors than the big box stores even. I really liked this Valspar color (Sky Blue) at the store, and then later I was super impressed generally with this paint (first time trying Valspar spray). Good coverage. Not too crazy in the smell department. Fast drying. Easy to spray.


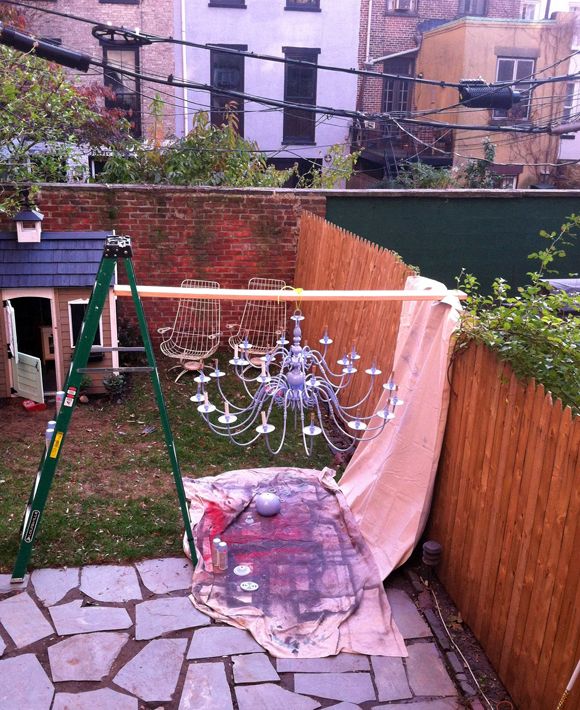
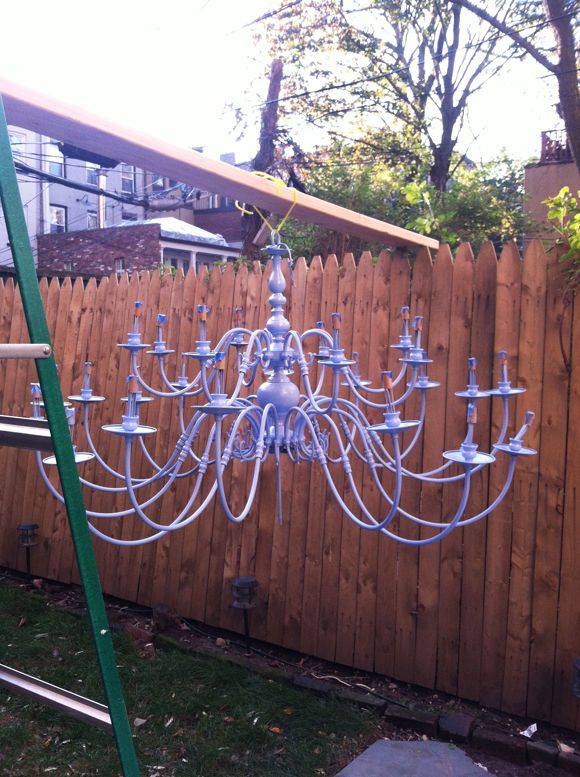
I think the best way to spray paint a light fixture is from the hanging position. We strung up the chandelier on a 2x4 between a ladder and our fence. That way I could easily walk around and under the chandelier and spray it from every angle.


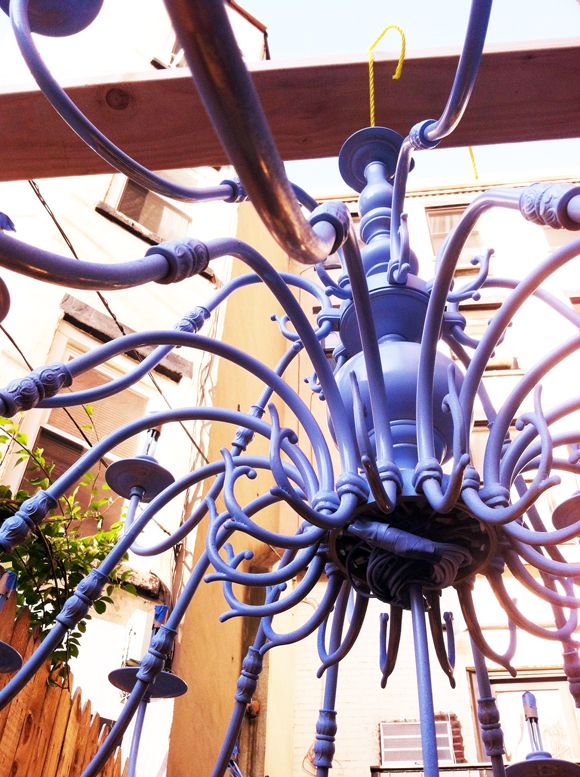
And there were a LOT of angles. 


I'm not going to pretend this was a fast spray job. I went through six cans of spray paint to fully cover this 60" wide chandelier. I had paint all in my hair and there was a soft outline of a mask on my face. #periwinkleglow


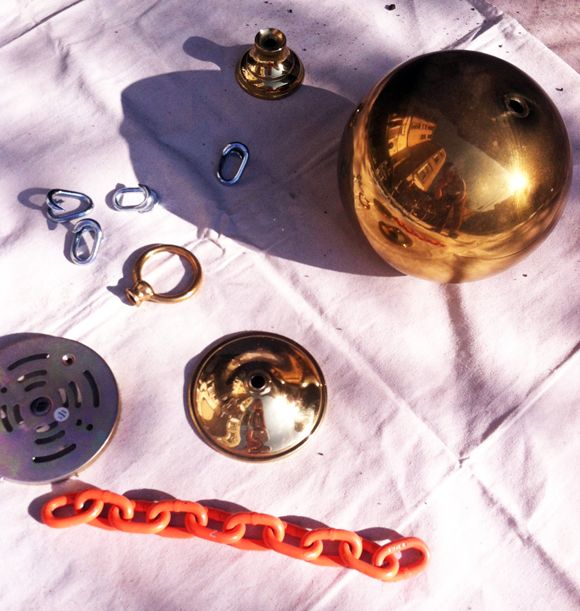
Some of the parts of the fixture needed to be painted on the ground. See the orange chain? I thought the chain that originally came with the light was a little on the wimpy side, so I used a chunkier one from the hardware store.


I was starting to get excited about the color right about here:


So, I wouldn't really recommend DIYing a big electrical install project like this one, but my super handy and wonderful dad was in town, and he was up for the challenge of hanging and hooking up the new chandelier. We took down the hideous old light and installed a new light kit that is made for heavy fixtures. It stretches between joists and grips into the wood.


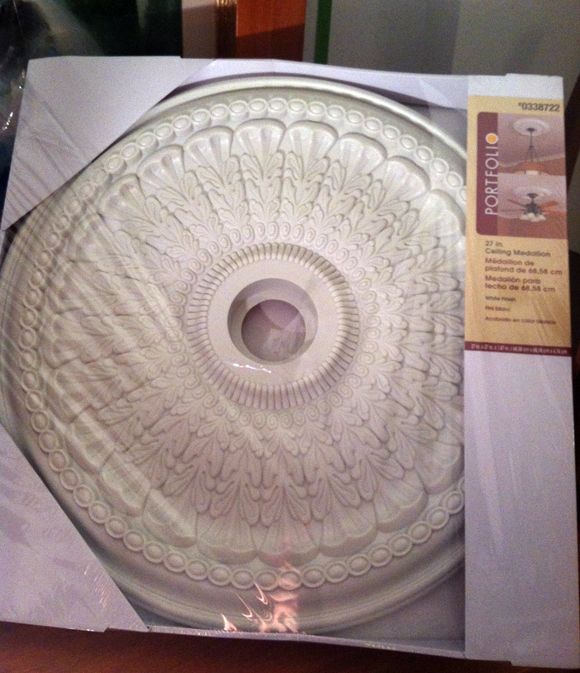
While we were working on the new light box, we threw up a ceiling medallion too. I wish I had planned more for this step and had ordered something big and extra special, but this one from Lowes worked fine in a pinch.


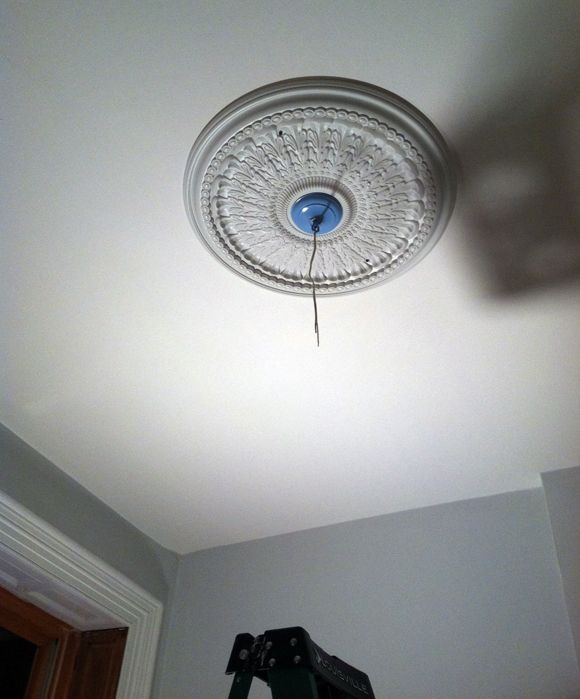
Here's the medallion and ceiling plate in. Wires ready to be spliced into the chandelier's after hanging it, which was a feat in and of itself - that thing is so heavy! If there had been an extra set of hands in the house, I would have had someone take a photo of that step, but we needed every adult to help hoist while Dad spliced.


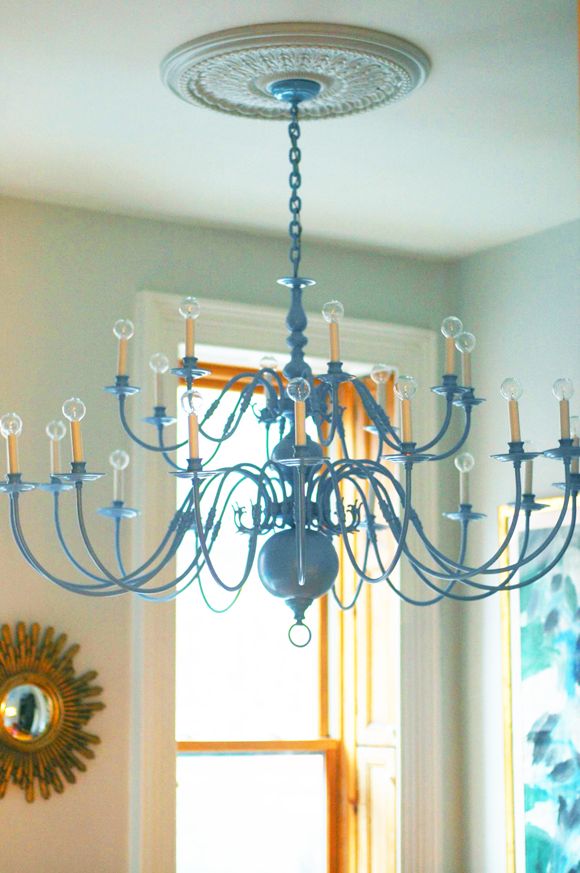
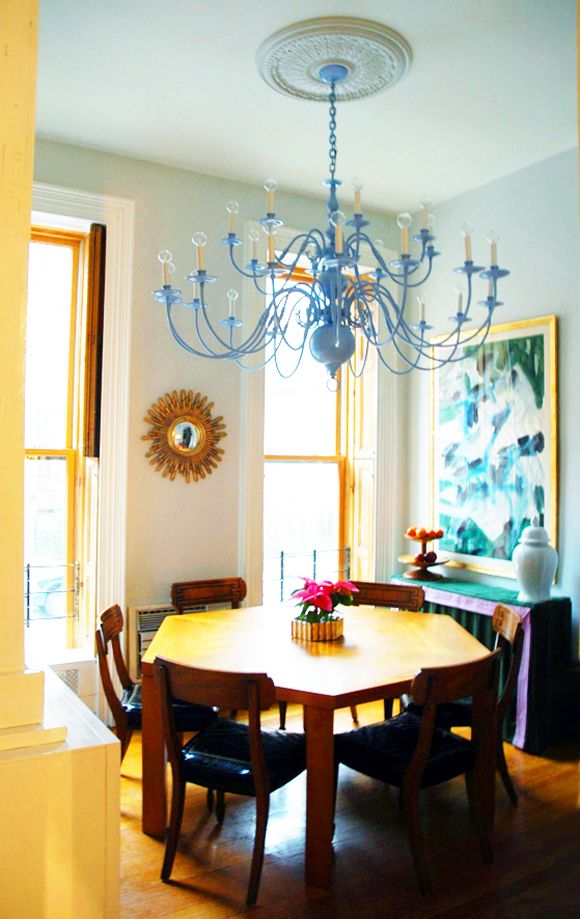
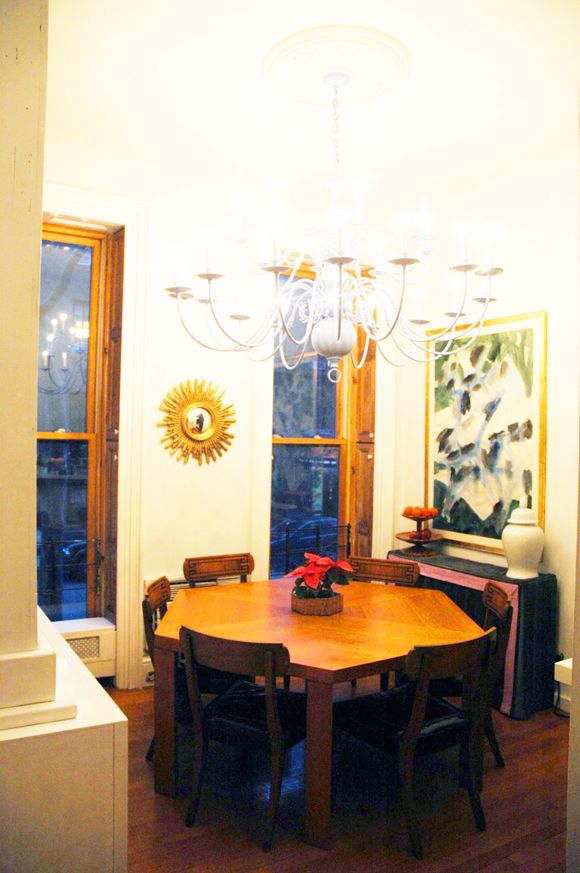
It's hard to really show just how big this chandelier is. It's enormous, and we love it.


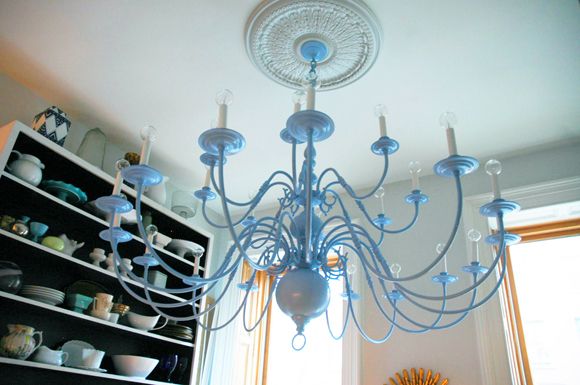
The color is just the right shade of periwinkle blue.


And those 24 bulbs make for a really bright meal!


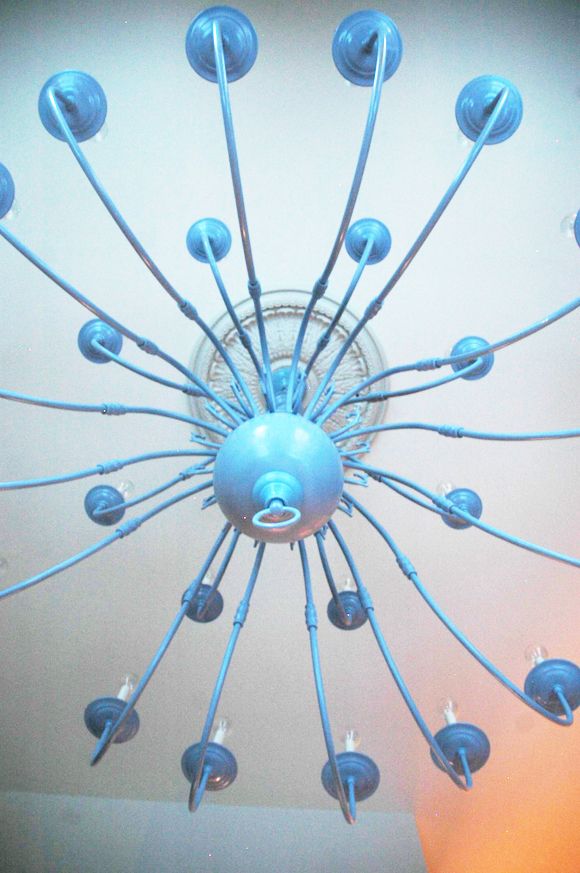
And the view from below is pretty.


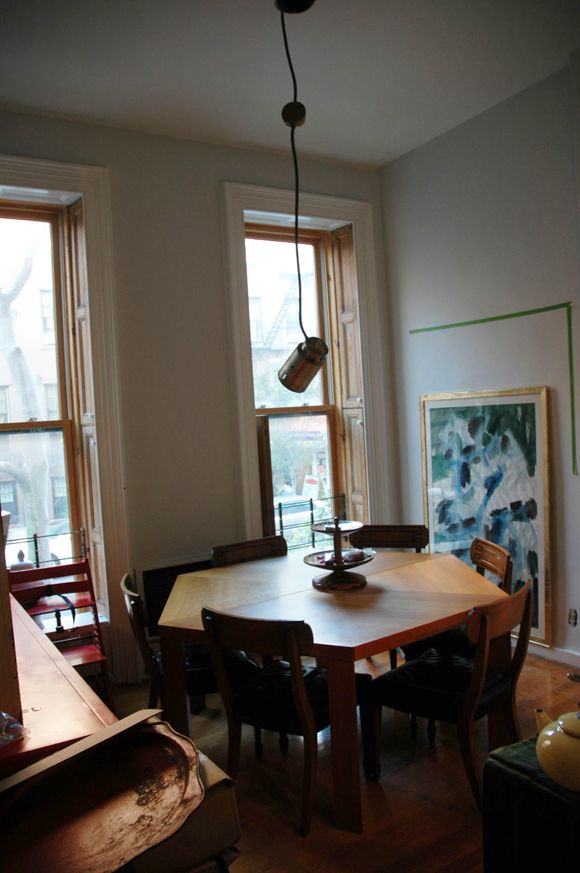
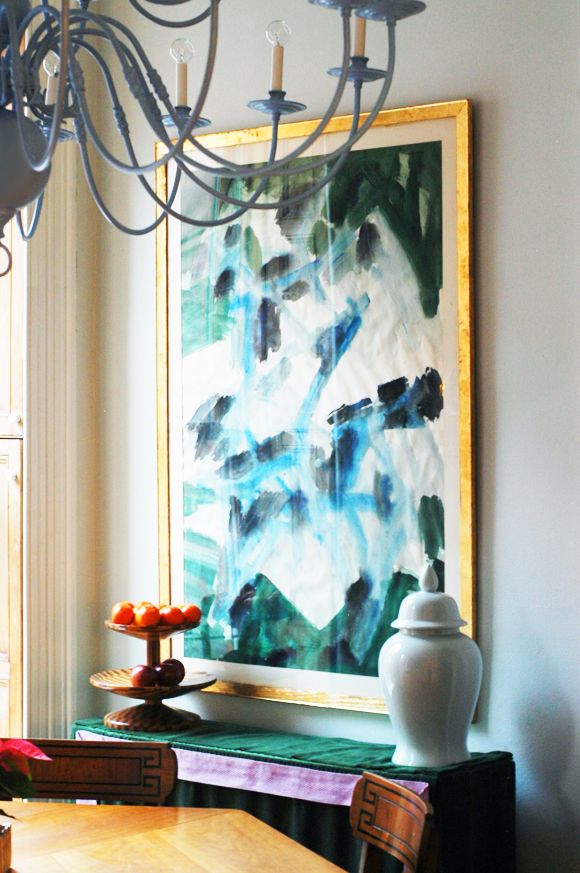
And! I love how it looks with my giant vintage abstract (it's hung the wrong way so it fits on the wall here, but I still like it).


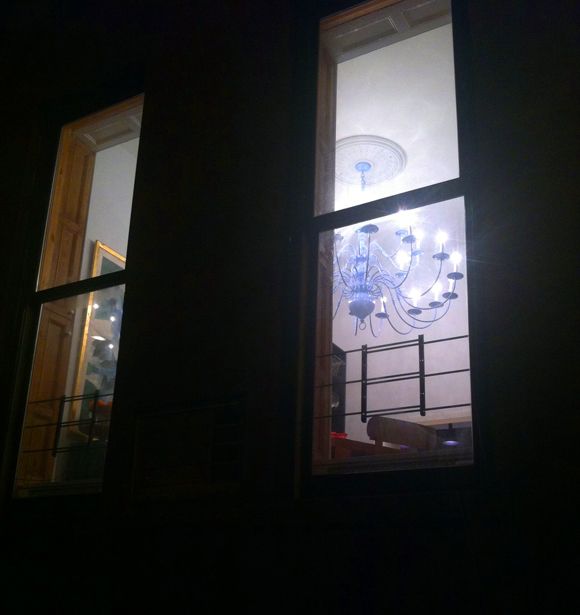
AND! (best of all) Michael came home a couple nights ago and said there were some girls outside talking about how much they loved the chandelier and sneaking some photos with their phones. I was only creeped out for a second. Then I felt proud and less guilty for doing the same thing weeks before. Hopefully those girls will keep the periwinkle chandelier trend in our hood moving forward!


PS Another huge chandelier DIY.