FREE DOWNLOAD PICTURE
MORE INFO ABOUT NOTEBOOK
Showing posts with label Painting. Show all posts

Thursday, April 18, 2013

Inexpensive Black Lamp Shades

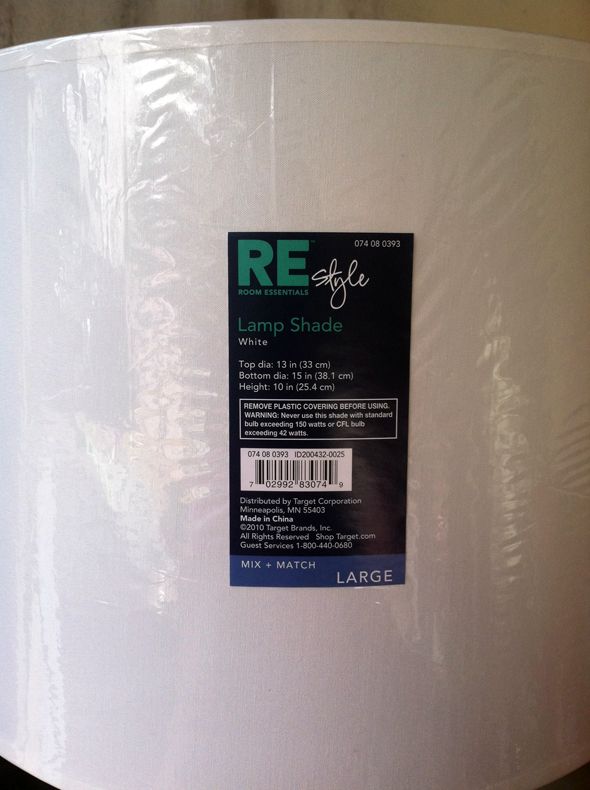
I love black lamp shades best, but seriously, who wants to pay $50-100 for a largish drum shade? Not I. The good news is these $16 white shades from Target take paint really well.

 photo IMG_2417.jpg

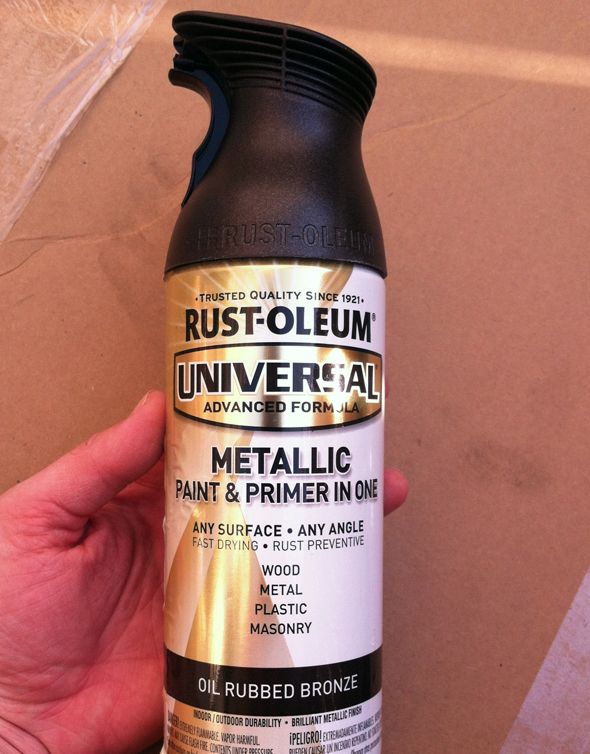
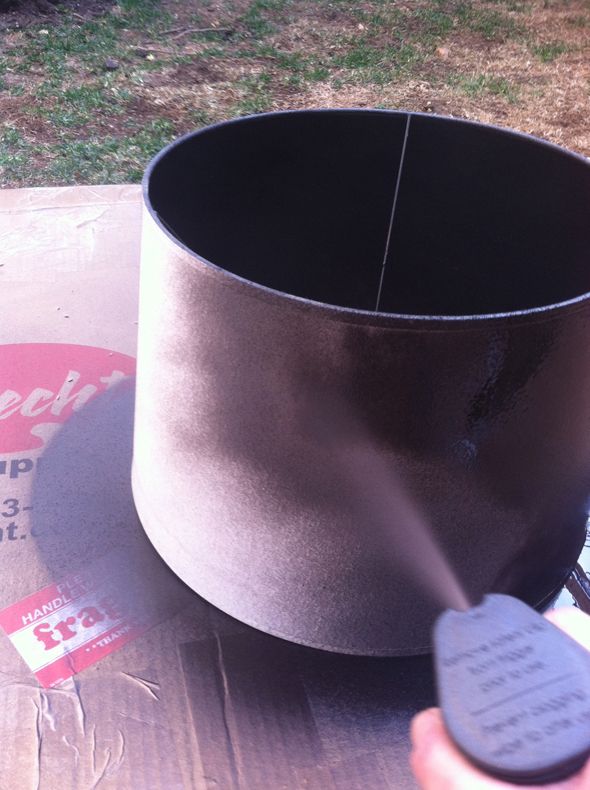
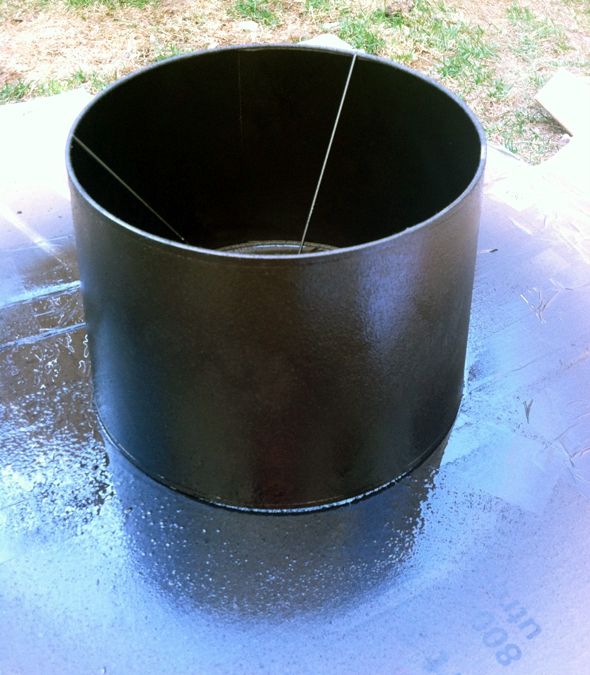
I was in a time crunch, and didn't have the right black spray paint on hand (like I thought I did), so I sprayed the shades with oil-rubbed bronze paint first, which made it really easy to cover the inside of the shade well.

 photo IMG_2420.jpg

 photo IMG_2422.jpg

The spray paint worked on the outer fabric wrap too, but it was a little trickier to get the saturation  just right. 

 photo IMG_2426-1.jpg

 photo IMG_2430.jpg

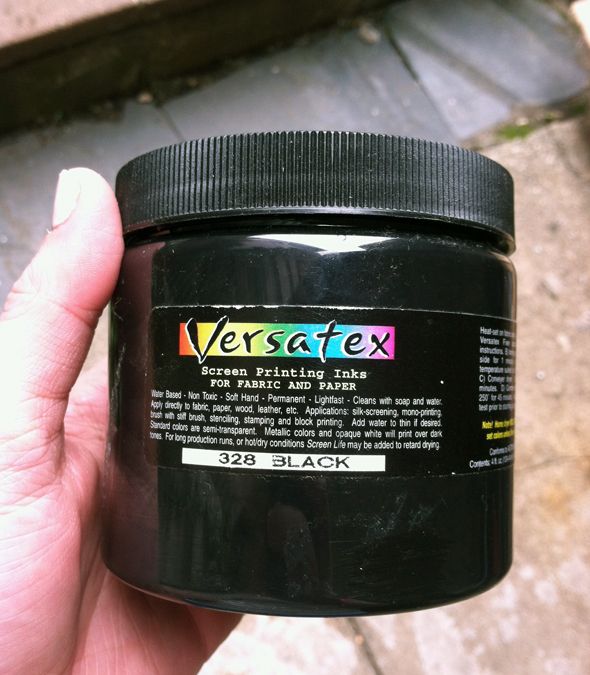
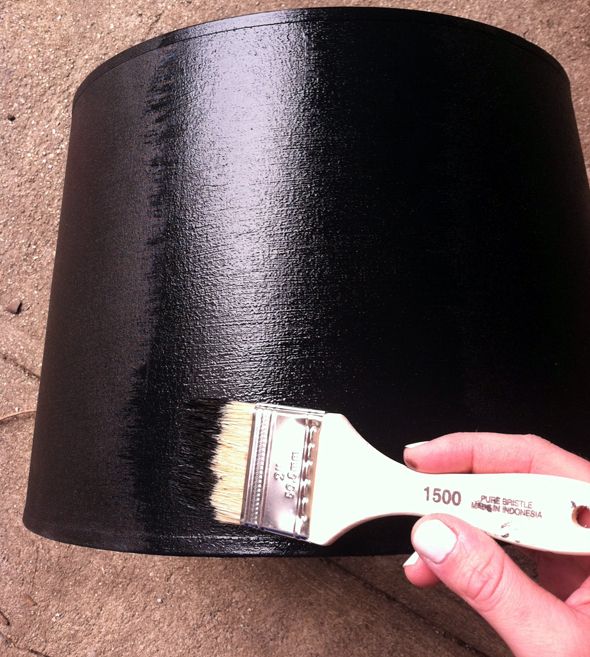
I did a light sanding after the spray paint dried, just to get any of the loose stuff off and and to smooth out drips. And then I lightly brushed on some black screen printing paint, which I'm learning is the best type of fabric paint around.

 photo IMG_2611.jpg

 photo IMG_2615.jpg

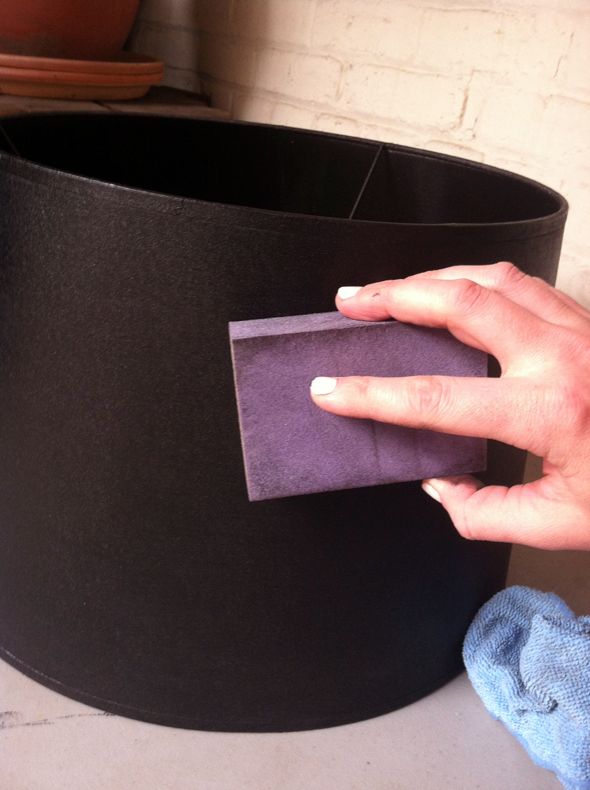
And I ended with a final light sanding.

 photo IMG_2618.jpg

It ended up being a lucky surprise how much I like the way the oil-rubbed bronze and the matte black paint finishes work together! Not at all sparkly like oil-rubbed bronze paint can sometimes be, but just enough of a sheen to look nice and, well, not spray painted. :)

 photo DSC_0289.jpg

Besides the obvious cost savings, fabric shades are much more durable. Paper shades start to show their wear after a couple years of being in a house with kids and moving a few times. And I think these look almost as good in person as a $120 shade from Just Shades (my favorite splurge shade source).

Monday, March 11, 2013

Adding Trim to Closet Doors

 photo DSC_0674.jpg

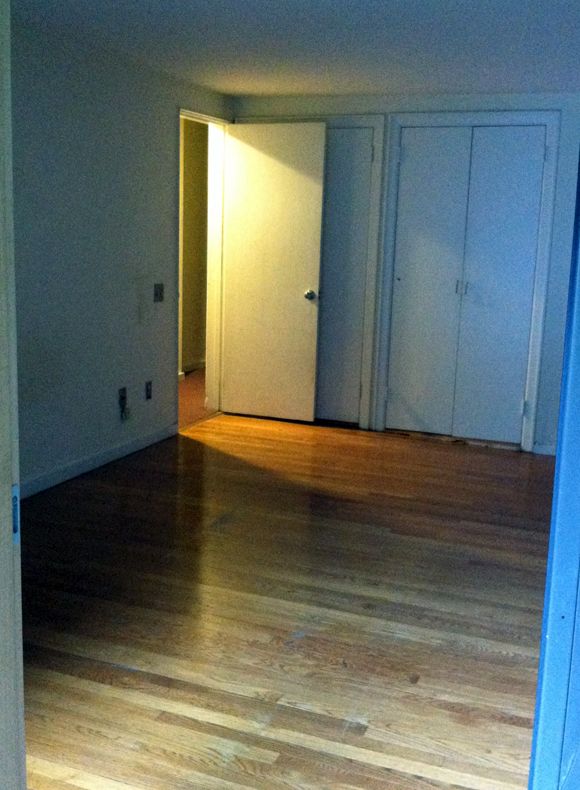
There are two closets in my office that hold a lot of good stuff - fabric and trim and wallpaper samples. Since I use these closets often, I decided to make them prettier and I gave the doors a little facelift recently. Here's what the boring hollow core doors looked like on move-in day.

 photo IMG_6373.jpg

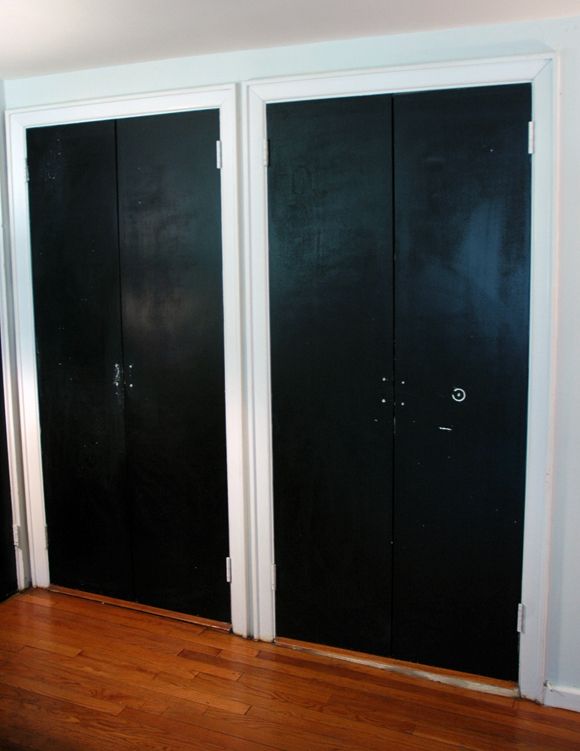
The painters our landlord insisted on using didn't prime any of the doors before painting them black (with latex paint??), so I've been going back one by one and re-coating with primer and oil-based paint. Here's what the doors looked like after removing the old hardware and giving them a light sanding. This was also after I took down the blue wallpaper. (We had a little photoshoot in the space a couple months ago and the wallpaper needed to be removed. It's a long story, but I was fine with it.)

 photo DSC_0245.jpg

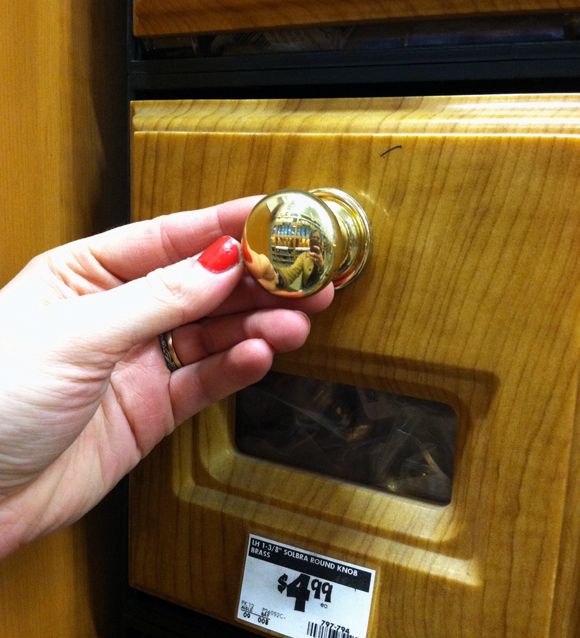
At one point I had installed a big brass knob on the far right door, thinking I had four knobs, but I actually only had three (you can see one of them in this post). Bummer. The knobs were a little big for the closet doors anyway, so I started looking around for a good, but mostly inexpensive alternative. I found these solid brass knobs at Home Depot for $5 each and they fit the bill just fine. A little on the small side compared to the others, but probably a more appropriate size for closet doors.

 photo IMG_9171.jpg

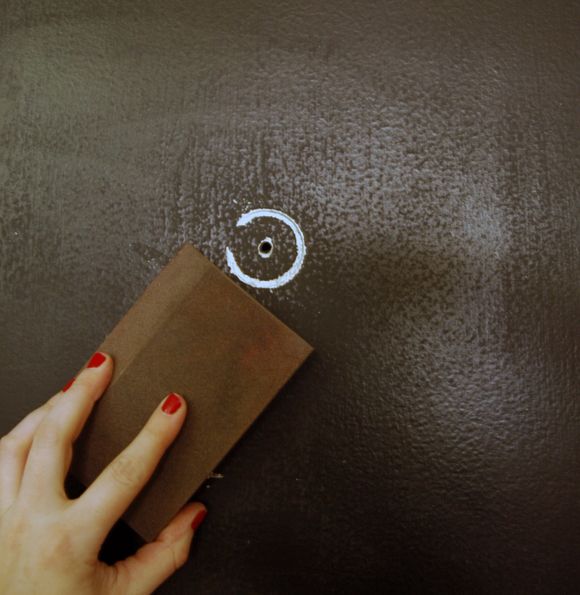
I sanded the doors down by hand, which was a mistake. I should have pulled out my palm sander or even stripped the doors with my beloved Citristrip. There was definitely a texture left that I hoped wouldn't showed through the new paint, but it did a bit. It's not all that horrible in person, but learn from my mistakes and don't take the shortcuts here like I did. :) Hopefully your doors are smoother than mine were and the whole problem can be avoided.

 photo 2DSC_0207.jpg

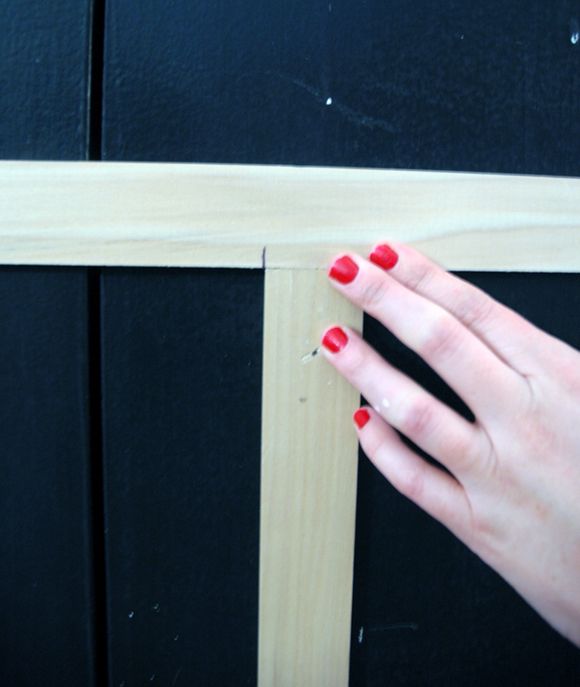
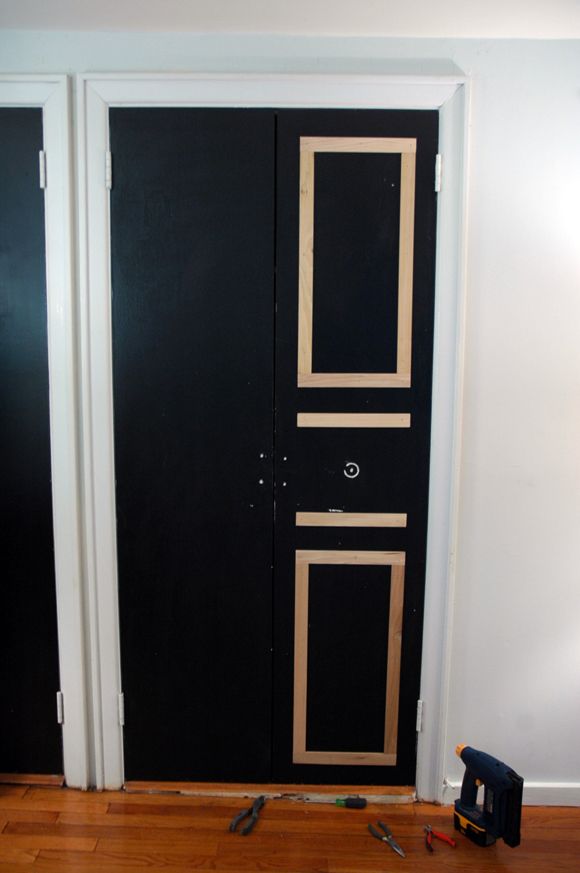
I had a bunch of pre-cut trim from a few old projects that I decided to use on the closet doors. Since all of it was pre-cut, all my long pieces were ready to be installed on the door with my brad gun and this project was a cinch. I only had to cut the short pieces and the pieces for the small boxes in the center of each door.

 photo DSC_0303.jpg

I made things really easy on myself and made it so every border was 3" wide. This way I could just eyeball the placement of the trim, hold it up, verify with a ruler that the trim edge was 3" away from the door edge (or the next piece of trim) and then put in a nail with my brad gun. No marking out, no levels. Fast and easy.

 photo DSC_0327.jpg

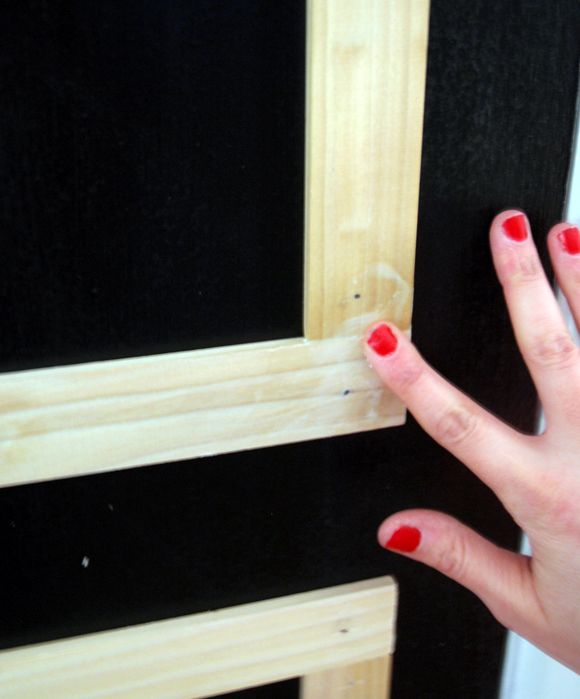
Once all the molding was nailed up, I sealed all the seams with paintable caulking and gave that a light sanding when it had dried.

 photo DSC_0360.jpg

The old hardware holes were patched too and then the doors were ready to be painted.

 photo DSC_0390.jpg

The only dark-tint primer I had on hand was a cheap brand that I'm not a big fan of, but I used it anyway to prime the new trim. Not surprisingly, it didn't do a great job of sealing the raw wood. So the trim took the oil-based paint differently than the old door did. C'est la vie, I guess. (Note to self: Only buy Zinsser!)

 photo DSC_0426.jpg

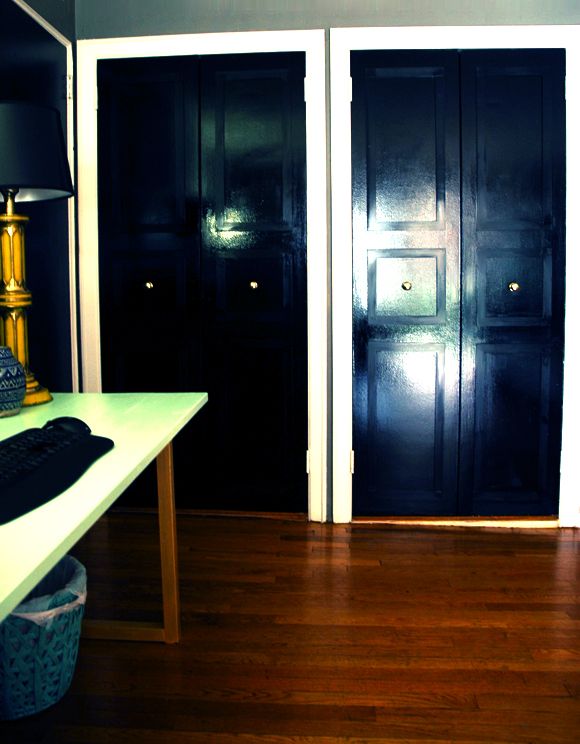
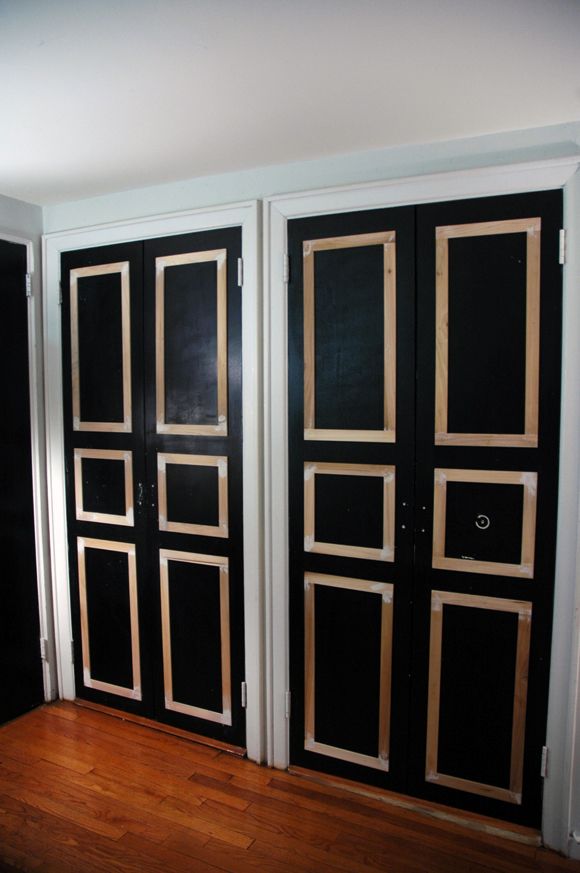
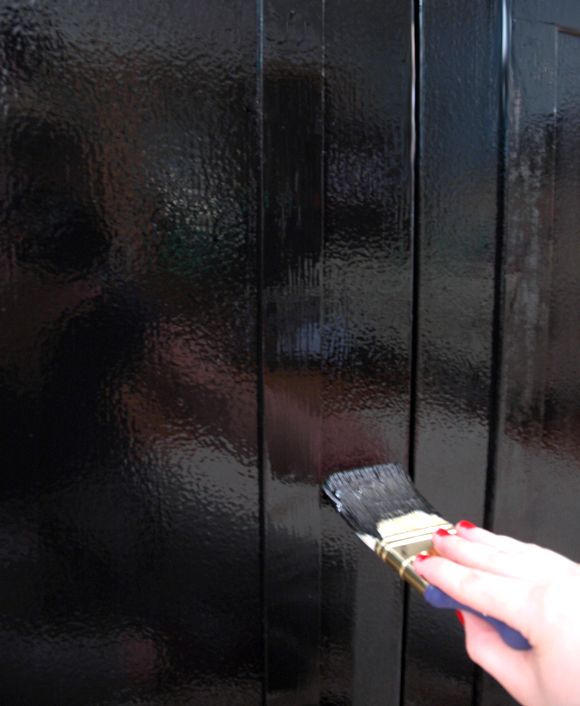
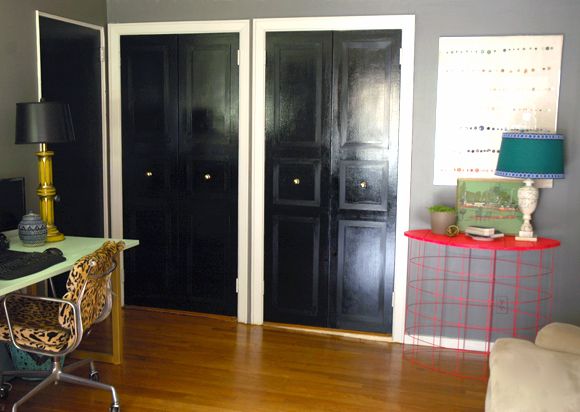
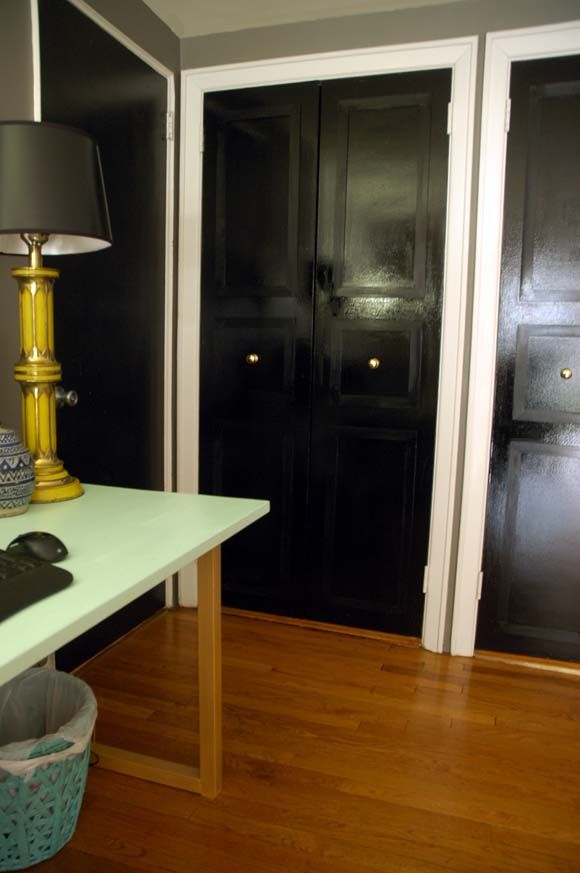
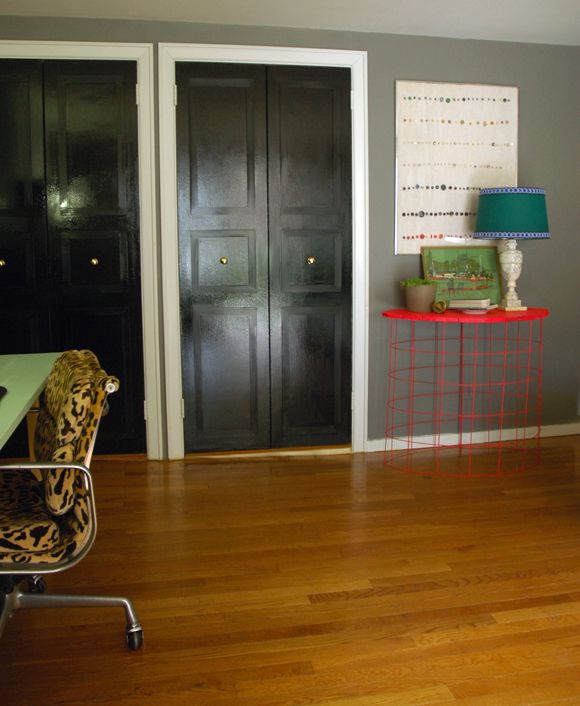
It's hard to photograph super glossy walls and doors, so you'll just have to trust me that it looks prettier in person. :) But I'm happy with how the project turned out.

 photo DSC_0501.jpg

 photo DSC_0684.jpg

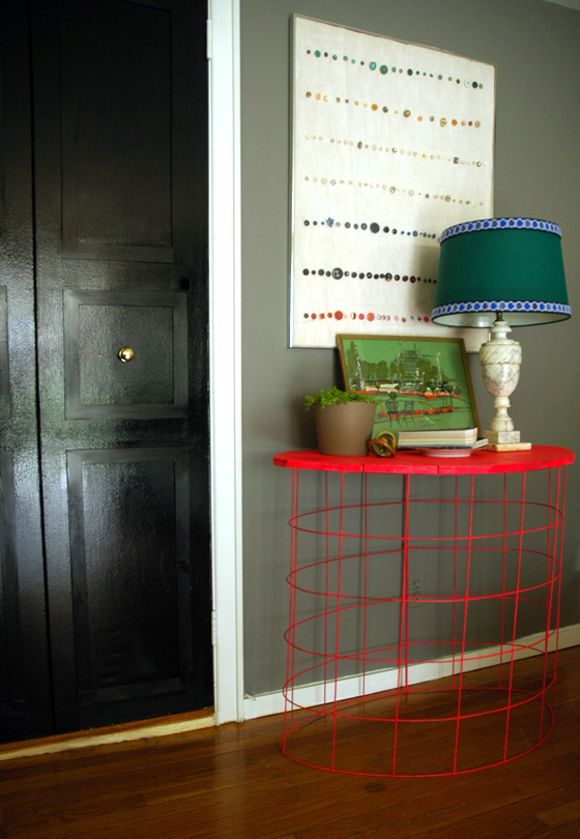
I love the shine and the bit of dimension that the new trim adds. And I love the new wall color (BM Chelsea Gray) with the black doors too. The masculine neutrals help tone down some of the brighter colors I have in the space (like the neon tetanus console). :)

 photo DSC_0653.jpg

One step closer to finishing this room that still needs a lot of work!

 photo DSC_0535copy.jpg

PS Here's the door in our old loft to my girls room that I trimmed out (without any power tools!) and painted a bright yellow. And another, better shot in this post.

Have you trimmed out any of your interior doors? I love how it can really elevate those hollow core doors so many of us are cursed with! :)

Tuesday, March 5, 2013

Reader DIY: Stenciled Kitchen Floors

I'm a big fan of old encaustic tile used in kitchens (I'm using a repro version in a laundry room project). This kitchen from Kristen Buckingham that features the prettiest encaustic floor tiles, will always be a favorite of mine.


So I was excited when Jessica from the Eagle's Nest blog (and the woman behind this amazing hardware line) emailed to share this cool project she tackled in her kitchen. The brave woman glazed her concrete floors:


And stenciled on a geometric pattern (with several layers to the pattern!) and then gave the whole thing a glossy seal. Jessica gives the full rundown on her blog here.


I love the after photo and think the pattern on the floors really brings that space to life. Great job, Jessica!  :)


If you have a project you'd like to submit to be featured on LGN, email us.

Thursday, February 21, 2013

Painting Laminate Bathroom Cabinets

The title of this post really should be "Putting Lipstick on a Pig."

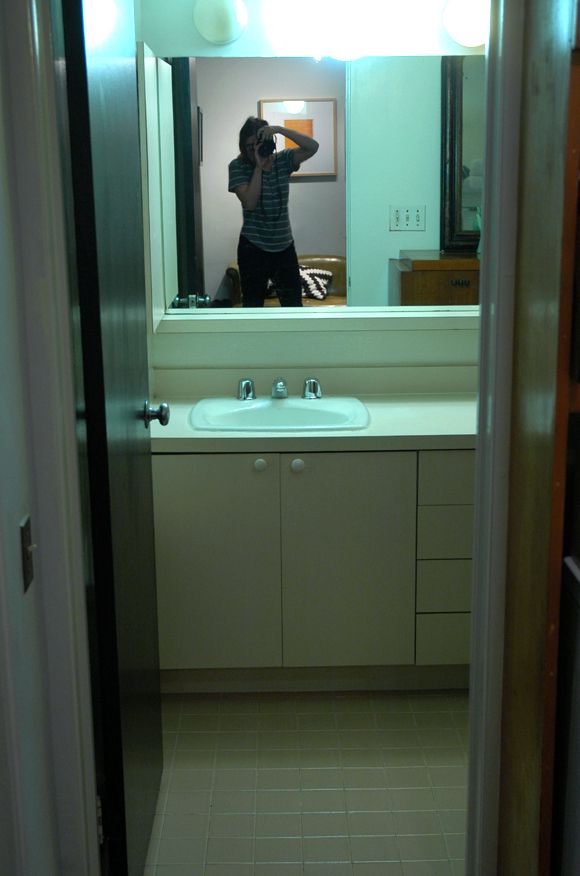
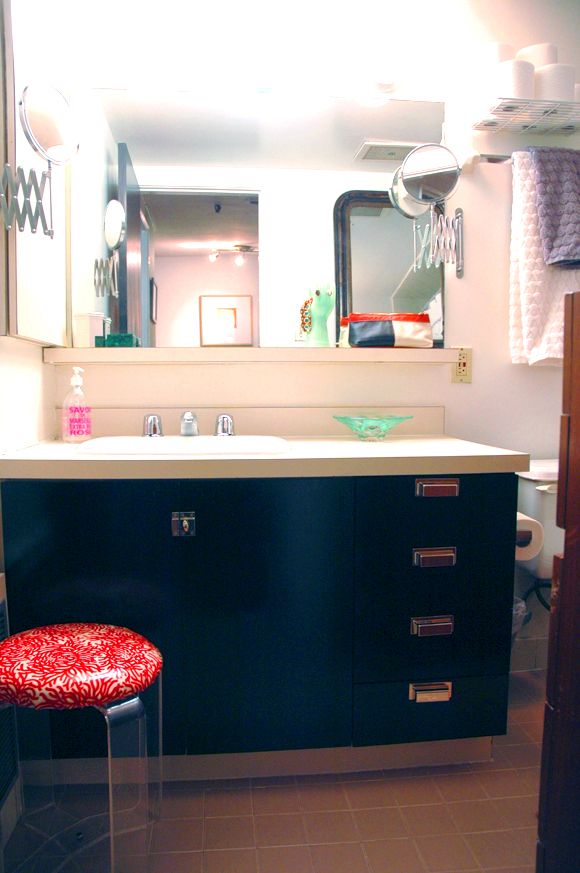
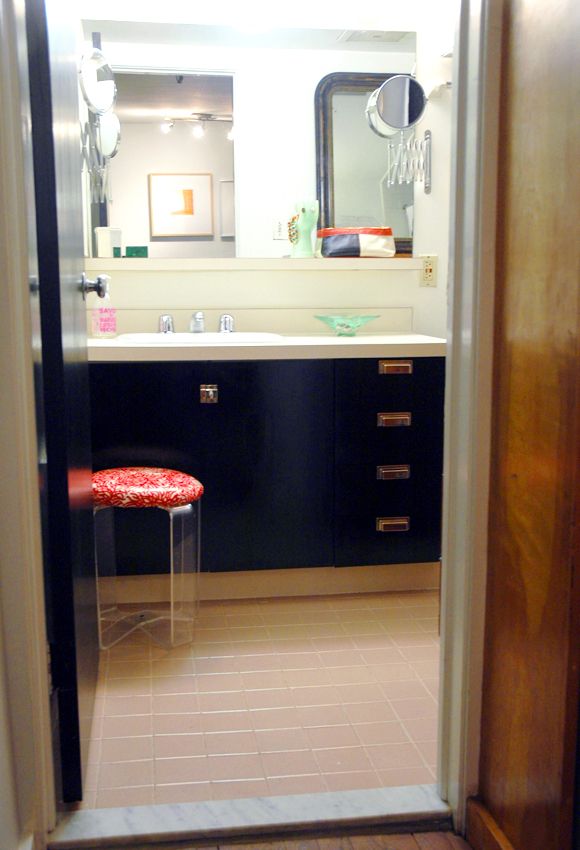
The garden level bathroom is straight from the 70s, complete with lovely beigey-pink floor tile, a non-functioning hot tub style bath (ew) and, my favorite, laminate counters and cabinets. Please do your best to control your jealousy:


It's one of those spaces that you walk in to, trying to brainstorm ways to make it look better, and then you walk out five seconds later saying "Just burn it down."


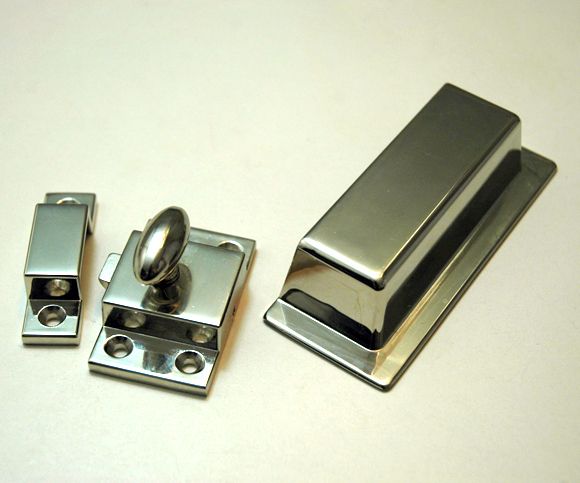
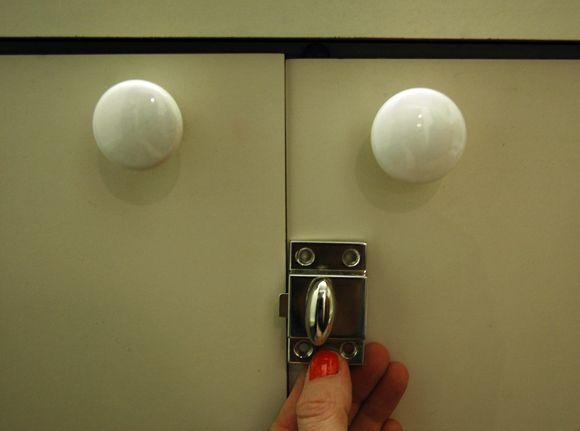
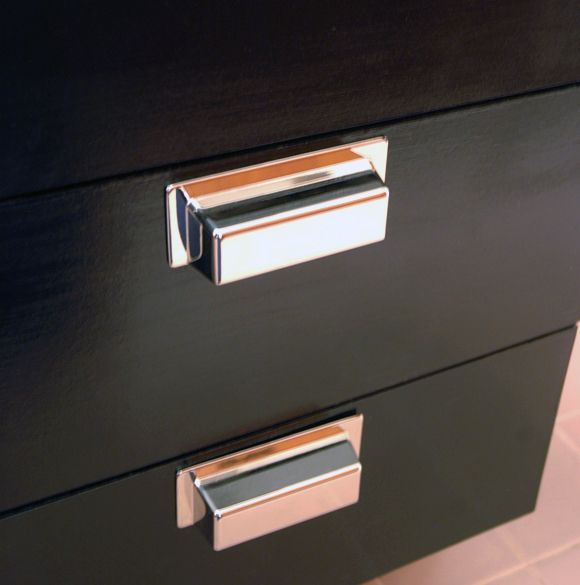
Then last week I was at a Home Depot in Westchester that I hadn't ever been to before and they had a bunch of the Martha Stewart hardware in stock, including these polished nickel babies.


I decided to go for it and came home with $27 worth of hardware and a hope and a prayer for this sad little bathroom of mine.

   
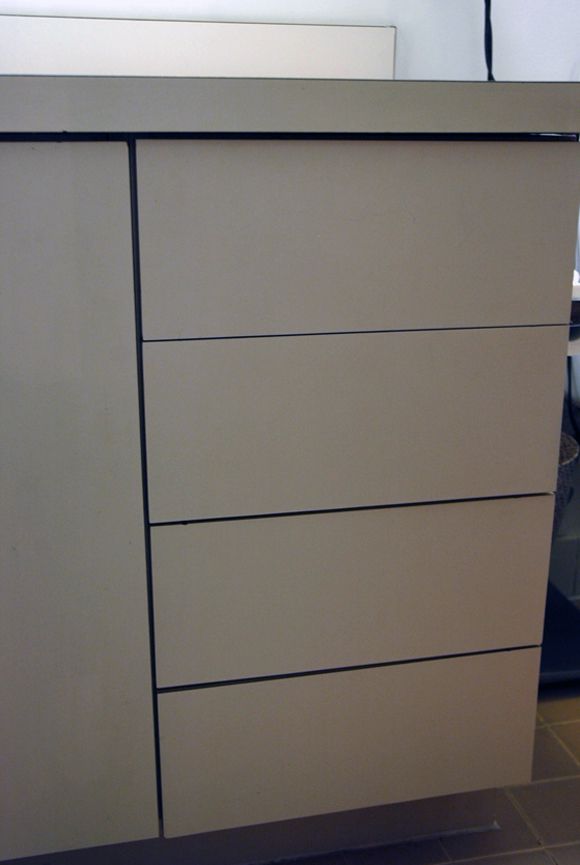
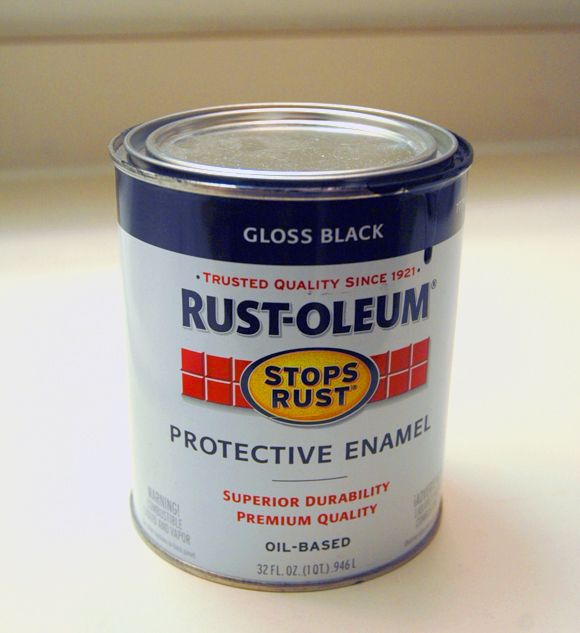
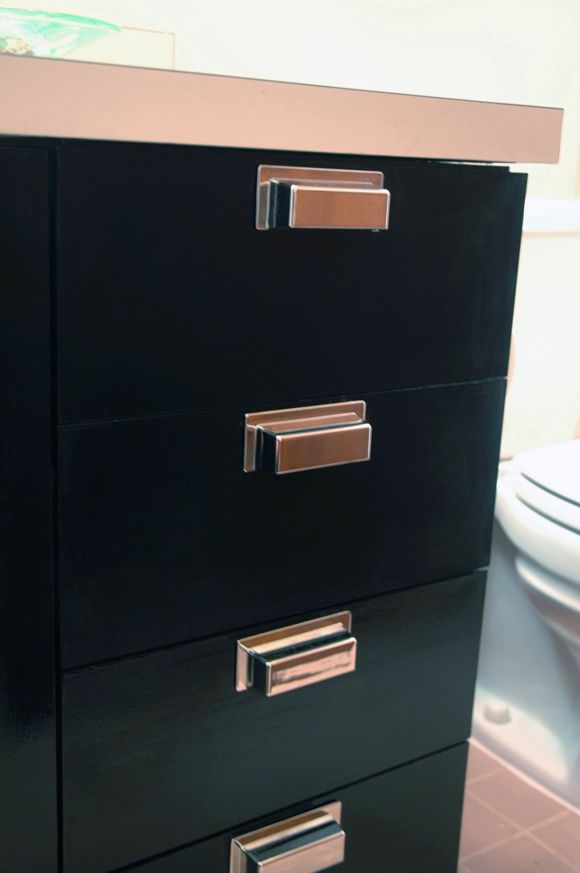
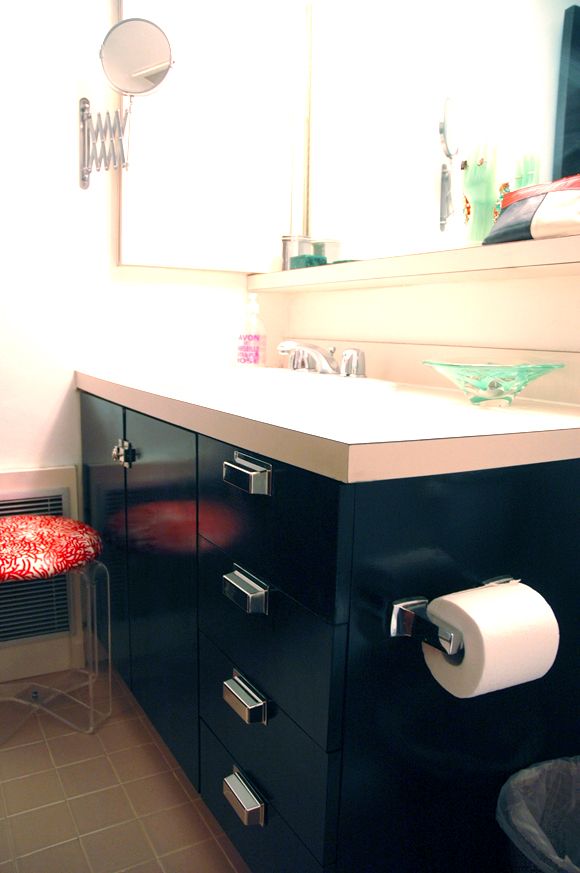
I painted the cabinets with two coats of my trusty Rustoleum enamel in gloss black. If you have similar laminate cabinets that you're dying to ditch, I totally recommend going this route first. Why not? You can prime if you want to, but I didn't worry about it. I just gave the old laminate a good cleaning first. 
Then I installed the new hardware once the paint was dry to the touch.


I had to hang the pulls a little higher than I would have normally preferred because of the way the drawer was made (boo). But it's still an improvement in looks and in functionality (I basically needed a screwdriver to pry the drawers open before the pulls were on).


We also brought in the vintage lucite stool I reupholstered here. Evie climbs up and kneels on it when she's washing her little hands.


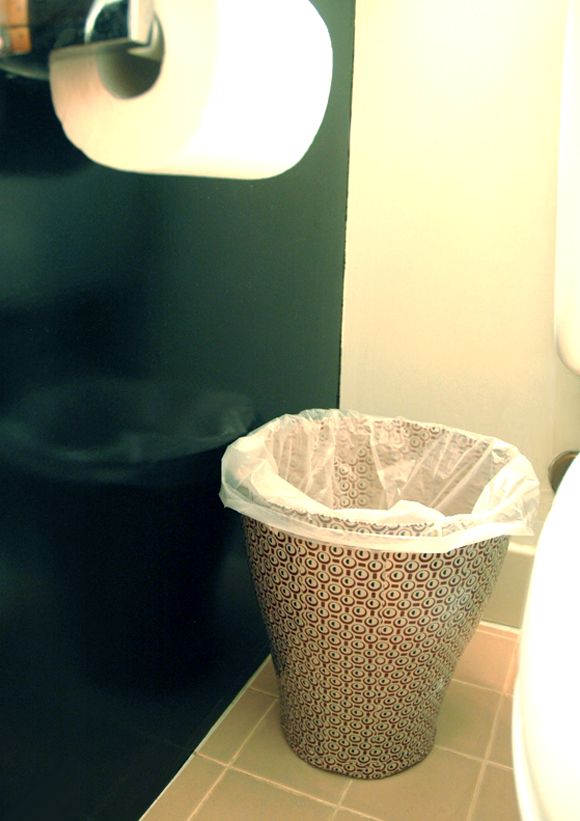
I also added a new wastebasket from West Elm. $5 from the clearance section. Love the pattern here.


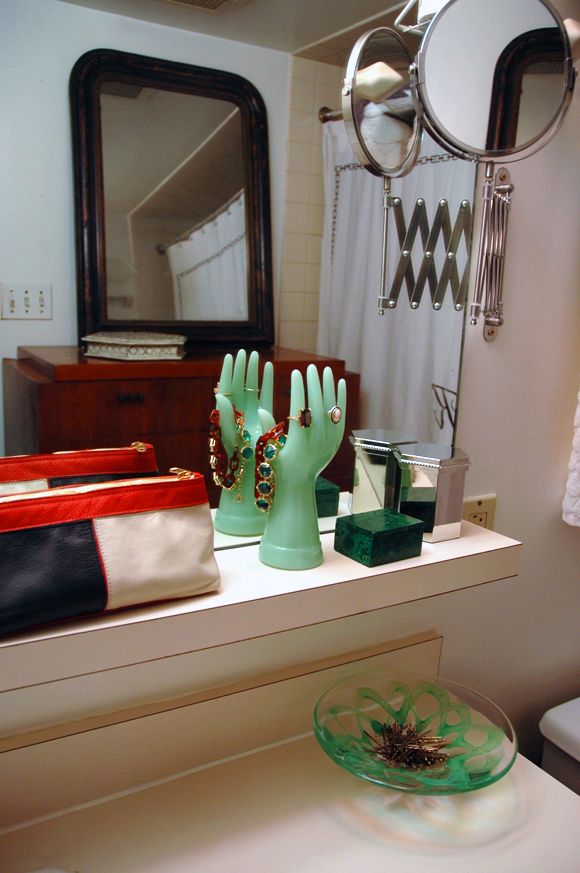
And I hung two of the $5 magnifying mirrors from IKEA. We've had these for a couple of years now and they are A+ in my book. As I side note, I am crazy in love with anything scissor-arm (these brass beauties were my favorite purchase to date).


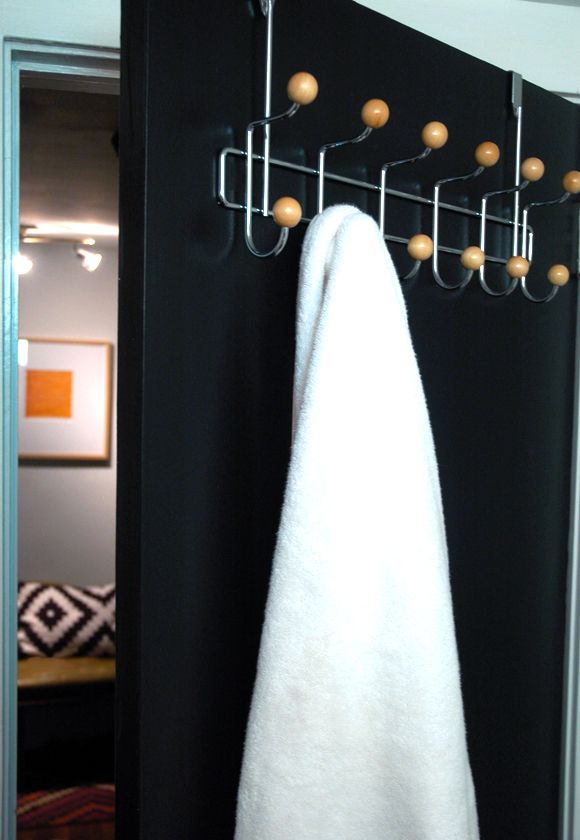
This cute new coat rack from Urban is also a favorite now.


Truthfully, I am crossing my fingers that the landlord is up for a full bathroom reno this summer. (and really, shouldn't he be? maybe I should send him this post as a refresher on how nasty the space is!) But before then, I have big plans for the mirror area and I'm going to paint out the kick panel black and I think I'll add little feet so the vanity looks more like a piece of furniture. I wish I would have just done this while I had all the paint and everything out. In person it's not as obvious that that kick panel needs to be painted out.


All in all, I don't totally, totally hate this space anymore. And burning it down is a distant plan B now. So, that's good! All thanks to these pretty pulls and a little black paint.


What pigs have you been slathering with lipstick lately? I'd love to feel like I'm in good company here. :)

Monday, February 18, 2013

How to Paint Perfectly Crisp and Straight Lines on Walls

After this post, some of you emailed for tips on painting really crisp and straight lines on walls. I have a simple approach, but it works every time for me! One little disclaimer though - stripes don't work well on highly textured walls. The lines just never look perfect, which would bug me a bit. So, best to attempt stripes only if you have smooth or close to smooth walls.
(Oooh! An update from the comments section: If you have textured walls, use caulking to seal the tape and you lines will be straight!!) 
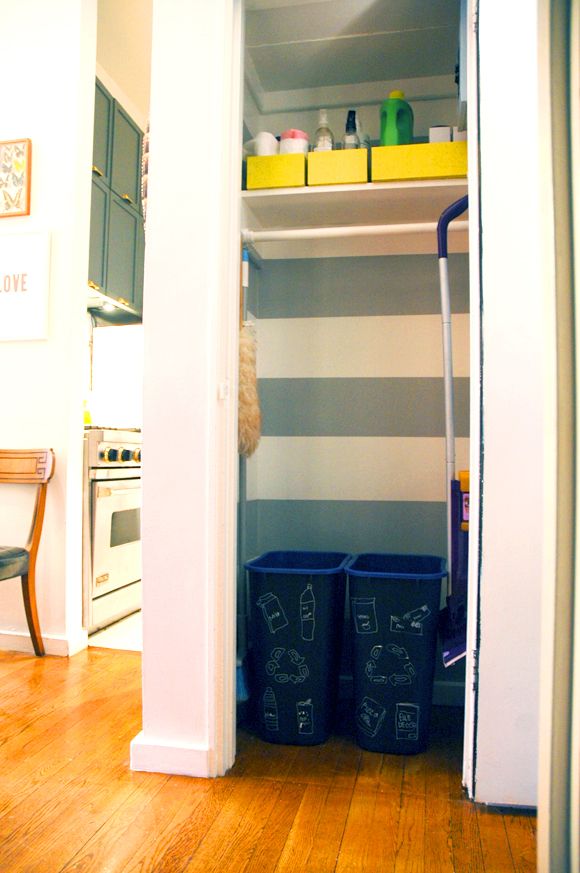

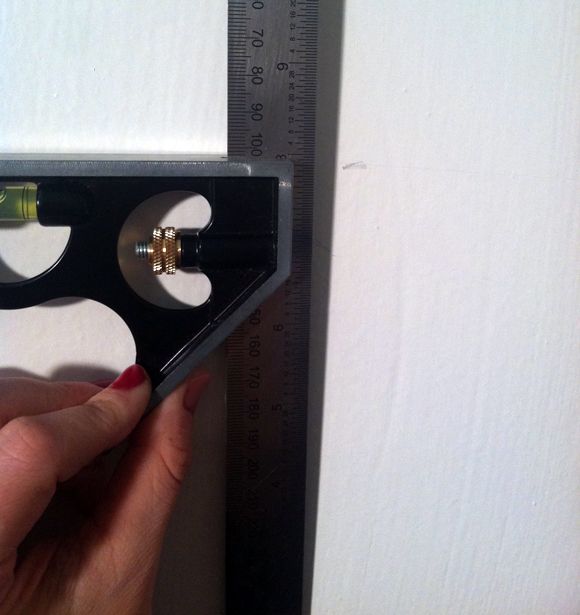
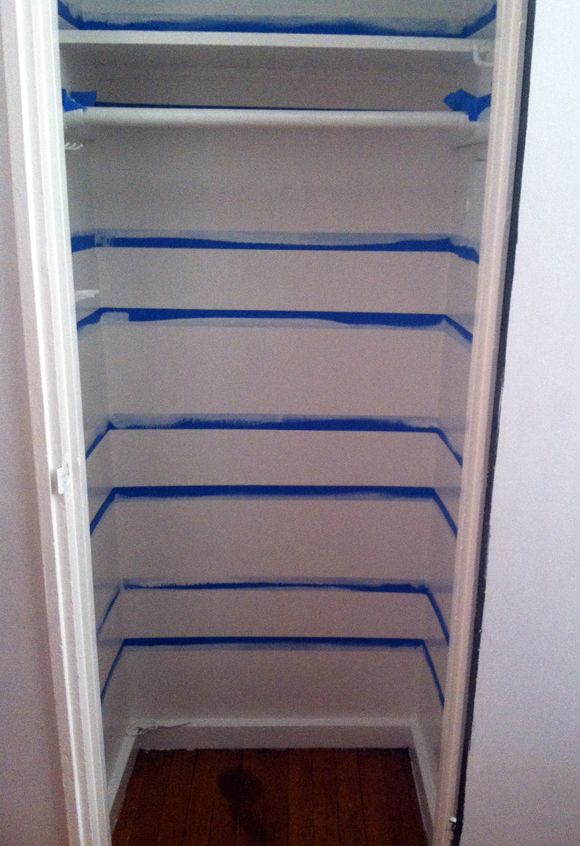
To start, use a ruler to make your registration marks. My stripes are 8" wide, so I made a little mark with a pencil 8" above the floor board, every 18" or so around the wall of the closet, making sure to mark at the corners and turns especially. Then just measure and mark 8" above every one of those marks, going all the way up the wall.


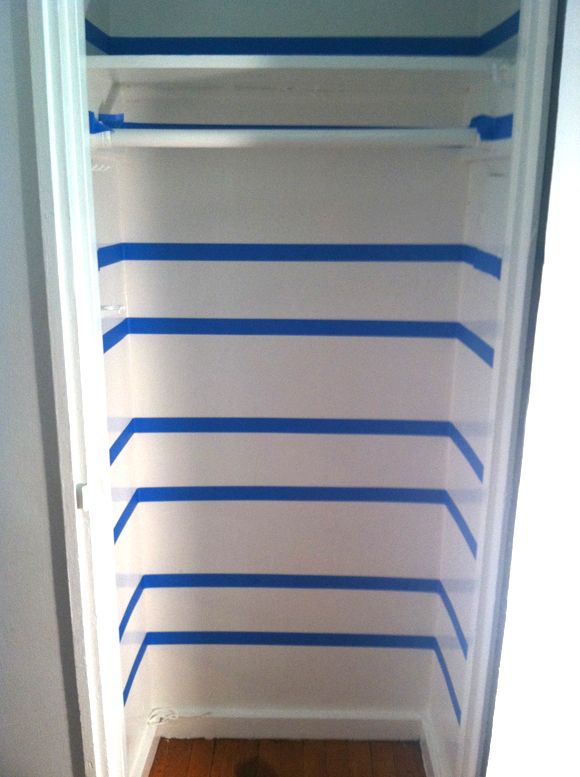
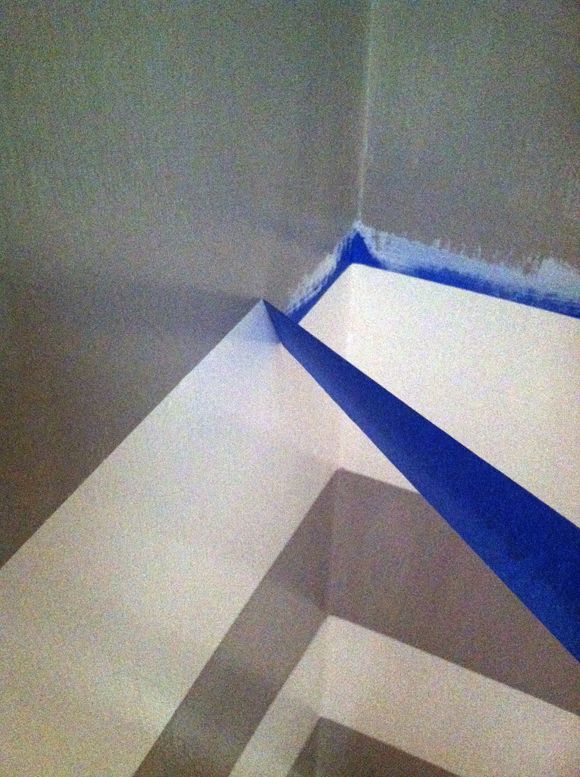
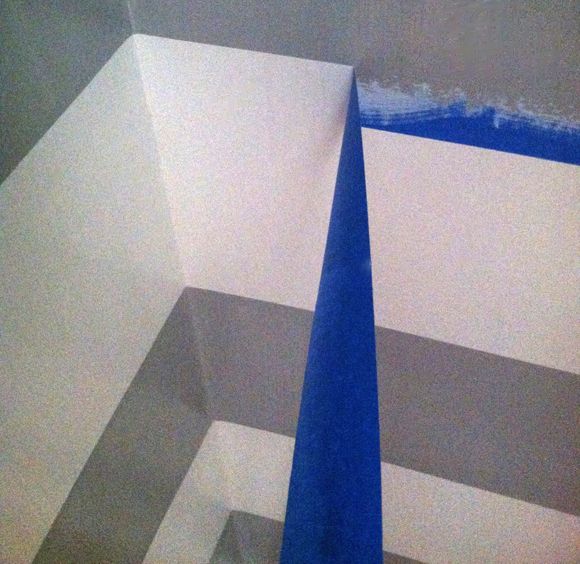
Then use painters tape to connect the marks. Try hard to not bend the tape. If you pull the tape out gently and straight, you can trust that your lines will also be straight.

You can see here that the stripes don't look evenly spaced (because they're not). You'll need to tape above the registration mark and then below the registration mark to block out the full 8" for the stripe.


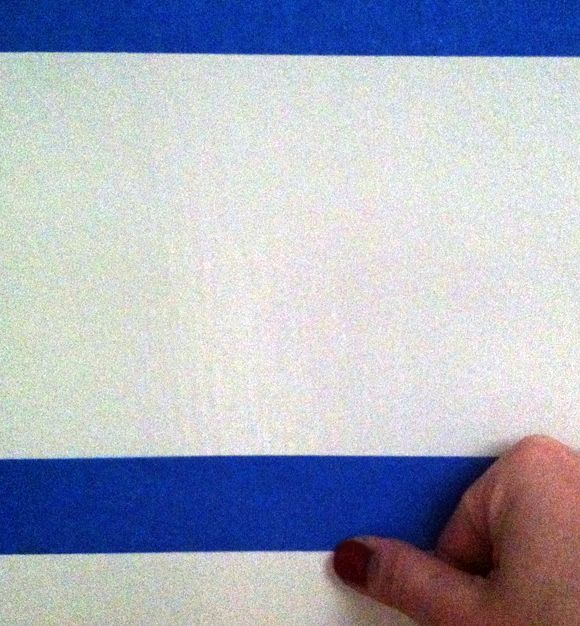
Then go back over the tape with your thumb and really smooth out and lay down the tape, just on the edges you'll be painting.


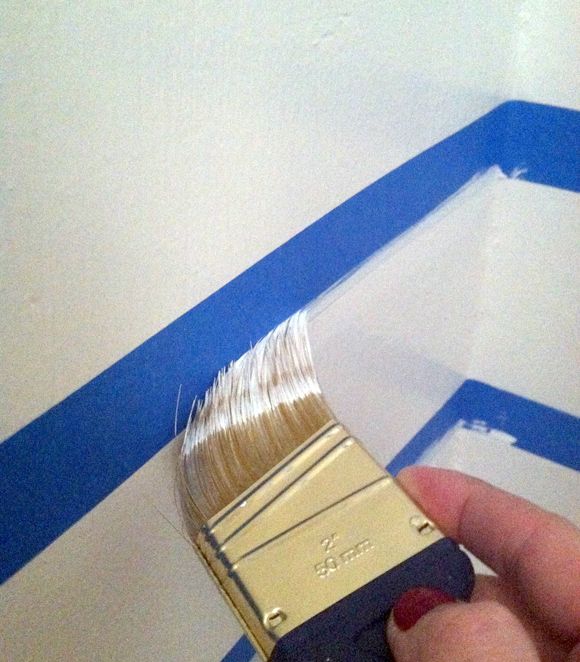
Here's the real trick for perfectly crisp lines: seal the edges of the painters tape with some of the base wall color before painting on the contrasting color. Don't paint the whole width of the tape. Just a bit along the edge of the tape on the side where the stripe will be painted.


Let that dry before you paint on the stripe color.


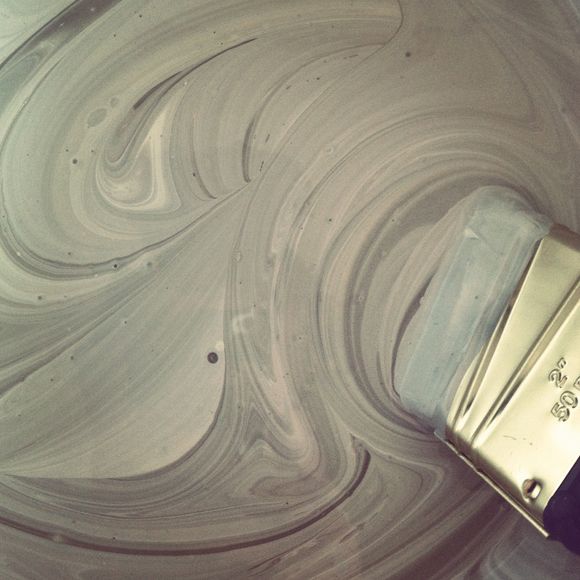
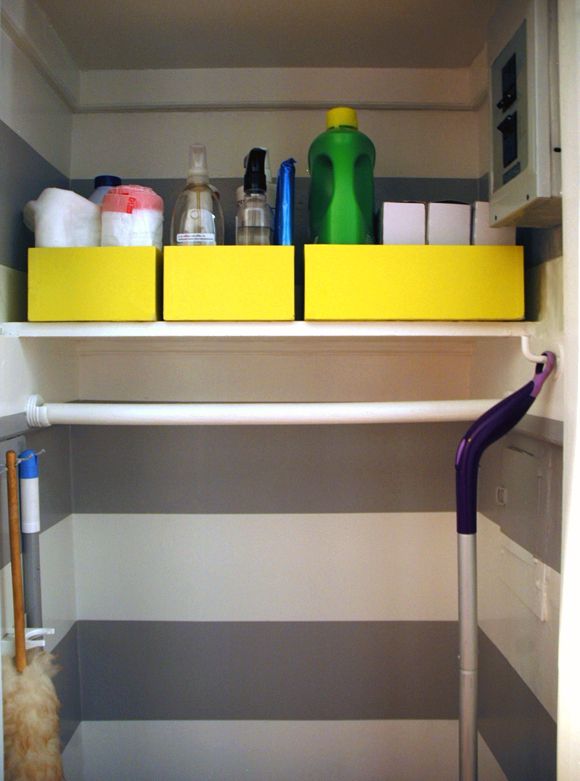
For my stripe color, I wanted to do a gray that sort of coordinated with the gray I just painted in my powder bath, since the doors are across the hall, only about three feet apart from each other. I didn't want to do the exact same color and I wanted something much lighter, so I mixed about one part BM Chelsea Gray with two parts White Dove.


You can roll or brush on the stripe color, and then I like to pull the tape off while the paint is still wet. I don't think it matters either way though, if you prefer waiting til it's dry. (#impatient)

Check out those lines! Not a bit of paint bled through because that extra little strep of sealing the edges with the base coat paint. I've used all brands of painters tape before too, and none of them give me the same results without doing the sealing step.


It's one of those completely satisfying projects that moves pretty fast. I busted out this closet in about two hours.


PS Some of you asked about the citron boxes I have on the shelf here. They're shoe boxes from Crewcuts! Ha! J. Crew is having an additional 40% off sale items plus free shipping, so how could I resist picking up some new spring kicks for the girls? The cute, sturdy boxes were a little bonus though, for sure. :)