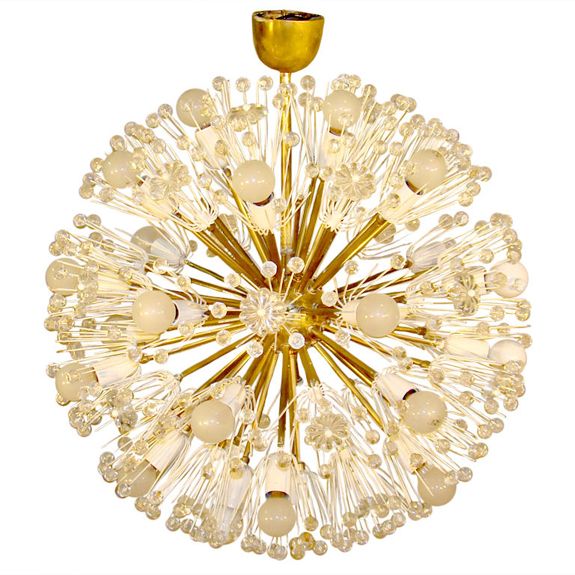
After deciding to buy the Gossip Girl sconces, I had sort of eaten up my lighting budget and needed to figure out something very inexpensive for the dining room. I thought the ubiquitous IKEA Maskros (which means dandelion in Swedish) might be a good base for a DIY sputnik.
I had some help from my Mom and Dad, who were in town visiting at the time. We busted out the entire project in a night and had the thing hung in the morning. I love projects like that!! (THANKS Mom and Dad! xo)
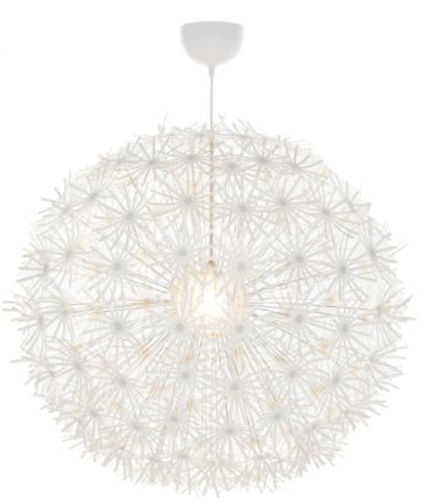
It's a pretty simple project, with not a lot of tools required. I went with the 32" diameter fixture because we have a big open space, but I would recommend the 22" fixture (which is only $49!) for more traditional rooms.

Like almost all IKEA products, the Maskros comes disassembled. There are, I think, 124 white flowers to attach to long metal rods.
The white, plasticy paper flowers are about 5" wide. This is totally personal preference, but the thing I don't love the most about the Maskros in it's original state is all the shadows the flowers create and I needed this fixture to be a functional light source first and foremost. So I played around a bit with the proportions to shorten the petals and decided I like a 2.5" diameter best.

I used a clear (making it easy to find the center) plastic cup with a 2.5" base to trace a circle on each of the flowers. A little tip: I find that projects with many steps of many multiples are done best and fastest by focusing on one step at a time. I traced all the flowers first. Then I cut all the flowers, etc. Don't get ahead of yourself in the steps for the sake of accuracy and efficiency.


The white, plasticy paper flowers are about 5" wide. This is totally personal preference, but the thing I don't love the most about the Maskros in it's original state is all the shadows the flowers create and I needed this fixture to be a functional light source first and foremost. So I played around a bit with the proportions to shorten the petals and decided I like a 2.5" diameter best.
I used a clear (making it easy to find the center) plastic cup with a 2.5" base to trace a circle on each of the flowers. A little tip: I find that projects with many steps of many multiples are done best and fastest by focusing on one step at a time. I traced all the flowers first. Then I cut all the flowers, etc. Don't get ahead of yourself in the steps for the sake of accuracy and efficiency.
Once the tracing was all finished, I cut down the flowers. Then I pulled out my trusty old quart of Ralph Lauren Regency Metallics in 'Parlor Gold' to paint out the florettes.

If the weather had been better and if I didn't live in NYC, I totally would have spray painted the whole thing using Rustoleum's metallic line in the Brass finish. But, I am actually really happy with the look of the hand painting. It didn't take that long, and I think the end look is a little less flat than spray paint - more mottled, like real gilded metal.

While one side of the florettes was drying, we painted the rest of the fixture, including the arms (below), the cord and the ceiling mount.


If the weather had been better and if I didn't live in NYC, I totally would have spray painted the whole thing using Rustoleum's metallic line in the Brass finish. But, I am actually really happy with the look of the hand painting. It didn't take that long, and I think the end look is a little less flat than spray paint - more mottled, like real gilded metal.
While one side of the florettes was drying, we painted the rest of the fixture, including the arms (below), the cord and the ceiling mount.
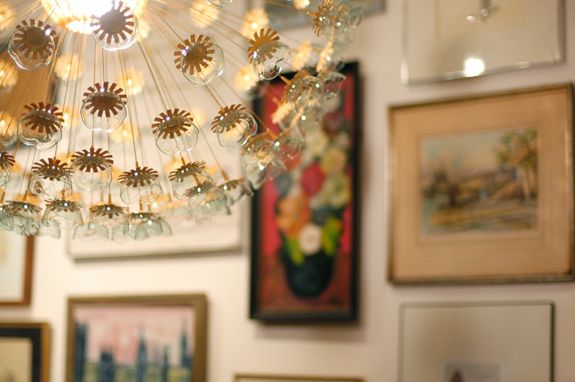
Once both sides of the florettes had been painted and the fixture frame had two good coats of paint, we started gluing these adorable little amuse bouche plates on the florettes. I used two boxes for the larger size Maskros.

Fabritac is hands down my favorite adhesive and it worked really well for this project. Super tight hold and a fast drying time. I needed only a small dollop on the bottom of each plate to attach the flower.
We let the glue set up for an hour or so and then we attached the florettes to the stems as they were designed to be attached. There are little prongs (the button looking pieces in the center) that snap the flowers in place on the arms. Grace was in charge of most of the snapping.
We used a fabric roll on two chairs for holding the arms, which worked really well for letting the paint and glue dry.
My super handy dad took care of the electrical aspects and then we all worked together to attach the huge arms to the frame. It was fun to step down from the ladder and take it all in at once!
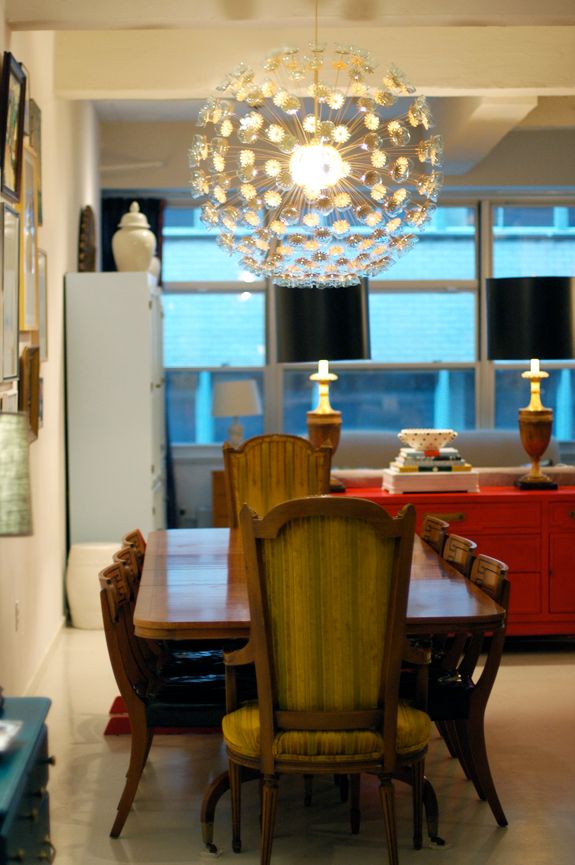
The large size was just what my dining space needed. And it's so great to have an additional light source above the table. I was surprised at how much it brightened the space - even with just the one bulb.
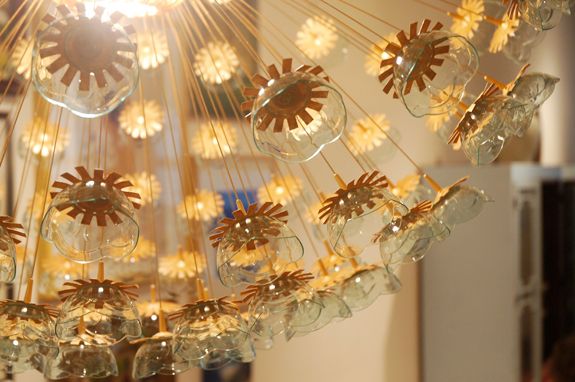
I love that the plastic plates have that hint of green! I think they really look like glass and the painted paper/plastic actually kind of passes for brass.
It has that Sputnik vibe, but it's definitely doing it's own thing. Not bad, for about $100 in supplies!
I'm so glad we cut down the flowers. It doesn't scream IKEA Maskros this way and the little shadows are actually quite pretty. Sort of like polka dots (I keep thinking of the Kate Spade Twirl bottle!)