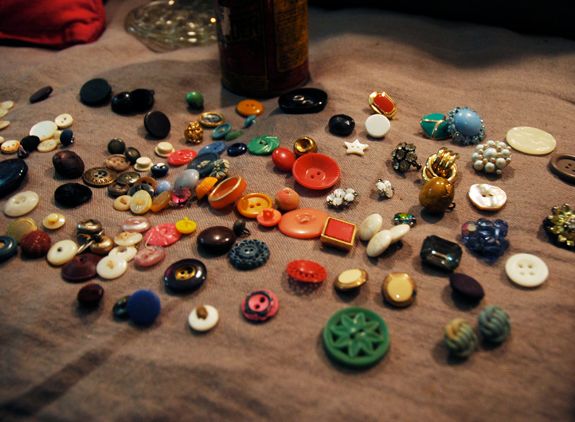
I already had a few buttons that belonged to my dad's mom, so I was excited to have a collection from both sides of my family. I'm sentimental about family things, so I knew I'd want to do something with these old buttons rather than hide them away.

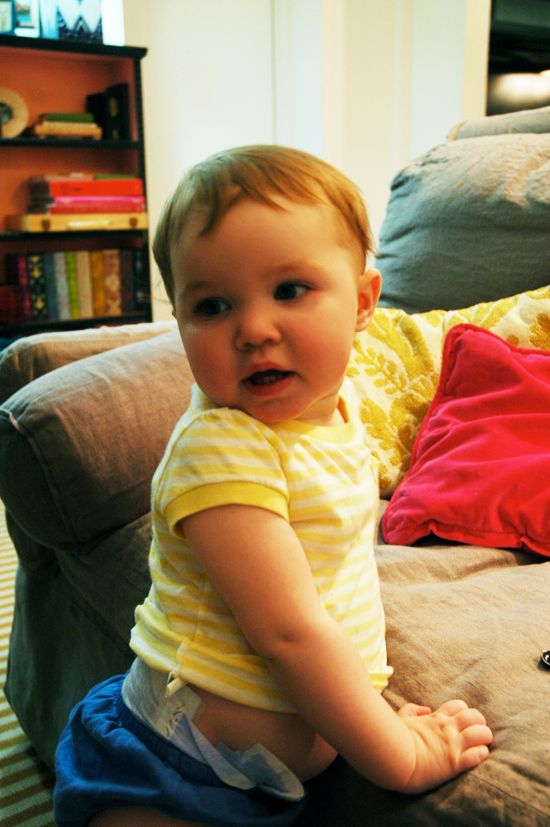
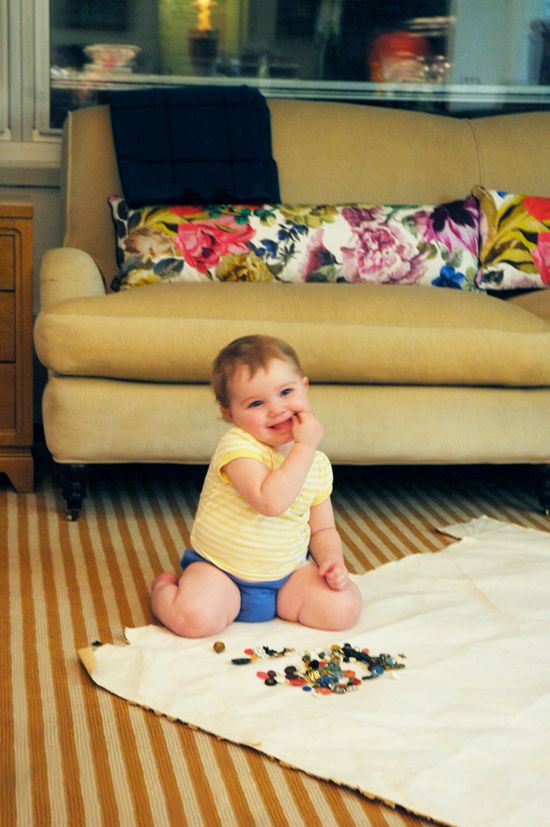
My amazing sister, Ali, was visiting us this week and I thought this would be a fun project for us to tackle together. We pulled out the buttons late one night, when Evie woke up. I got her out of bed and let her join us for a bit. She was so excited by these buttons!
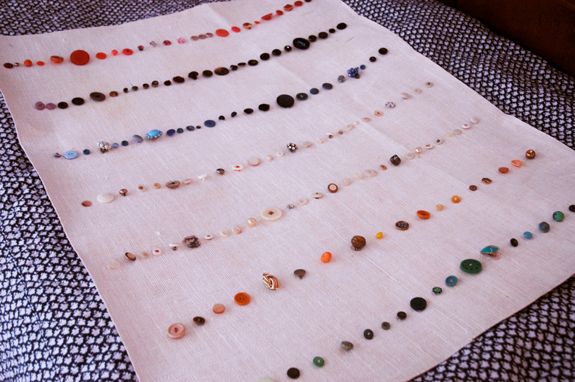
After Evie went back to bed, Ali and I got busy arranging the buttons on this interesting white burlap. It's mounted on heavy paper and I've never seen anything like it (I got it at Bettertex fabrics in SoHo). It a nice heavy weight and the color is interesting with the white fibers on the yellow paper. I'm sure a stiff burlap or a grasscloth would work similarly.

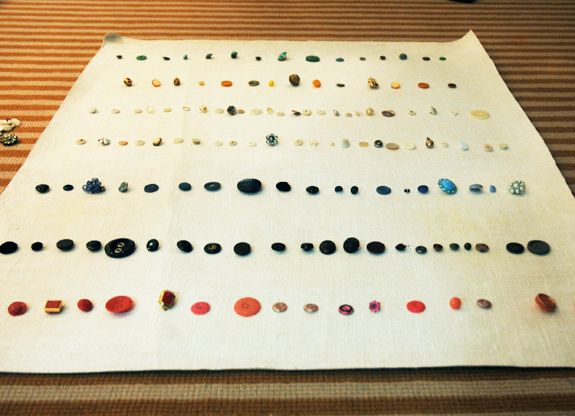
I cut the fabric down to size and ironed it flat. Then we arranged the buttons by color in horizontal lines, but tried to be a little loose about placement so that it didn't look overly thought out.
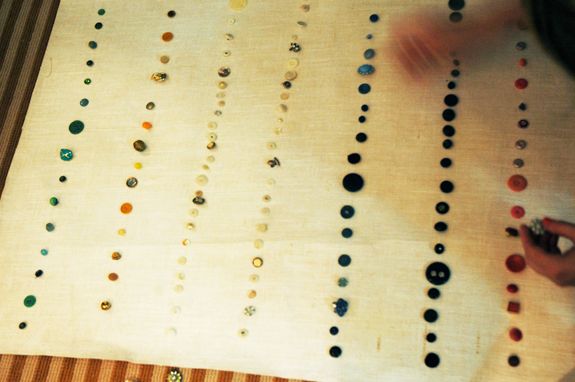
The top row is green, then yellows/golds, two rows of whites and creams, blues, blacks/browns/purples and then reds/pinks.
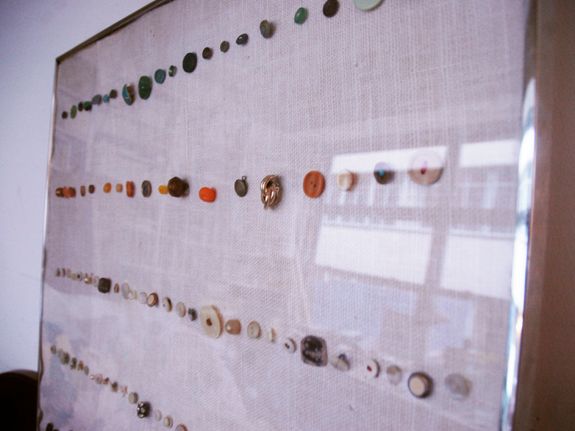
Many of the buttons had old bits of thread still in the button holes and I kept these. For contrast Ali and I threaded some of the buttons with colorful thread.
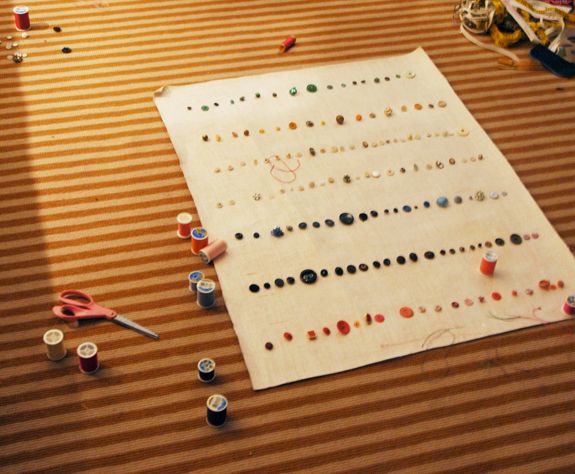
Then we cheated and fabric glued all the buttons in place. It would have taken ages to sew them all down and it would have been tricky to get the placement and spacing right. Using Fabritac to secure the buttons took about 10 minutes total and they are all holding very well.
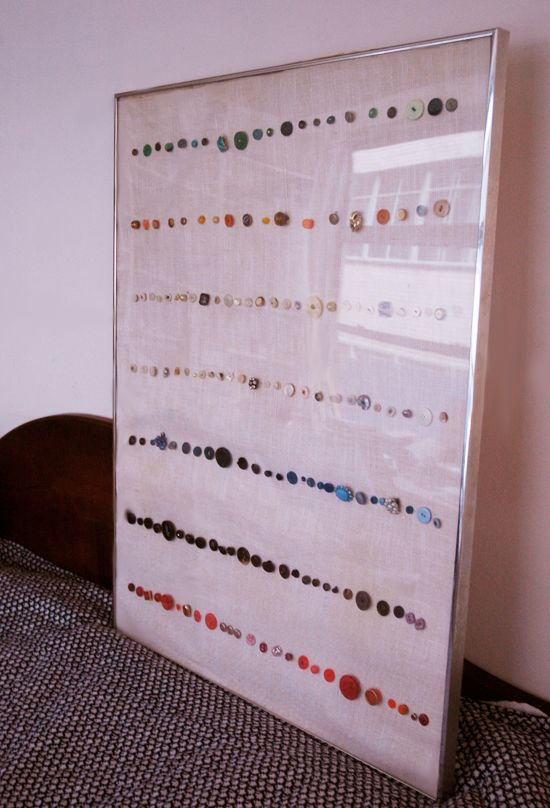
After the glue dried, I framed the buttons in an old aluminum frame from the 60s that I got at a flea market for $1. The artwork it used to hold was nasty, but I loved the frame and thought I could change out the art. It was the perfect size for this project! Framing can be really expensive, so whenever you are at a thrift store or a flea market, keep an eye out for well made frames in standard sizes that can be reused.
I'm happy with the way this easy project came out. I like that it is colorful and has great texture. And I love that it is something that can be studied. There are lots of pretty and unique buttons. Many of them are connected to childhood memories I have of my grandmothers.
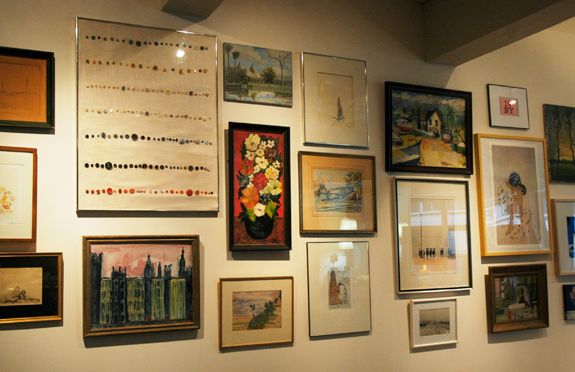
For now, I put the button art in a gallery wall arrangement above the dining table.
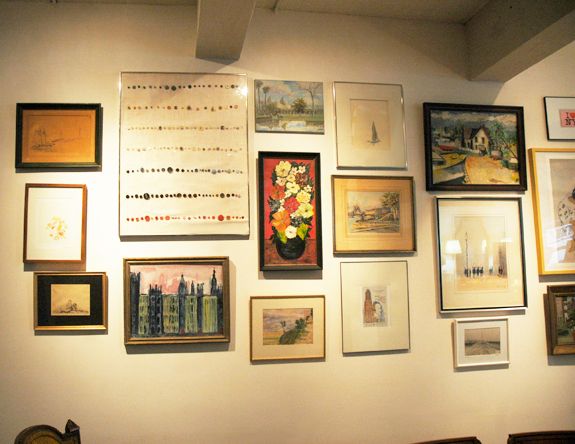
This space is still very much a work in process, but the buttons are a fun, graphic addition. Seeing them every day makes me smile.