FREE DOWNLOAD PICTURE
MORE INFO ABOUT NOTEBOOK
Showing posts with label Wallpaper. Show all posts

Tuesday, April 9, 2013

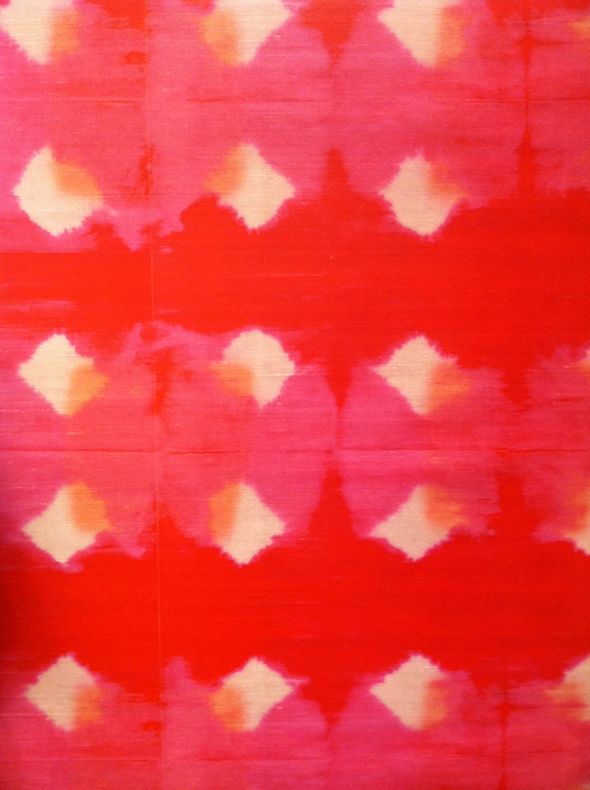
Watercolor Wallcoverings

 photo IMG_0627.jpg

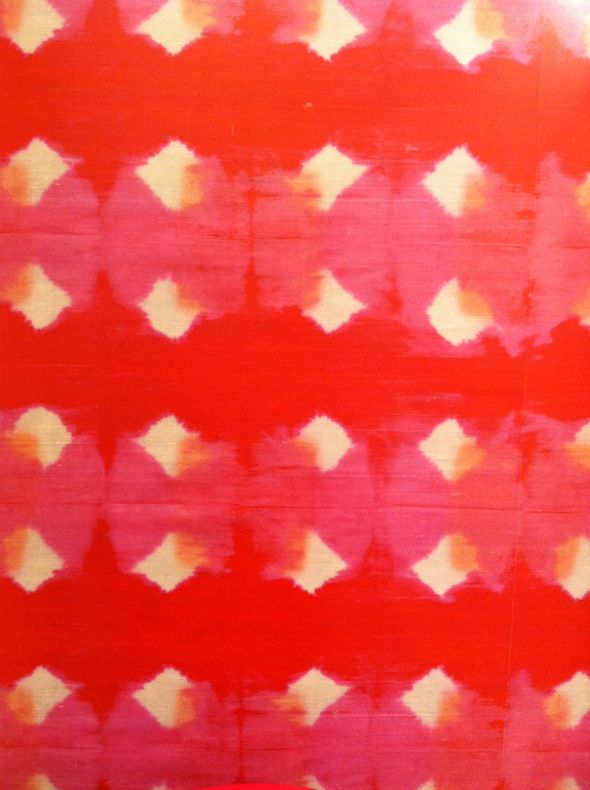
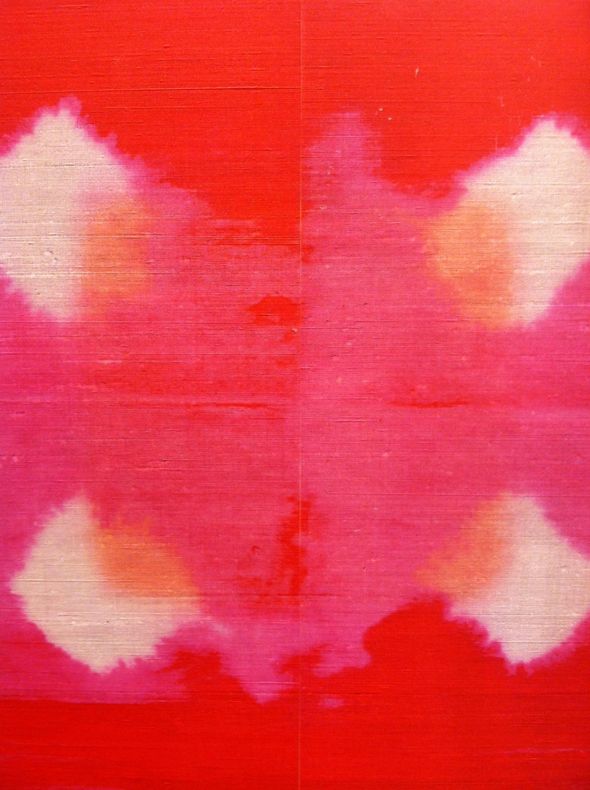
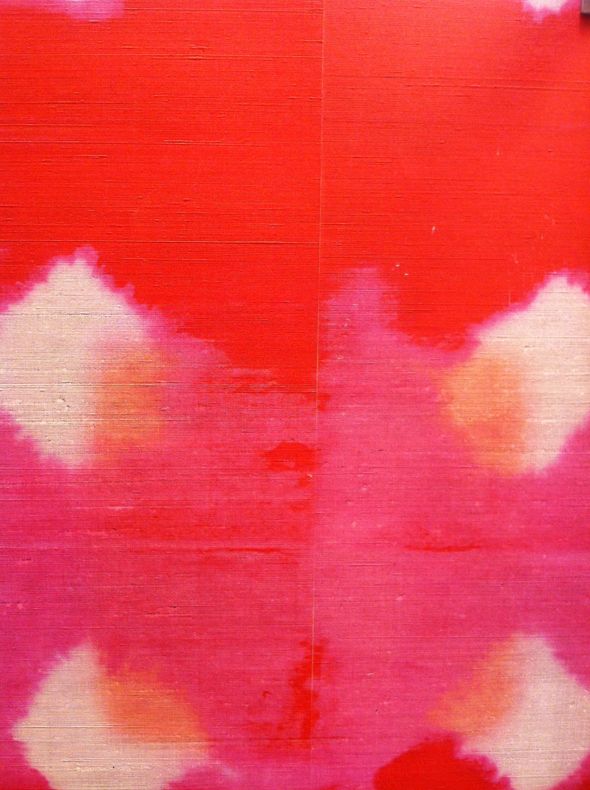
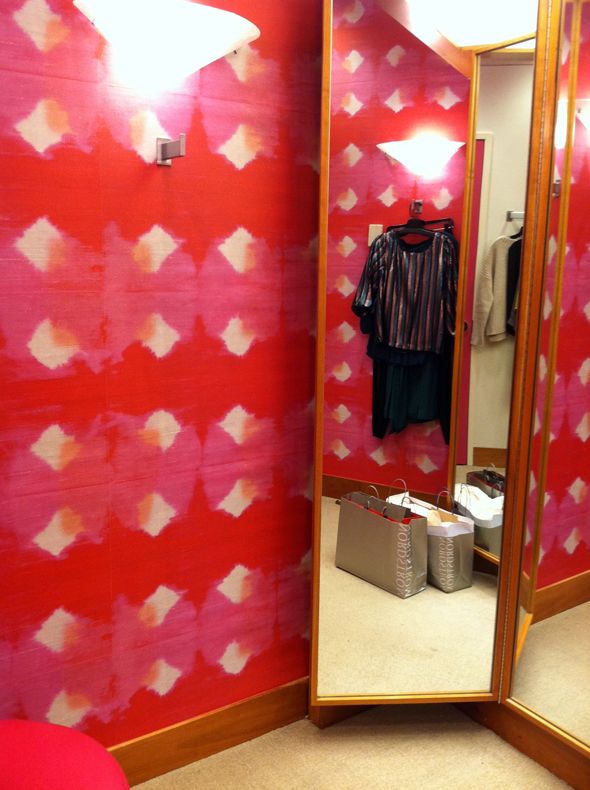
Since I have abstract painting techniques on the brain, I've been dying to recreate a version of this French-made wallcovering from Elitis that looks exactly like hand-painted silk. Could that red-pink-coral color combo be any more perfect?

 photo IMG_0633.jpg

 photo IMG_0635.jpg

I spied the paper hanging in a dressing room at Neimans and could barely take my eyes off its gorgeousness long enough to try on my clothes. For something so intense, I found the pattern oddly dreamy and soothing.

 photo IMG_0632.jpg

 photo IMG_0630.jpg

I'd love to try to recreate the look for the inside of my closet. Wouldn't that be pretty? I'd feel like I was shopping at Neimans every day! ;)

 photo IMG_0629.jpg

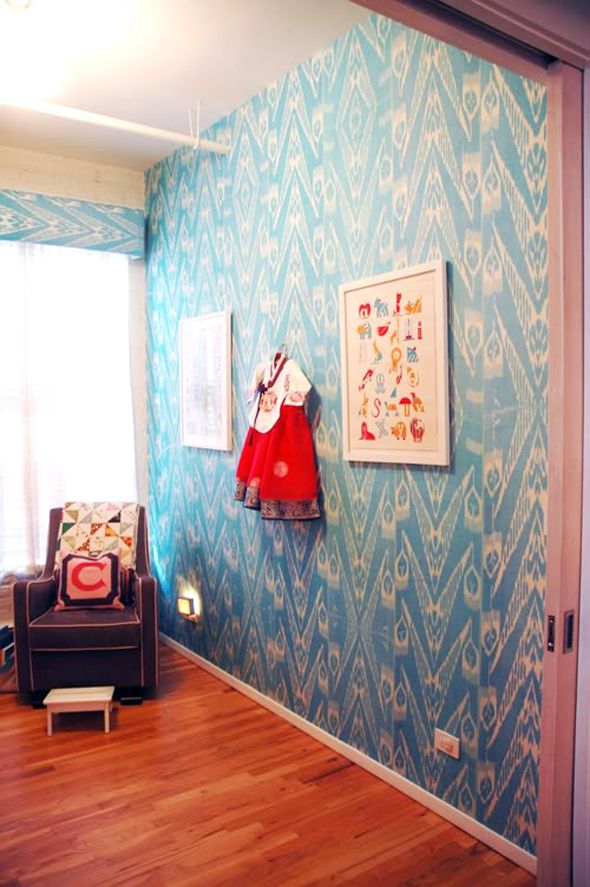
PS Remember this nursery with its ikat fabric wallcovering?

 photo DSC_0037.jpg

Thursday, March 21, 2013

Faux Brick Hardboard Wall Panels

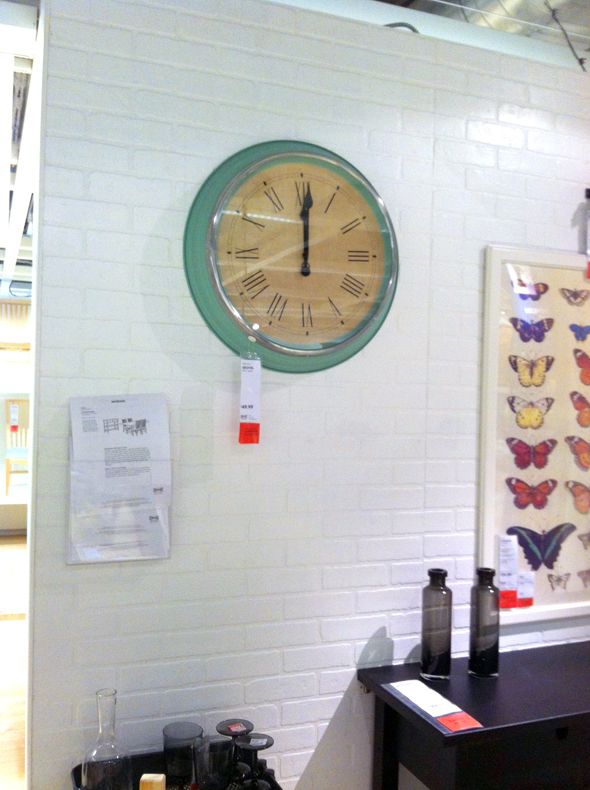
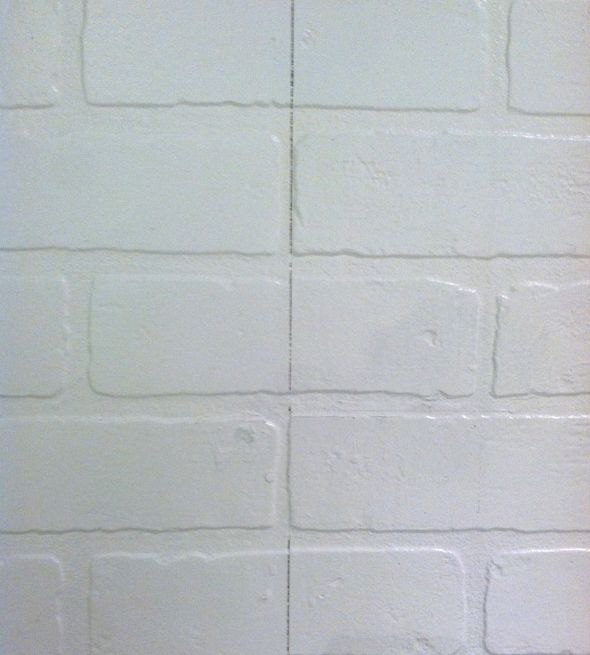
I took a trip to IKEA recently and noticed the badly patched seam in this brick wall on one of their displays and thought, "oh, that's not brick then. duh."

 photo IMG_1553.jpg

Looks like they could have filled the gaps a little better? But I did like the effect of the texture from the "bricks."

 photo IMG_1552.jpg

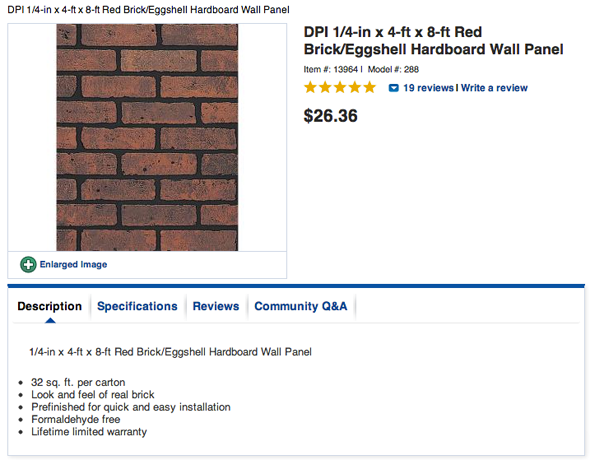
Later I did some digging around the web and I discovered these faux brick hardboard sheets at Lowes. I wonder why I've never noticed these before in the lumber aisle? About $26 for a 4x8' sheet is so affordable! And the reviews are all really positive.

 photo ScreenShot2013-03-21at15950PM.png

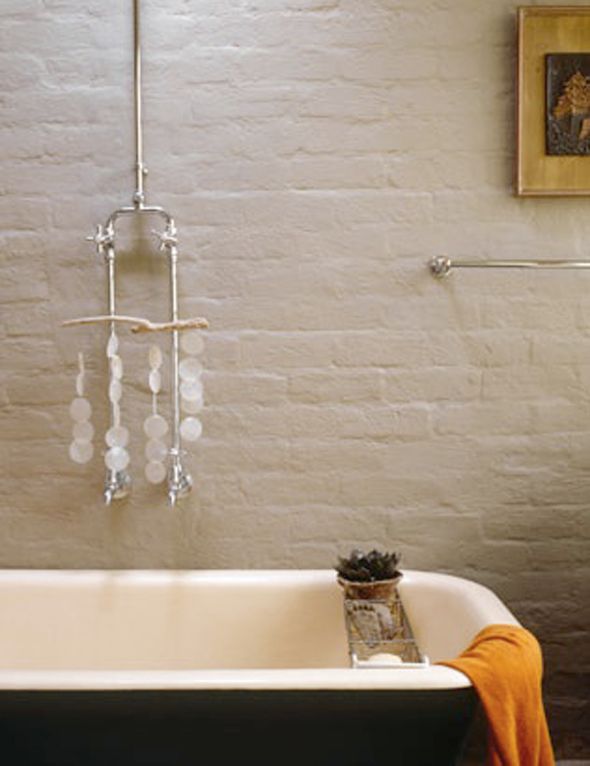
I think with a little effort and some plaster you could make the walls of your bathroom or laundry room look crusty and old like this:

 photo hallieburtonbath.jpg

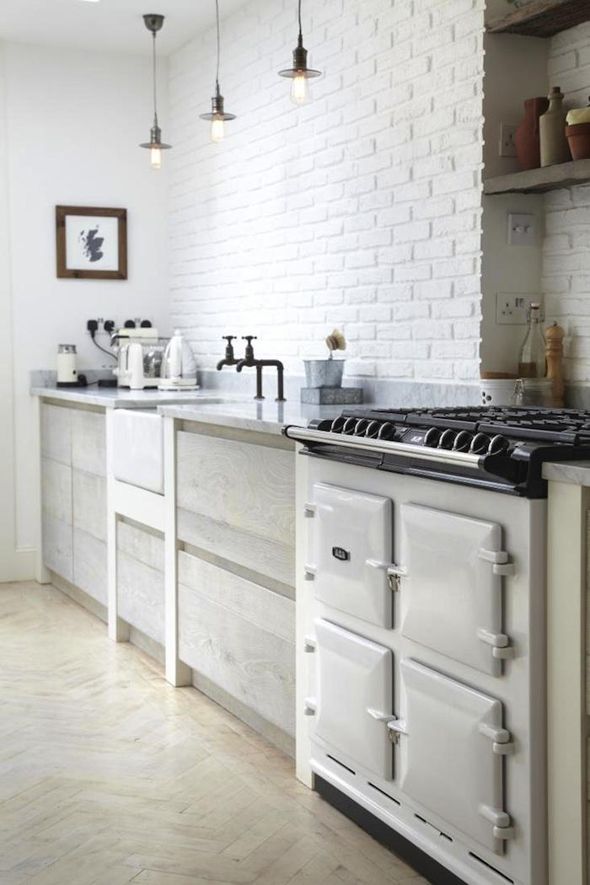
Or if you're on a super-tight budget, I bet you could use the sheets in your kitchen even (painted flat black or white like the IKEA room above, but seamed better, of course!). Have you ever tried the faux brick hardboards? I'm dying to use them somewhere now!

 photo 700_lambeth-kitchen-aga-1.jpg
(WHOA, FLOORS! ^^^)

Friday, January 11, 2013

Roll On Wallpaper

My friend Grace from A Storied Style (who posted the cutest room reveal today), tweeted me a link to this company recently.


I think I got a PR email from them or something once and was intrigued with the idea. Do any of you have any experience with patterned paint rollers? I wonder how hard it is to line up the patterns perfectly and to get the paint on the wall in a consistent layer? I suspect you'd have to get okay with the idea of there being a lot of variation in the color shades. Could look cool though?

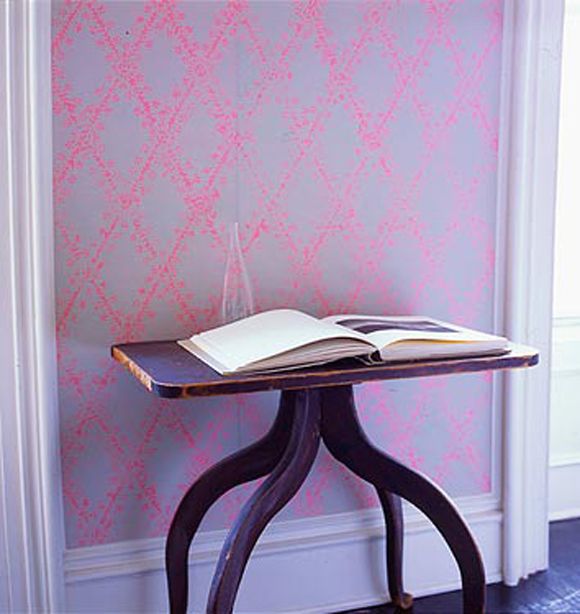
I'd be tempted to try something like this neon pink in a kid's room, or a closet or the backs of a bookshelf. A stencil would work just as well, though I wonder if the roller application would be much faster?

domino

Happy weekend, friends! Let's make it a great one! xx

Thursday, December 6, 2012

Temporary Wallpaper from Spoonflower

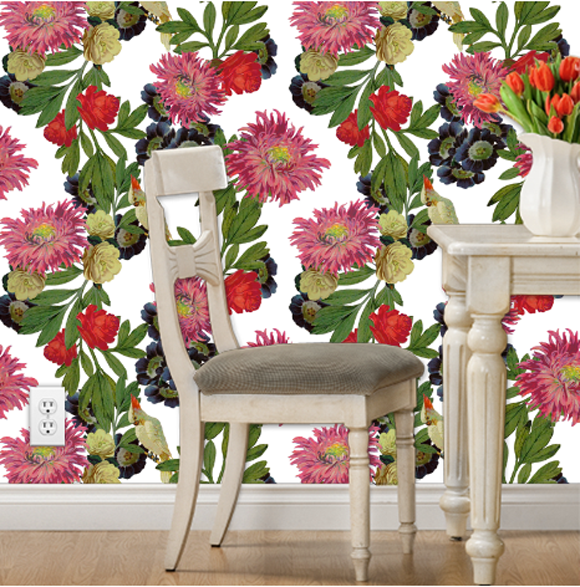
Hey, all you renters and commitment phobes! Did you know that Spoonflower prints removable wallpaper!? You can create your own design or choose from their insanely-extensive archives of user-uploaded designs.


Here are a few of my many favorites:


The price point is reasonable at around $60 a roll. How perfect would some of these designs be for a small application? A powder bath, a laundry room, a coat closet that your guests will see, an accent wall or nook...

If you have two or three hours to blow, click away!

Monday, October 1, 2012

The Garden Level Entry

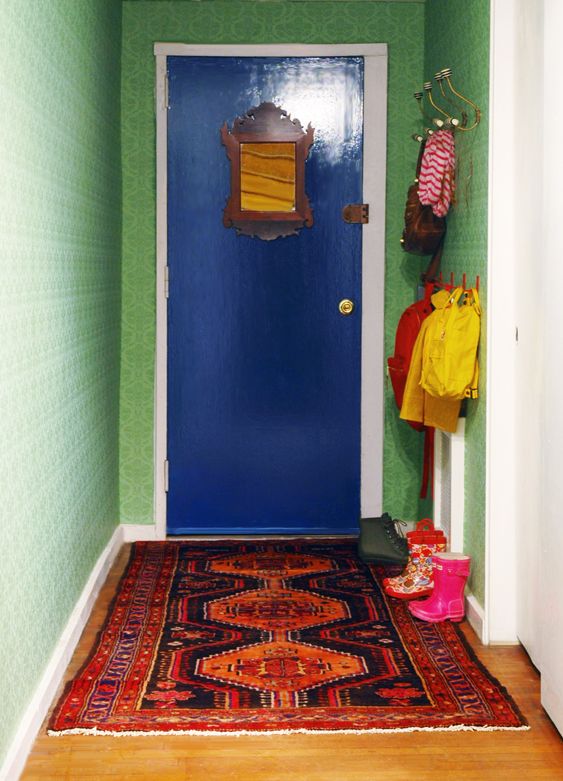
Before we lived here, I didn't realize just how much we would end up using the garden level entry. I thought we would just leave from the main front door all the time. But down on the garden level, there's more a little more space and a full-size coat closet. Which means plenty of room for backpacks, scooters, helmets, ballet and soccer gear - all the stuff that accumulates around here easily. We're finding it's actually nice that we can have a more casual entrance for the family and a more formal entry for guests.


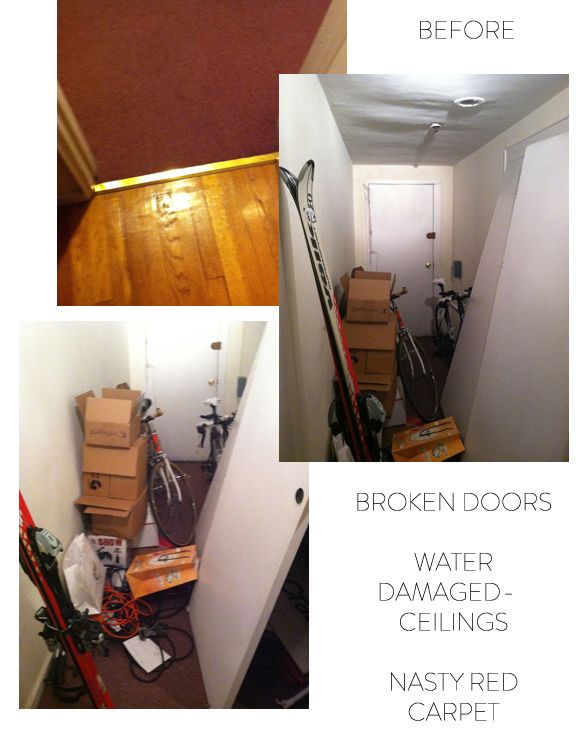
Now that I'm revisiting old photos from before we moved in, I can see why I assumed we would never use this entrance. It was literally blocked off from junk the bachelors kept in the hall. And somehow they had broken the closet doors and just sort of propped them up at an angle. :)


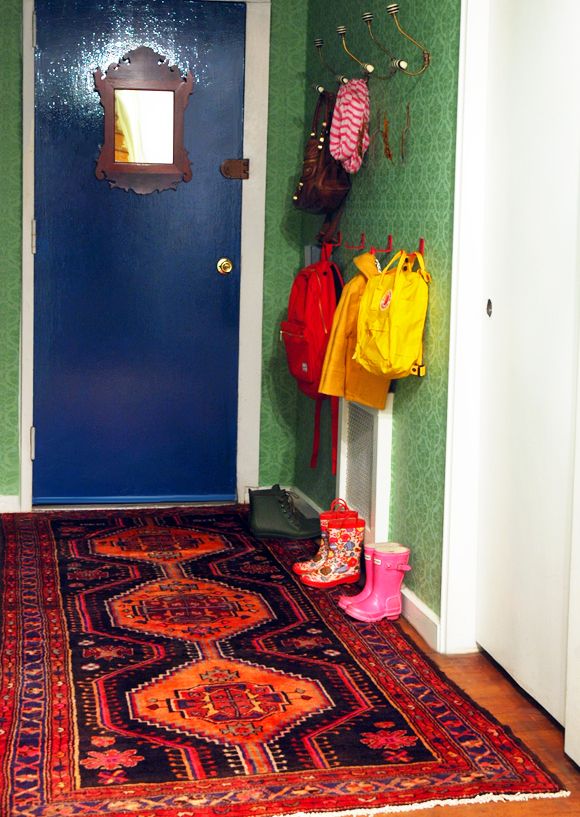
So now that this entrace has become basically our mudroom, I bumped it up on the decorating priority list. Just like with my office, I mostly wanted to use things that I had around the house already. And because it's a more casual space that guests won't often see, I thought it would be fun to just go a little crazy here - full on, uninhibited decorating. I'm not done yet, but we're making some headway, I think.


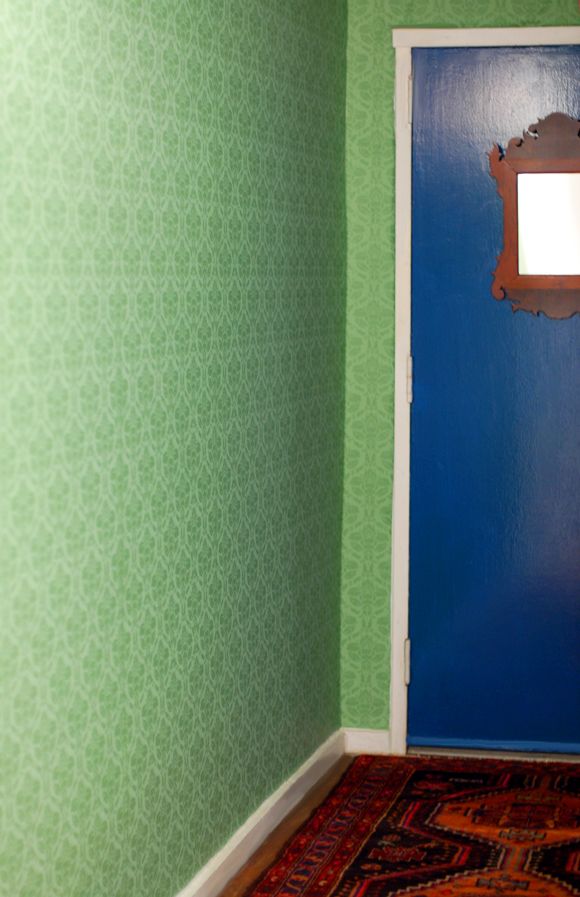
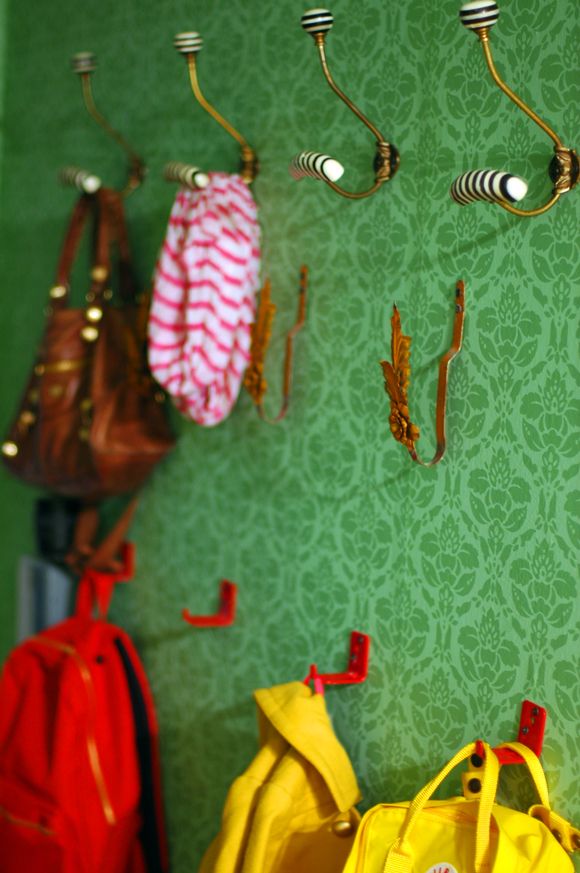
The wallpaper was purchased at a B&F sample sale a couple years ago (we used the larger scale pattern in my mom's kitchen) for just a few dollars a roll.


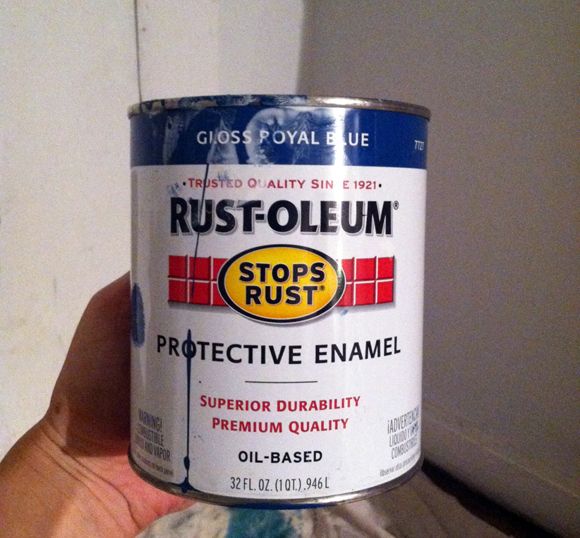
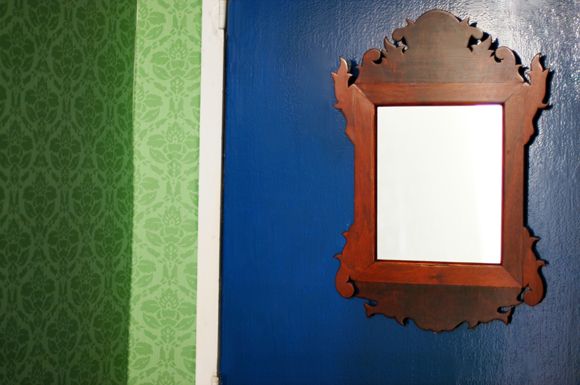
The blue enamel paint on the door was left over from the interior of Joanna's bedroom armoire. I'm so crazy about the color!


I recycled the hooks from the loft entry. After living a month or two without these, I realized how much the hooks help us keep clutter off the floors. As soon as we walk in, everything gets put up and away. No more searching for backpacks first thing in the morning!


I picked up the antique burlwood mirror at the flea market last year. It's a favorite of mine. It's sort of weird I guess to hang a mirror on the back side of a door, but I kinda like it. I hung it on the door using a screw, and then added picture hanging strips to the corners to give the frame extra stability when the door slams, etc. It's fun to have a little place to check your hair before you run out the door. I want to hang an art series on the left-hand wall, so this was a way to get a mirror without losing wall space.


There was this really bad, commercial grade red carpet in most of the garden level rooms. We pulled it all out right away (it was super gross). The floors underneath need a little love, but they're not that beat up.

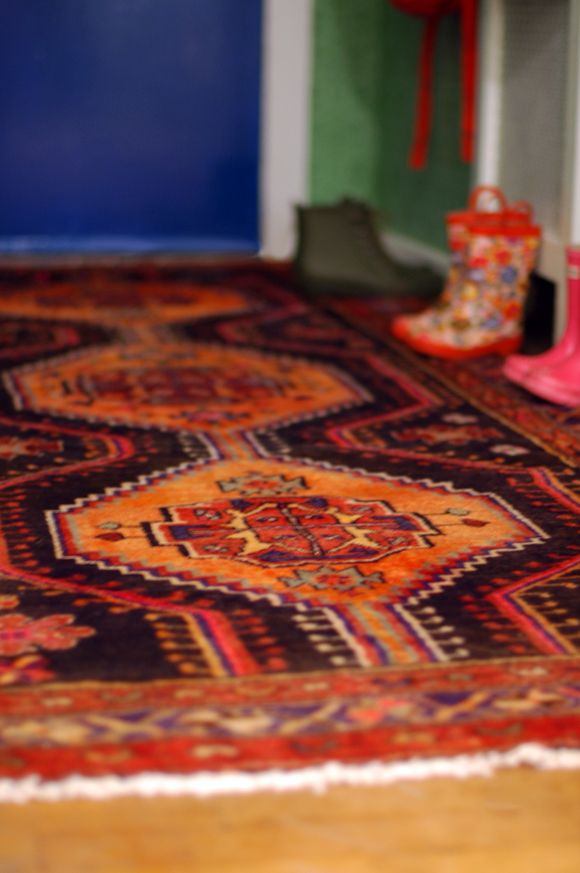
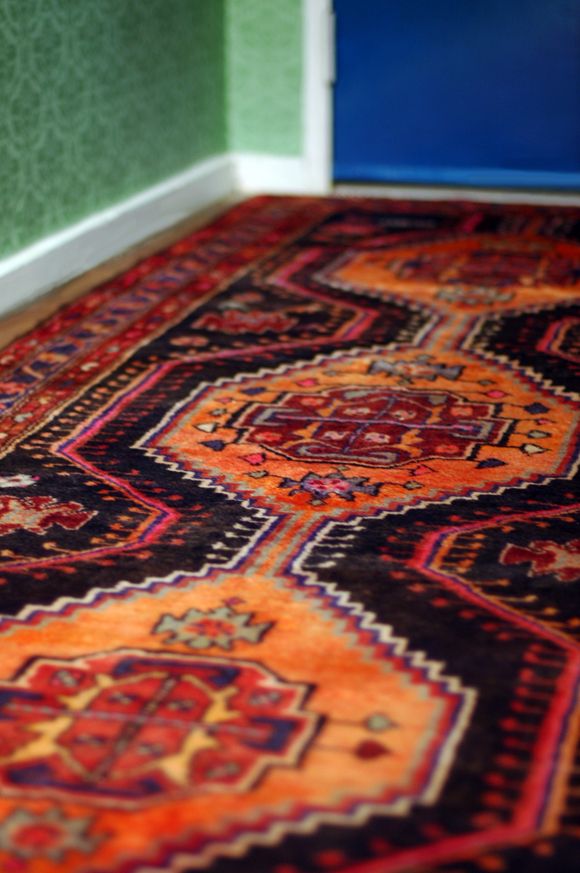
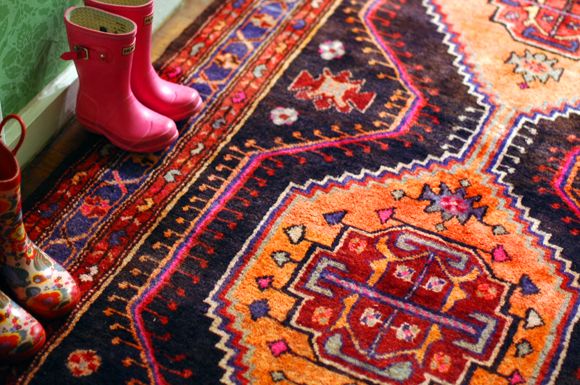
I was so, so glad my new persian rug fit the hall space. I love the way the coral in the rug works with the green of the wallpaper.  It was 50% off(!) at eSaleRugs. They are having sales all the time so I make it a habit to pop over to the site every other week or two to see what's new, so I have a lot of rugs from them now. :) (remember my old kitchen runner?).


The benefit to the use-what-you-have decorating approach is it's really instant gratification. I love how fast I was able to throw this all together. After just a few hours of work, it feels like a somewhat-finished space. And I'll take finished-and-good-now over perfect-maybe-someday, any day of the week!
 

Monday, September 10, 2012

Making a Wall Mural

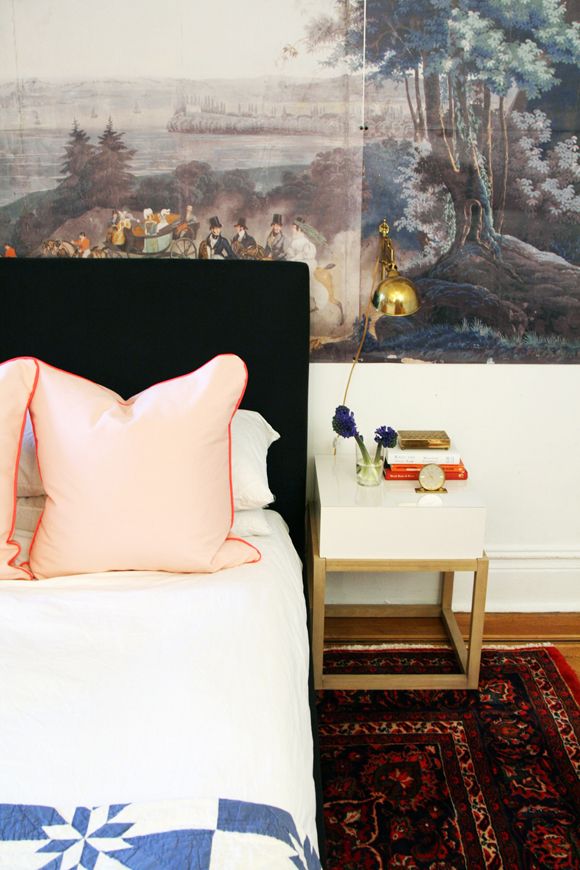
I was so lucky to get to work with amazing Abbey Nova last year on her Upper West Side apartment. We did a lot of really fun DIY projects together in her lovely home that I'm so excited to share with you! First up, a wall mural for her bedroom! (Pssst - if you want a sneak peek of some of the other rooms in her apartment, check out Abbey's house tour on Cup of Jo)


I'm pretty much crazy for landscape murals (in the right context!), so I was over the moon that we could put our version of that in Abbey's bedroom. We wanted something really unique and show-stopping in the master since you can see it from the entry if the bedroom door is open.


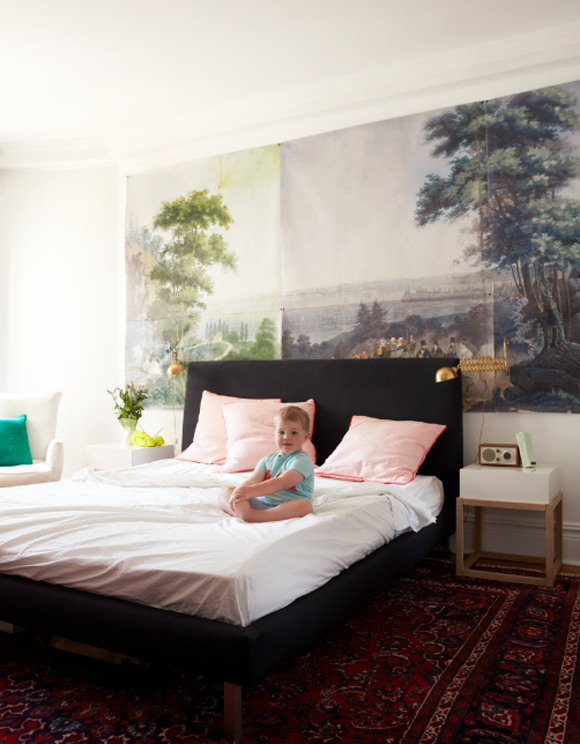
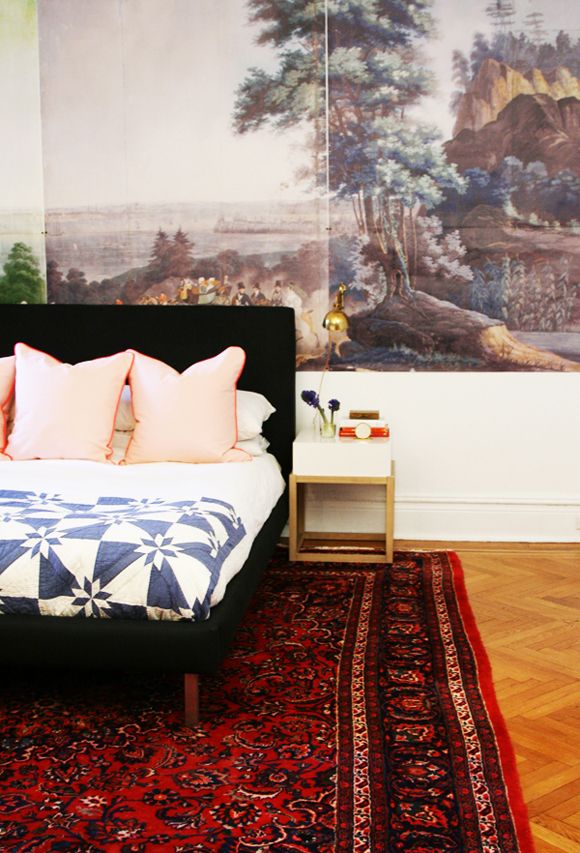
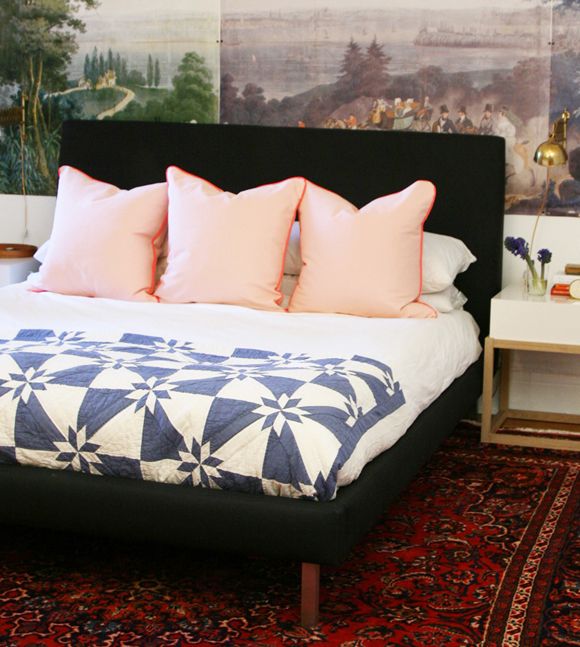
Abbey is a decorative arts historian and had access to this amazing scan of an antique Zuber mural. I had the scan printed on removable adhesive-backed paper using Wizard Prints. You can actually see in these photos that we just pinned up the panels of the mural rather than sticking it up on the wall. We knew Abbey was planning a move, so we wanted to save the adhesive for a more long-term application. (and actually! Abbey is moving this month and is selling some of her furniture, NYers!)


I love how the mural turned out! What a conversation piece if a visitor saw it peeking out from behind Abbey's bedroom door! If you want to do something similar, you can blow up your own images, or scan something in, or you can find large images online in public archives galleries. Those will most likely be a little grainy, but it's still a really cool look I think.


Another favorite part of the room - the antique brass scissor-arm sconces I found at the Chelsea flea salvaged from an old yacht!!! (you can see them best in the first photo).  And also I think the pink euros are great. I made them using peachy-pink linen and neon pink nylon (you know that sort of wind-breaker material?!) for the piping. I love how they work with the greens in the mural.

Top photo by Seth Smoot, styling by Kendra Smoot, for Cup of Jo. Bottom photos are mine.

Monday, August 27, 2012

DIY Upholstered Walls


This content series is in partnership with smartwatersmartwater, simplicity is delicious. Click here to learn more.

I think it's important to make offices feel comfortable and homey as possible - especially if they are in your home. They have to be functional first, of course, but the pretty requirement should be a close second in my book!!


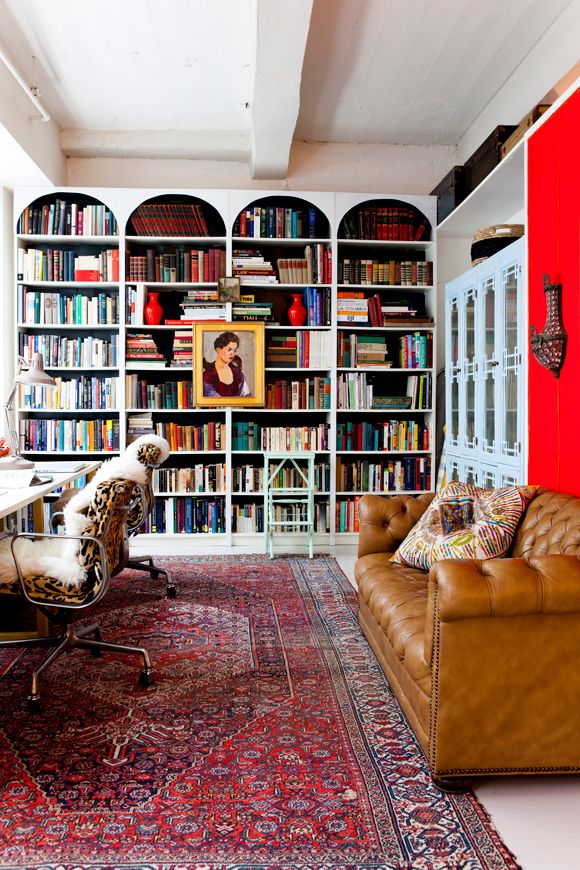
The home office in our loft was pretty with the wall of books, but the walls to the right of the shelves were not good looking for a long time. I had huge stacks of fabrics on open (wire!) shelving and a blank wall with some less-than-awesome visible drywall seams. Not cute. And I realized it was making me not want to work in there.


So, we moved the fretwork cabinets into the fabric nooks and put the fabric in my storage room since I didn't need to get into it every day. (I'm actually thinking of selling a lot of it at the stoop sale I want to hold this month or next). We use the cabinets for storing accessories and magazines and some office supplies. They really fit well inside the wall space there too.


For the little accent wall though, I wanted to try something fun, but something that was easy and free. I had a couple yards of this tomato red linen from Graylines at the apartment already and I decided it would make the perfect accent wall.

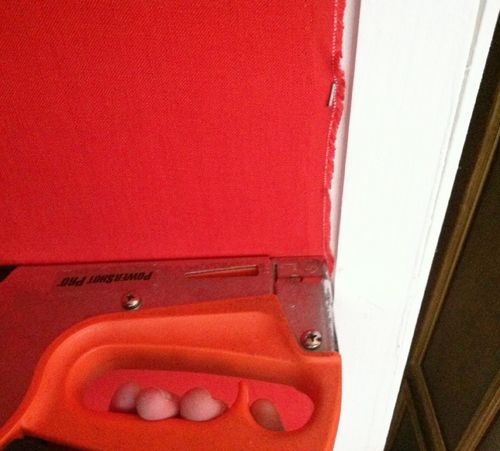
The idea is really simple! You even follow my same general upholstery guidelines I diagrammed here (down about halfway through the post). The really important thing here is you need to staple as straight as possible. Using the moulding along the perimeter and a yard stick in the center is really helpful for getting straight lines. (Here's a post on my favorite cheap stapler)


Because my wall was wider than a full width of fabric, I stapled a full width right in the middle of the wall and then went back to cover the sides with two smaller widths of fabric. For that smaller width, I started from the outside edge of the fabric and stapled up the full piece of fabric and then cut off the loose, remaining fabric. If you do it this way, you don't have to measure at all.


The staples of the smaller panel should go right over the top of the staples of the first panel. Once you have three panels of fabric stapled to the wall, trim the fabric close to the staples. How tight you need to trim it depends on how thick your trim is. Mine was only 3/8" wide, so my lines had to be perfect and I need the fabric trimmed really close.


Then you just fabric glue your trim on top of your staples to cover up the mess. I used orange velvet ribbon for trim and I loved the slight color and texture contrast against the fabric. It was really pretty.


Easy! It took me about 20 minutes to do that small wall in my office.


It was so fast, and it made the hugest difference in how I felt about that home office! I'm planning to upholster the walls in my bedroom (black linen!) instead of painting them. Won't that be cozy? I'm really excited about the idea!


The pretty photos were taken by Nicole Franzen and styled by Kendra Smoot.

Monday, July 2, 2012

The Powder Bath

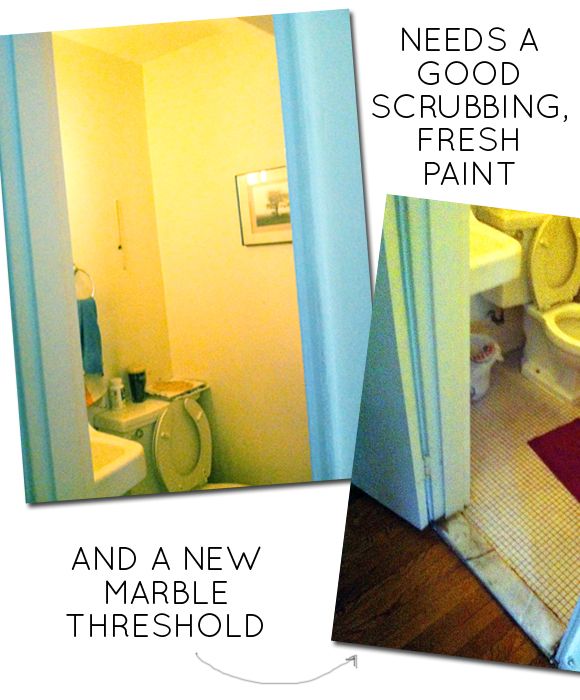
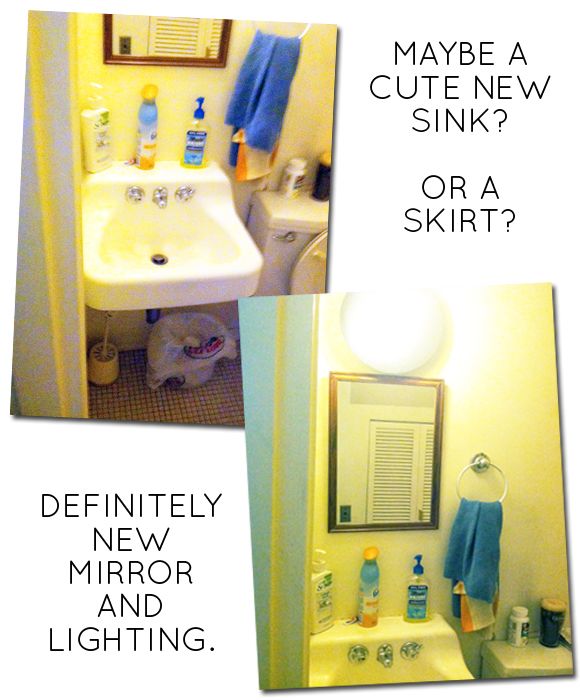
One of the things I am most excited for with the new house is the bathroom situation. Mostly just that there is more than one of them. :) There is a powder bath on the parlor level, and any powder bath to me just begs to be adventurous! Look how sad the bachelors made this bathroom! It's down right desperate for some love and better lighting.


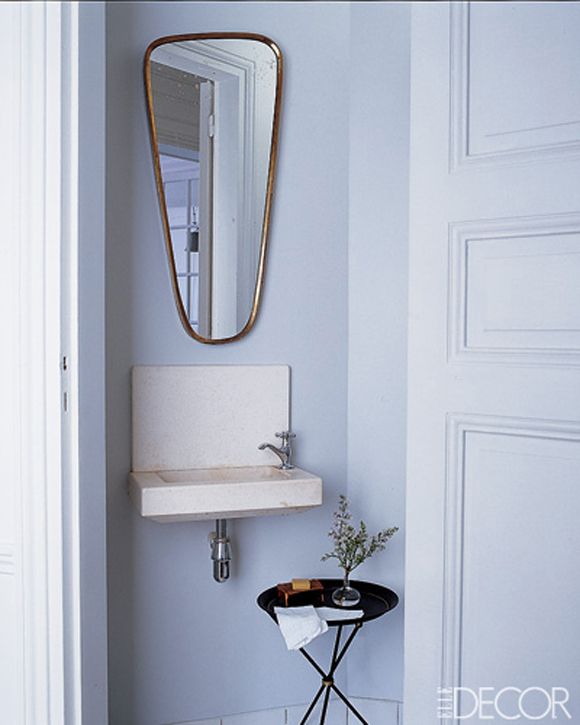
I can't decide about that little sink. It's original I guess and it could be sort of cute with a skirt? Wouldn't something really quirky like this sink (and that mirror!) be amazing?


Elle Decor

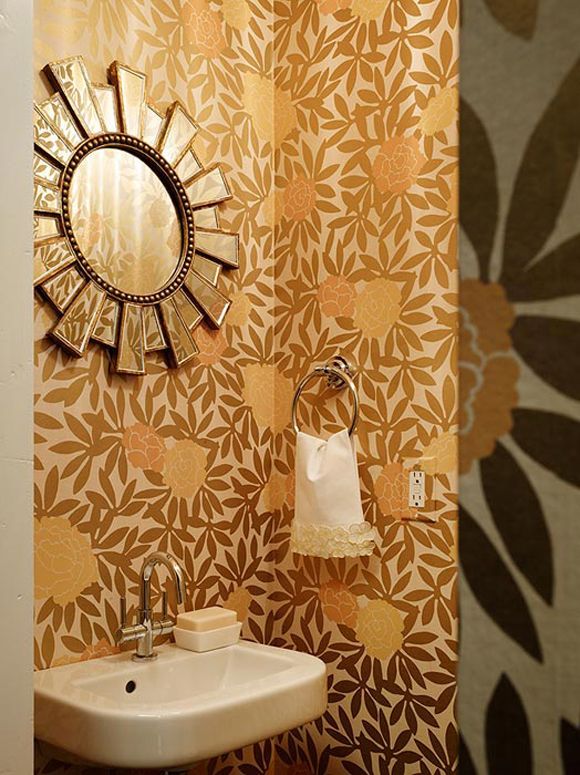
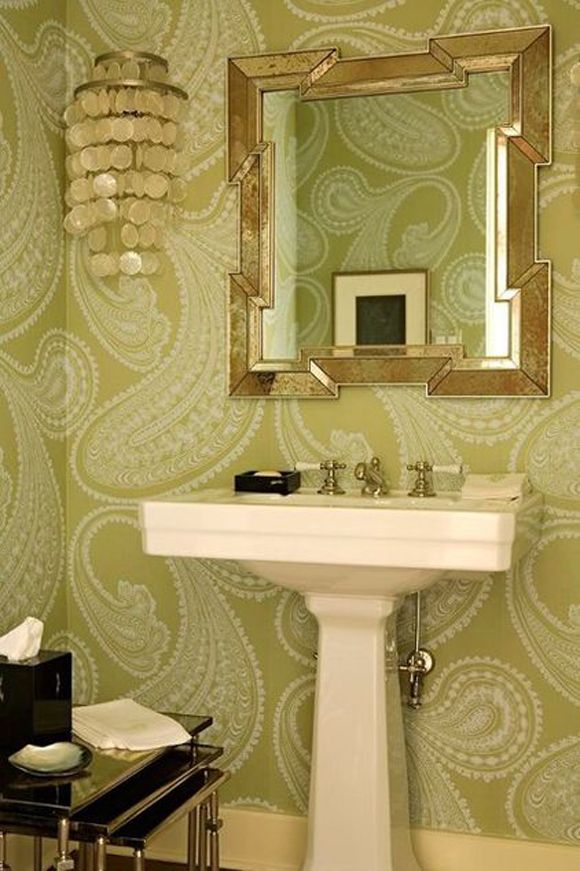
For the walls, I would naturally gravitate toward a crazy, loud wallpaper pattern like this one:


Palmer Weiss

With an interesting mirror:

Houzz

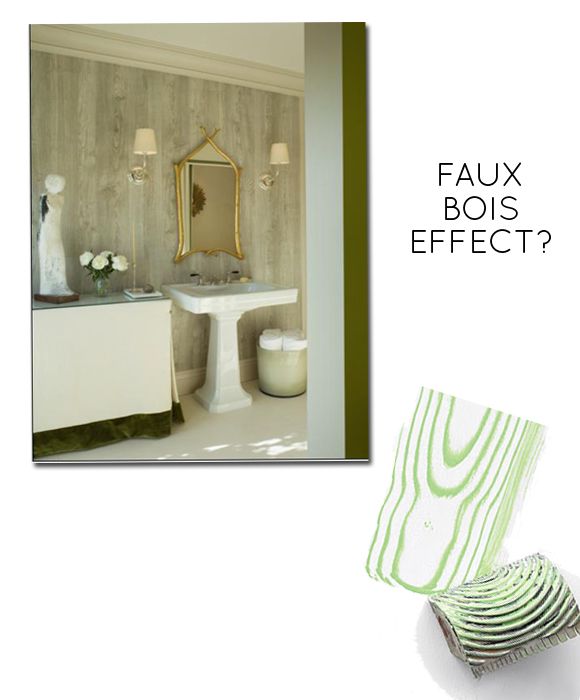
But the room is tiny (like 3x4) and I don't really feel like papering around mirrors and lights and fixtures with almost every single sheet. I'm thinking I might try a decorative paint treatment.

Martha Stewart's Faux Bois kit might be perfect. I've heard it's a really fun project and that the rocker tool is super easy/forgiving. (demo video here) But I'll run into a similar problem af having to work around things on the walls.


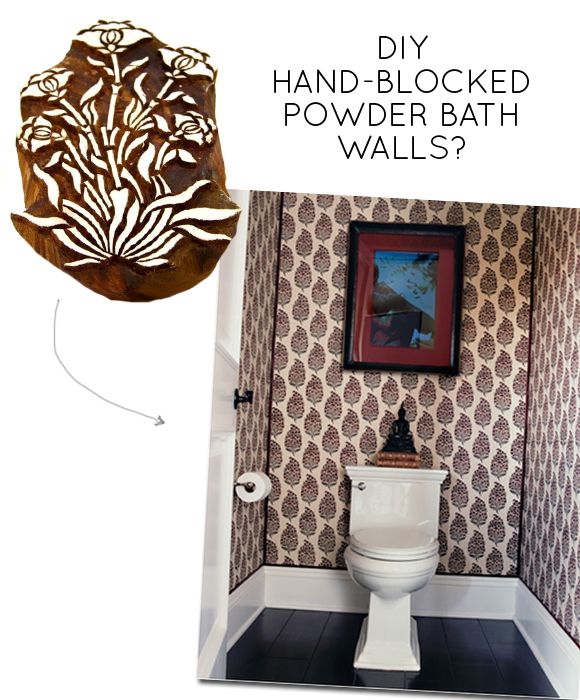
I'm leaning toward hand-stamping the walls with a wood block. I bought this pretty 3x6" floral stamp here and I think it's worth trying. It could be a really quick, fun project. The hardest part might be choosing the color combos for the paint!


Also diggin' that black trim in the corners. It really helps define the walls, right? Otherwise things might get a little dizzying in there with all the small pattern. Very nice.