FREE DOWNLOAD PICTURE
MORE INFO ABOUT NOTEBOOK
Showing posts with label Books. Show all posts

Monday, January 28, 2013

Organizing Books by Color AND by Genre

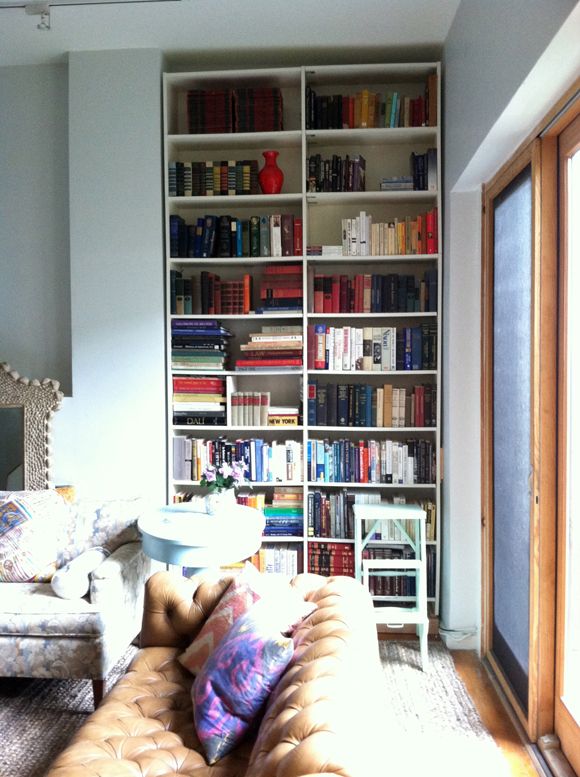
We love books and have a little bit of a book-buying problem in the Komenda family. It goes without saying that it doesn't cut it for us to organize our books only by color - that way it would be impossible to find a specific book! And anyway, I think it can look a little forced when huge amounts of books are strictly placed in severe blocks of graduated color. You know what I mean? So while I appreciated the strict by-genre organization in the bookshelf wall in our loft, with our new bookshelf wall in the brownstone, this time front and center in our living room, I decided to experiment with the organization a little.

I've decided I have found the perfect-for-me way to organize books - and it is so, so simple. Here are the steps:



1) Decide where you want the biggest, chunkiest books to sit on your shelves.

My biggest books are art and design books and a couple of atlases and an old family set of encyclopedias. I went with most of these flanking either side of the fireplace. The atlases and encyclopedias went up on the highest shelves, since they are rarely looked at. (Except for one giant atlas that we keep on the coffee table.)

2) Before shelving anything, make piles of your books by genre.

We wanted our genre sections to be pretty specific so we could easily locate a book. We had to go past the fiction/non-fiction route. Our genre piles went like this: Classic Fiction, Contemporary Fiction, Art/Design, Religion, Lifestyle (cooking, hobby, crafting, gardening), Economics, Philosophy, Politics, Law.
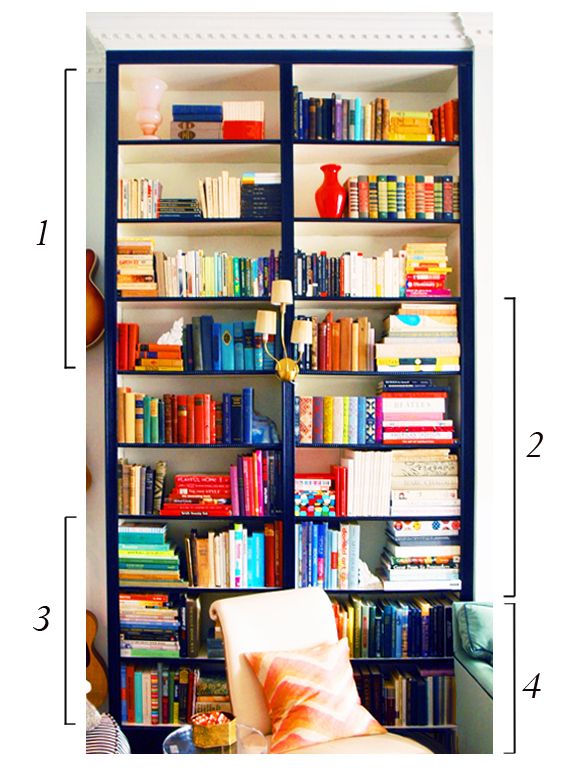
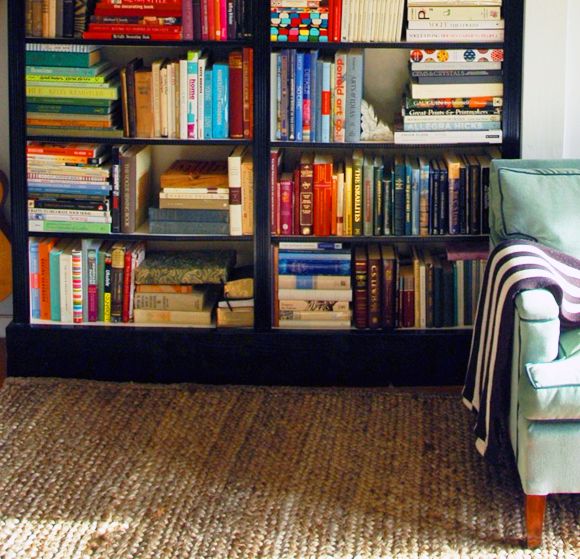
1 - Contemporary Fiction  //  2 - Art and Design  //  3 - Lifestyle  //  4 - Religion

3) Organize the individual genre piles by color and while shelving, pay attention to size.

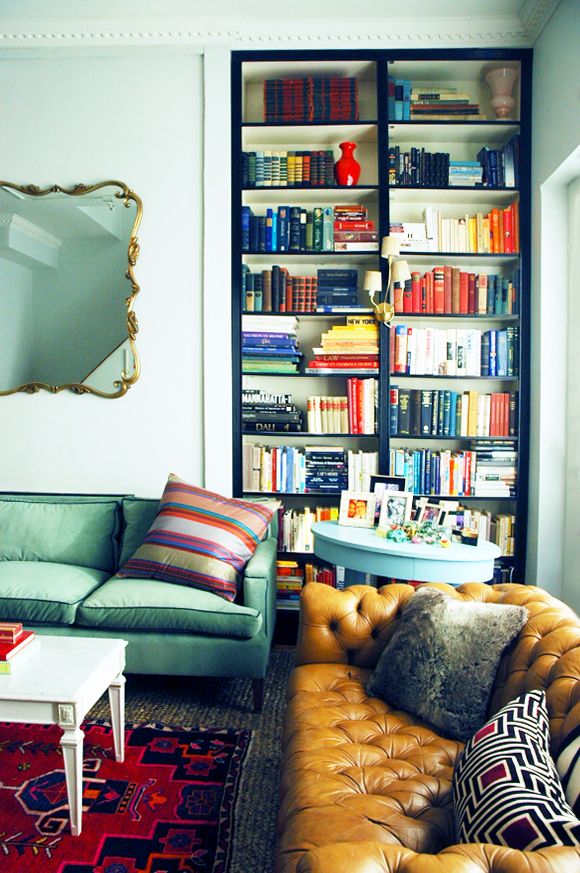
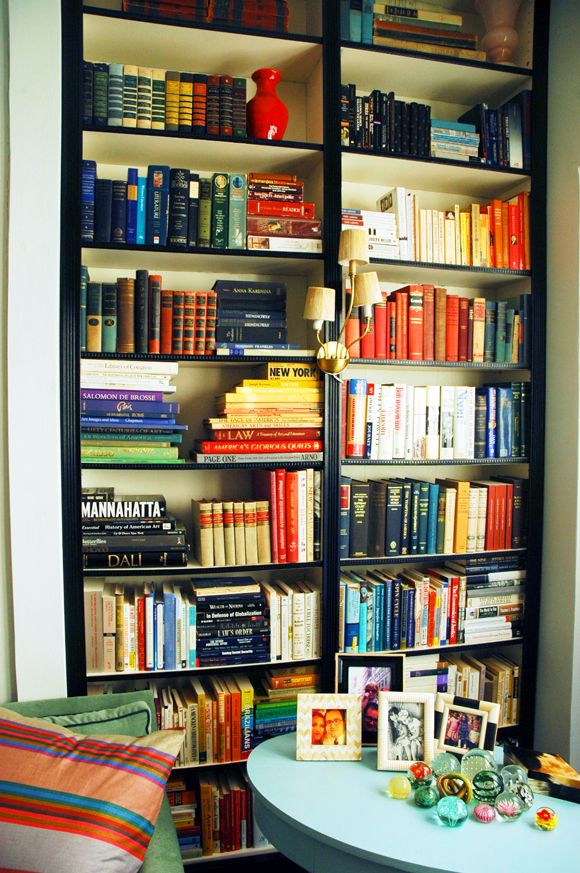
When you're dealing with a large number of books in one place, you can give the eye a chance to rest when there are blocks of just a few colors.  So it became rare for a single shelf to see the full ROYGBIV spectrum - most of the time each shelf was only two or three main colors. And I tried to be loose about the colors. I cared a little more about matching sizes than color shades, and I think that helps the overall look feel a little less uptight. If I had been really strict about keeping the colors in the exact right spot, the spine lengths would have been all over the place, which looks sloppy to me. Also, by being a little flexible with color, I could easily alternate the piles between horizontal widths and vertical stacks.
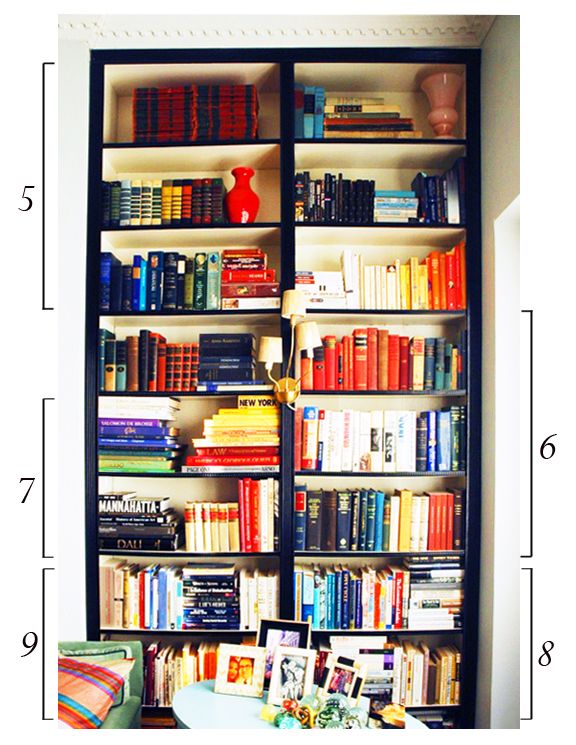
5 - Classics Fiction  //  6 - Political  //  7 - Design and Travel  //  8 - Economics and Philosophy  //  9 - Law

And that's it! I am so sold on these simple steps to artfully and functionally organize bookshelves. I've tried the tricks on two more bookshelves since doing my own, and I've been just as satisfied with the results. Isn't it the best when form and function work together?
Monday, January 7, 2013

Making Billy Bookshelves Look Like Built-Ins

I've always loved the way that books make a home come alive. When we were planning on where to put all the books from our office in the loft, there was only really one place to put the Billys - the living room. So we bought four more sets of the extender shelves and spent a few days last fall "building in" our IKEA bookshelves.

Here's how the space looked on move in day. It looked like a giant H to me.
I love it all so much more now. That nook was the worst! Ready for all the details on how we filled the nook and built up and in the Billy bookshelves?
This project got done much sooner than I had planned on. We moved into our place and we had a huge wall of book boxes that were oppressive and dangerous. So in an effort to make at least some progress on the house, we threw up the old Ikea Billy shelves on the wall flanking the fireplace and quickly unpacked the dozens of boxes. Here's what the shelves looked like for the first couple weeks we lived here:


Then my amazing parents, who are always up for a project, came in to town and on a whim we decided to tackle the bookshelf wall. We raced to Home Depot for supplies - lumber, moulding and drywall.


Joint compound, drywall tape and a grouting sponge...


We worked to quickly frame out the bookshelves and the nook in 2x4s. And actually we put 4x4s underneath the bookshelves, so they would be lifted up off the ground.

We all signed the inside of the wall. :)
Drywall was marked with chalk tape and cut with a razor blade knife.

And the first pieces went up and we happily said goodbye to the nook.

Once the drywall sheets were screwed into place, we taped the seams.

Then we went over the drywall and the tape with joint compound.

Meanwhile, after "wet sanding" the joint compound with the big grout sponge, we also started the crown moulding. Also, I'd love to point out the obvious here - that we should have taken down all the books first. They were a dusty mess after all the work we did! I just didn't really have a place to put all of them before we started. I told you this was a spur of the moment project!

Probably my favorite part of the project was the footing of the shelves. Like I said, we sat the bookshelves on three 4x4s running lengthwise. This gave the bottom a lot of height.

Then we framed out the whole bottom with 2x8s, which gave the bookshelves a really chunky base and made them look less IKEA I think.

For the face of the bookshelves, we found this great small moulding at Home Depot too. We measured and cut everything to size and then sprayed it with a black gloss enamel.


It was so easy to add the moulding with my brad gun. We used thicker stripe moulding for all the vertical lines.


I love how the white shelves and shelf backs contrast with the dark black trim on the face of the shelves.


Not bad for just the cost of some lumber and supplies and a few Billy Extender shelves! Now just to find a mirror that better fits that wall space!


And also, to make a sofa back table to help hide the fireplace a little more and to hold a pair of lamps.


I tried a new method for organizing books - one that's functional and pretty! I'm excited to share the how-to!


How was your weekend? 

Thursday, December 22, 2011

All I want for Christmas...

...is for this vacation to never end. It's been the perfect mix of adventurous and relaxing.


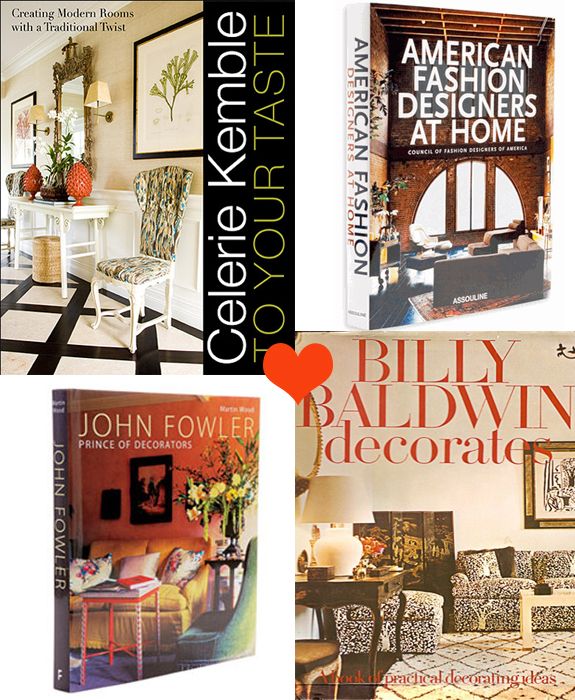
I also wouldn't turn down a few more design books to add to my library. I tried to be really thoughtful while putting together a list of these favorites to share with you guys (you know, in case you need some really last minute gift ideas), but I feel like I'm missing some special ones. Do you have any very favorite design books you'd love to get or give?

Check out my list HERE.

Friday, August 19, 2011

National Geographics

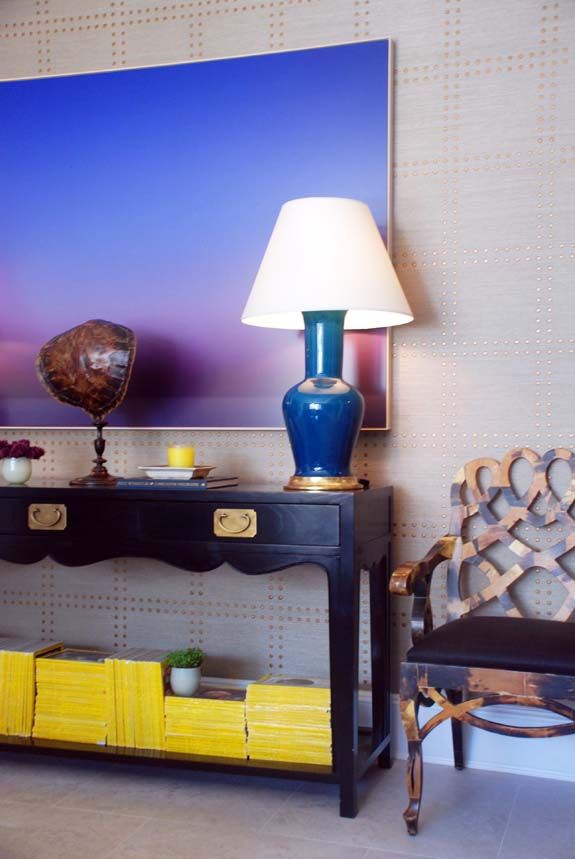
Those girls at Tilton Fenwick are geniuses! I love everything they did in this room for the Hamptons Showhouse. I'm crazy over the studded grasscloth wall covering. I would kill a man for those chairs. And they have me clamoring for as many vintage Nat Geo's as I can get my hands on.


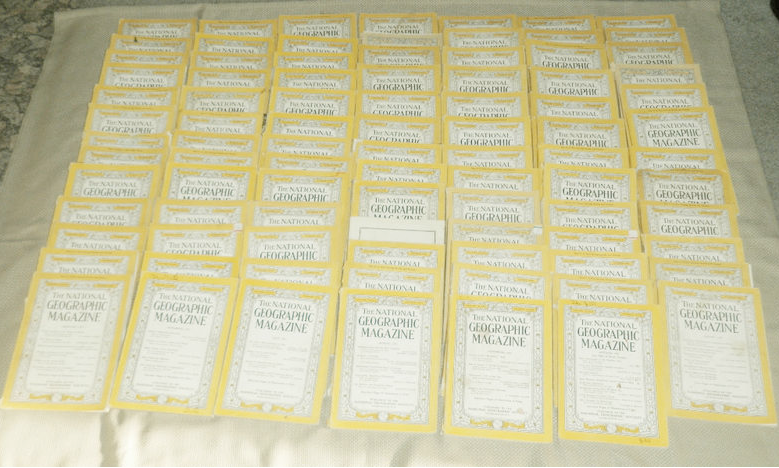
This would be a pretty good start:


I think the best type of decoration is something that is beautiful and also functional/educational. A big block of yellow spines would be so cool and graphic on my coral and black bookshelf! But I love that my kids and I could pull out different issues and actually learn something too. It reminds me of how my grandparents kept a big, heaping stack of National Geographics on the screened-in back porch of our cabin in Arizona. There was a triple bunk built into the wall of that porch and I remember as a kid falling asleep looking at the beautiful pictures of exotic places.


PS More colorful books in my Babble post.


Tuesday, April 12, 2011

Inspiration: Book Shelf Styling

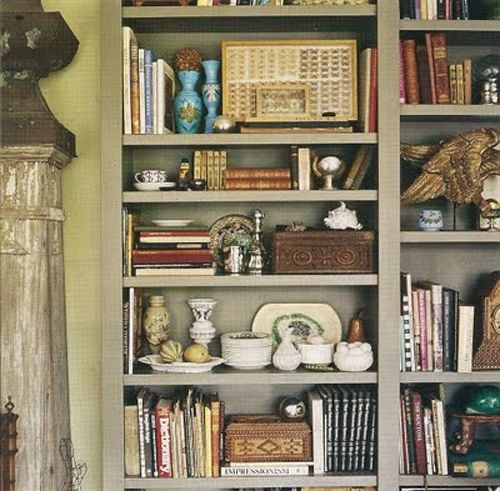
When I'm styling a bookshelf, I try to keep the tchotckies under control. I like books a lot and think they should be the star of the shelves normally. We're going to have a wall of books in the office (no accessories at all probably) so for the bookshelf under the new sconces in the living room, I'm going to mix things up a little. Probably like half books, half accessories.

Here are some inspiration shots. Let's play a little game of I Spy.

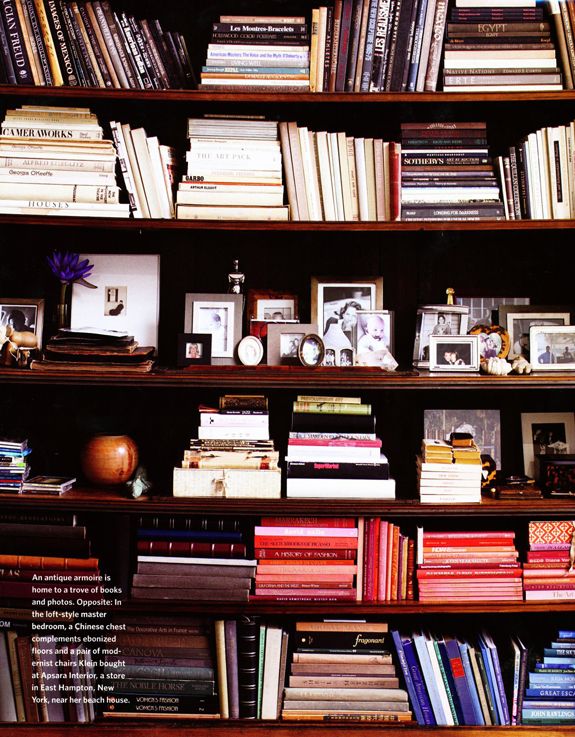
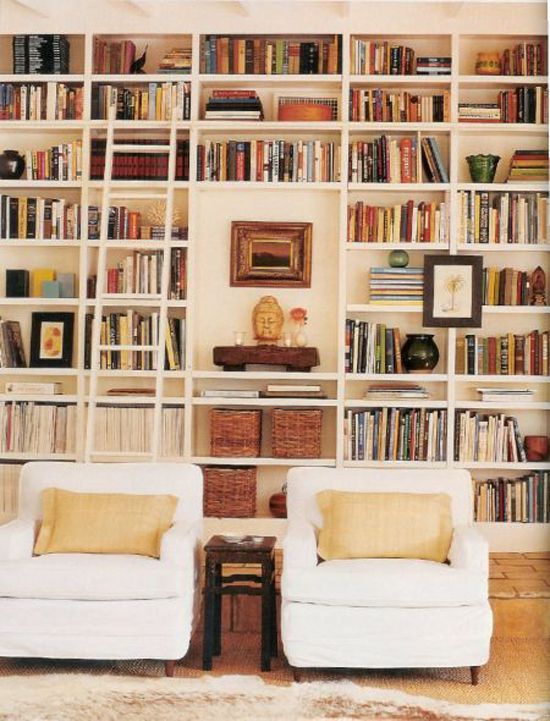
I spy with my little eye books arranged by color, but not in an annoying perfect sort of way. Sort of just stacked and piled by tone. Also, I like all the family photos grouped on the shelf. It's a good idea to keep things that are meant to be examined at eye level.


Kelly Klein via Habitually Chic


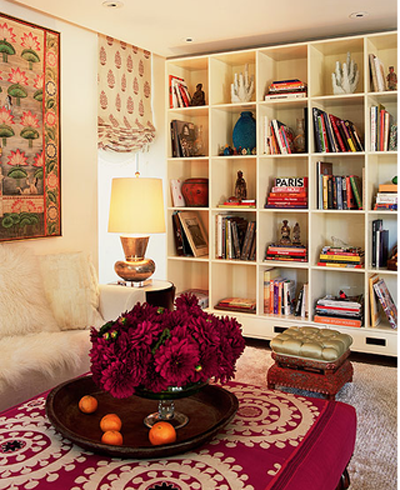
I love the square shape of these shelves. It makes it easier to display larger pieces like the coral and that big turquoise pottery. I would want to check out the contents of these shelves a little closer if I were a visitor here.


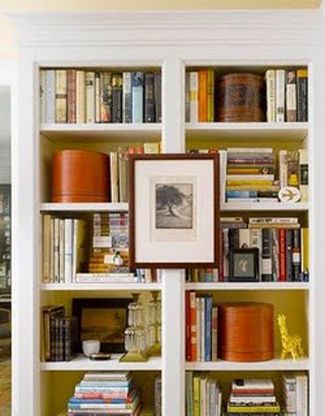
It's a good idea to add some bigger pieces to break it up and add a little storage. Try hat boxes, shaker boxes, baskets, lacquered boxes, lidded candy dishes, etc. I also love the yellow on the back of the shelves here.


House Beautiful


This designer left out some of the shelves to make space for bigger artwork and taller accessories. What do you think of this look? I do like some of the bookends here a lot. Pieces like the brass rams are easy to find in thrift stores or on etsy.


M Designs via La Dolce Vita


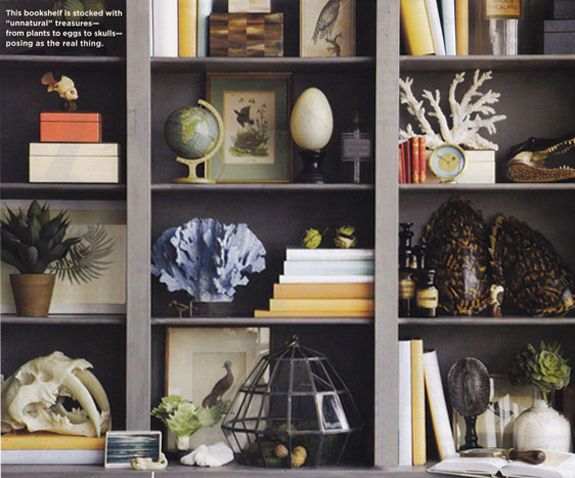
These shelves are really pretty. Not many books, and the ones here are covered in kraft paper, which is pretty for a more styled look. I love that ostrich egg and that cage/terrarium thing on the bottom shelf. So cool. Also, pretty obsessed with this color of gray.


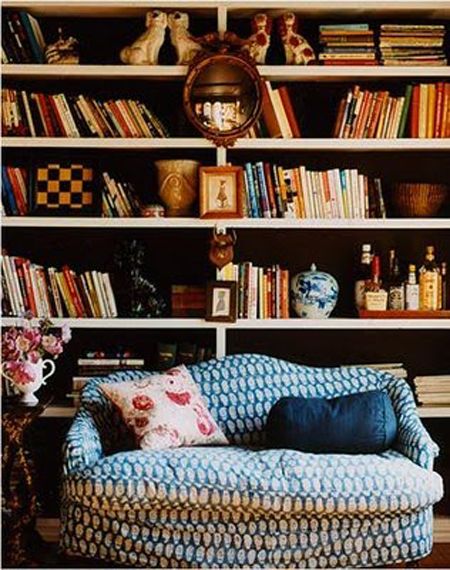
I looove the coziness of this photo. The slouchy couch. The laid back book arrangement. I also love the Staffordshire doggies, the ginger jar and the bullseye mirror. The little checkerboard is also awesome and a nice graphic touch. I've been wanting to incorporate some sort of game board in our house too. Checkerboard or maybe backgammon...


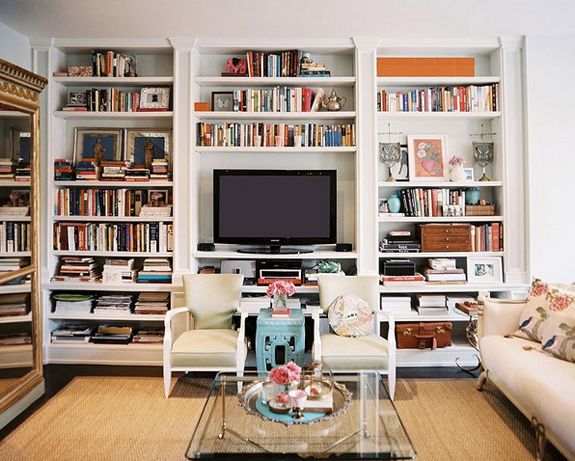
Look! A television!! I like this idea of incorporating a TV into your built-ins.


Lonny


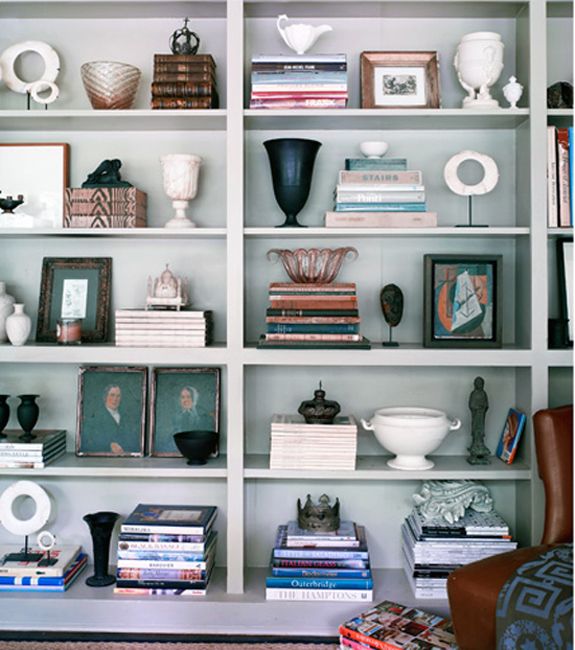
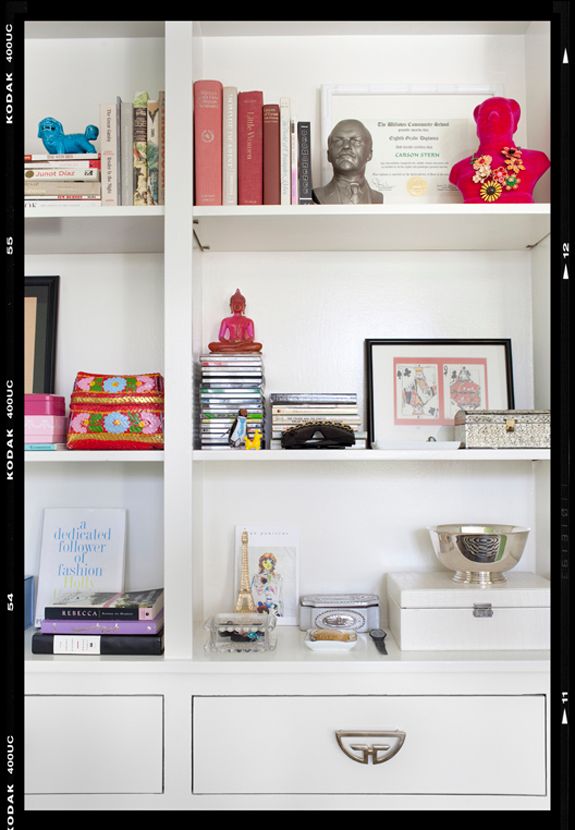
Lots to love on these shelves. I think the designer did a good job of leaving just enough empty space on the shelves (though I would probably prefer more books in the mix here). I think it's easy to overload the shelves and the layers, so be careful there. I think you'd want a maximum of five types of accessories on a single shelf (books count for one type of accessory here).


Martensen via Desire to Inspire

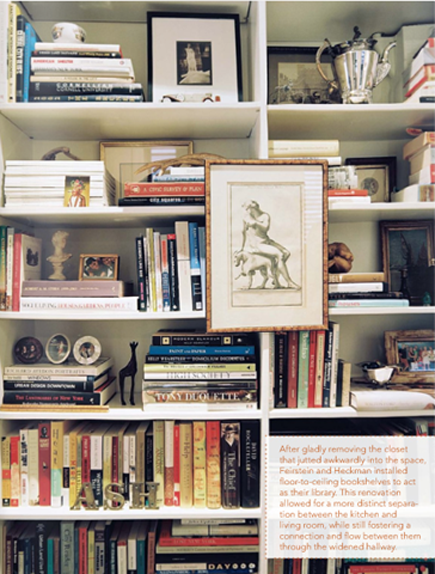
These shelves are more crowded, but I think the trick is the colors are all pretty muted. I love that these items all feel very purposeful and collected - like the owner probably has a cool adventure story behind each object.


Jaime's (I Suwanee) Bookcase of the Day

Another one with some shelves removed for art. Love that ladder!


Martha Stewart Living

Fun and quirky for a teenager's room...


Betsy Burnham via Decor Demon

I love the burl wood frame here. And this is just the right mix of books to accessories for me.


Summer Heckman in Lonny

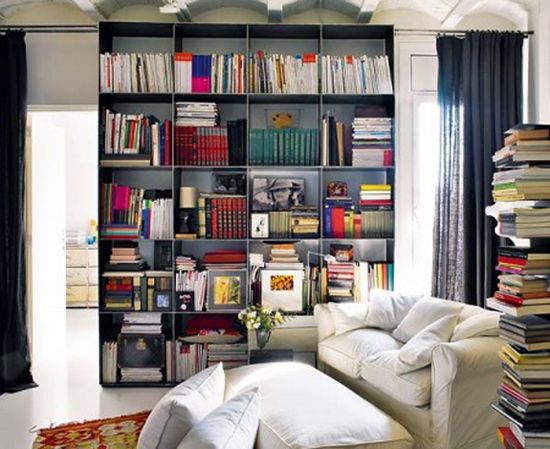
More square shelves! Galvanized metal here maybe? I like how these are casually stacked. The color groupings flow nicely for a great overall composition.


Nuevo Estilo

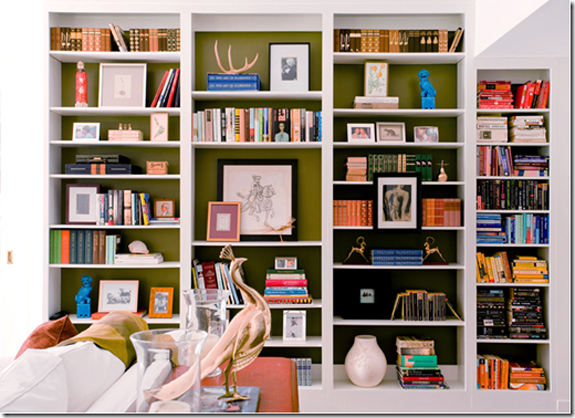
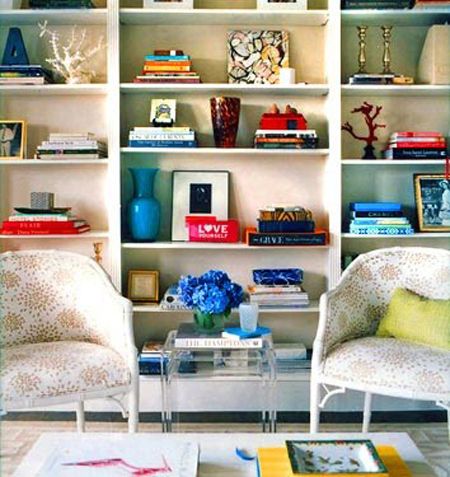
Colorful and pretty. Love the turquoise vase and the modern artwork up top especially. I also spy a pair of candlesticks, two different types of coral, a beautiful tortoise shell glass vase, a zinc letter and little framed pieces of art on easels.


Ashley Mcaleer in Domino

Off to style my shelves which I'll share soon. (P.S. You're going to love the paint job!)
xx