FREE DOWNLOAD PICTURE
MORE INFO ABOUT NOTEBOOK
Showing posts with label Dining. Show all posts

Thursday, March 7, 2013

Make-Shift Dining Room Hutch


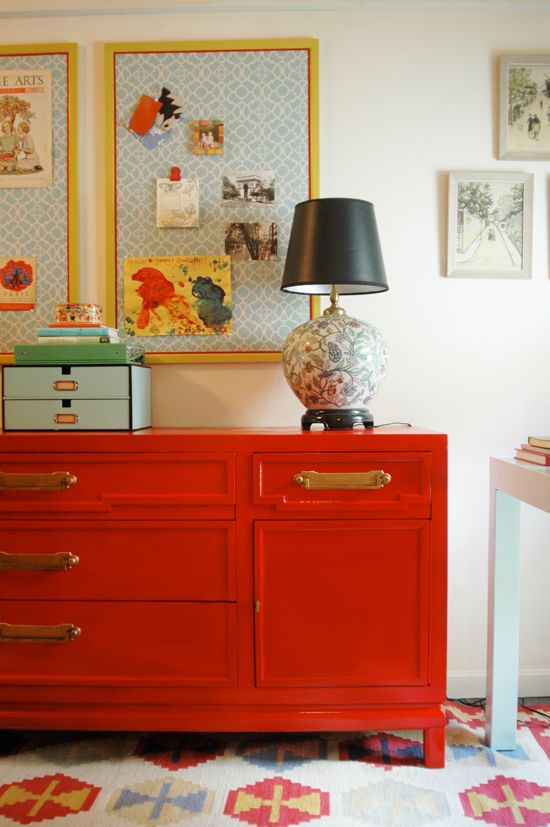
Our kitchen is so teeny tiny that right after we moved in I realized that most of our kitchen items would need to be stored in the dining room. I planned on using the red credenza in there and I thought about painting it a really dark plum color.

Also, I didn't have a place in the brownstone to put the HUGE bookshelf from the loft's laundry room and it didn't fit down the stairs to the basement, so we had put it out on the curb, but only for about 15 minutes.

As I unpacked all of our kitchen stuff, it was pretty clear that my plates and bowls and servingware weren't all going to fit in the red credenza. So we hauled the giant (heavy) bookshelf back up the stoop and set it up on top of the credenza.


We were shocked and thrilled that it actually fit, but the ketchup/mustard color combo was not so appetizing to me. :) I thought about still doing the plum idea for the whole piece, but really, it is such a huge, huge piece and the room is so small, I thought a big block of dark color would overpower the space. So I decided just to try gloss white. But before I painted it, we secure the shelves to the wall and I added two pieces of wood to the base of the bookshelf to make the whole thing look less disjointed and more like a single piece of furniture. (We did a similar trick with our Billy bookshelves)


I used a 2x4 for the bottom of the base and a 2x6 for the tall part. I made a couple of 45 degree angle cuts with my miter saw, screwed the pieces together and caulked and filled the holes and gaps. 


I painted it all out with Rustoleum's white gloss enamel and I used a bit of my favorite Penetrol to help reduce the brush marks (this stuff really does work - as long as you use the recommended amount!).


I decided to leave the insides of the shelves the navy color from before and I like the contrast. I know it's busy - there are so many dishes in there! I've since edited and taken some of the things out, but really this space needed to be about practicality (isn't every small space?). I've considered adding doors, but you don't really see the contents of the shelves from any other angle in the room (and not at all from the entry). Mostly, it is SO nice to have easy access to all of this servingware and I love that my girls can easily grab the dinner plates from the bottom shelf to help set the table by themselves.


I like that the white sort of blends into the pale walls and helps to make the small room not feel even smaller. Though, some days (usually during breakfast, when the light is so pretty in here) I start to daydream again of painting the whole thing dark, dark, almost black, plum. We'll see if my better judgement holds out. :)


It's a fun challenge for me to figure out ways to make furniture from previous homes work in (very different) spaces. I'm usually tempted to get rid of everything each time we move, but it never really happens that way and I usually can find a way to make our old stuff work (which is probably for the best) :)

What have you done to make your old furniture work in new spaces?
Wednesday, February 13, 2013

Dishes and Decor (A Wannabe-Foodie Decorator's Dream Day)


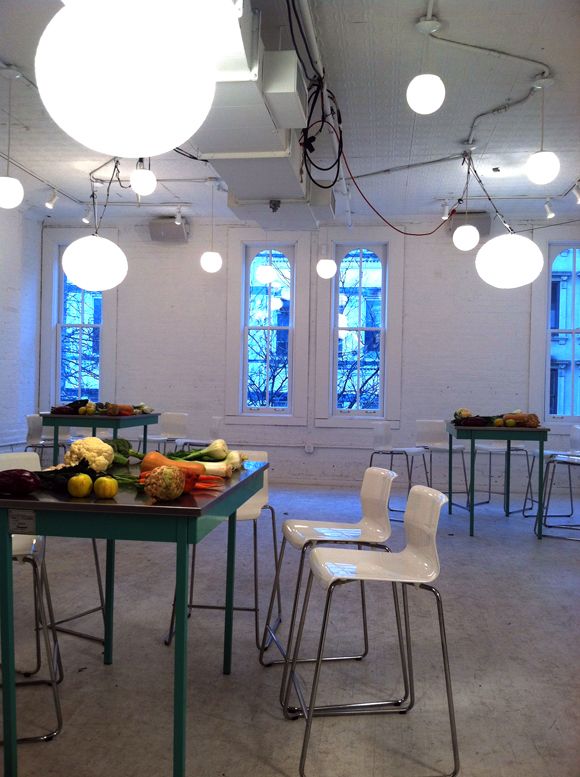
Last December I had one of the coolest days ever. Lean Cuisine is reinventing and they invited famous chefs and farmers and a handful of bloggers to come to a round table event here in New York just to eat and chat about food and style. They held the round table at one of the coolest venues I've seen - Haven's Kitchen in Chelsea.


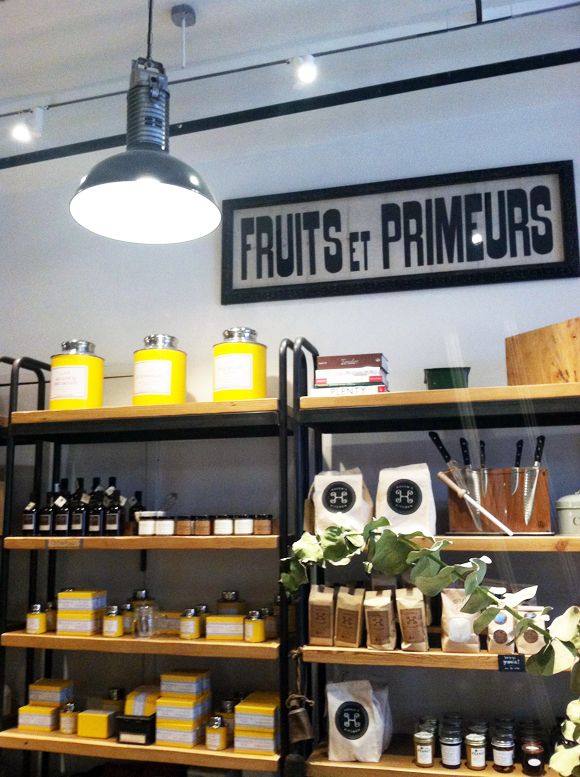
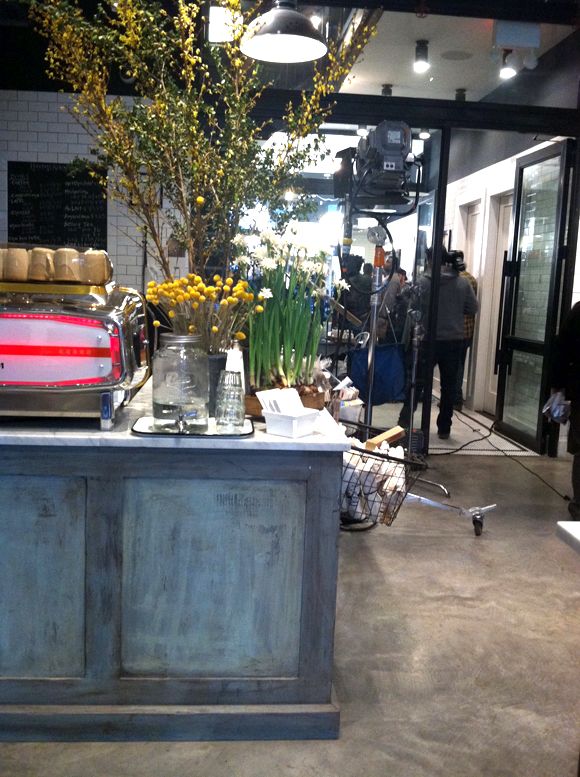
All day long I was sneaking photos of the decor at Haven's Kitchen. Seriously, I want to move in.


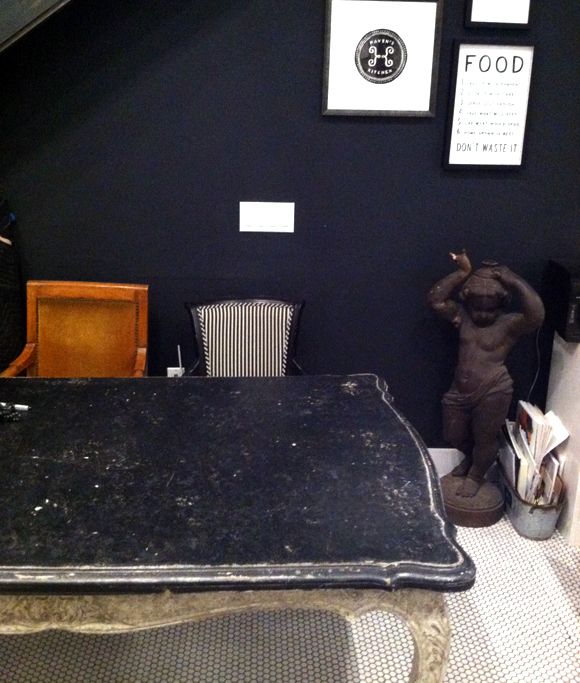
This staircase was stunning with the great, graphic art on the black walls. It was really cool.


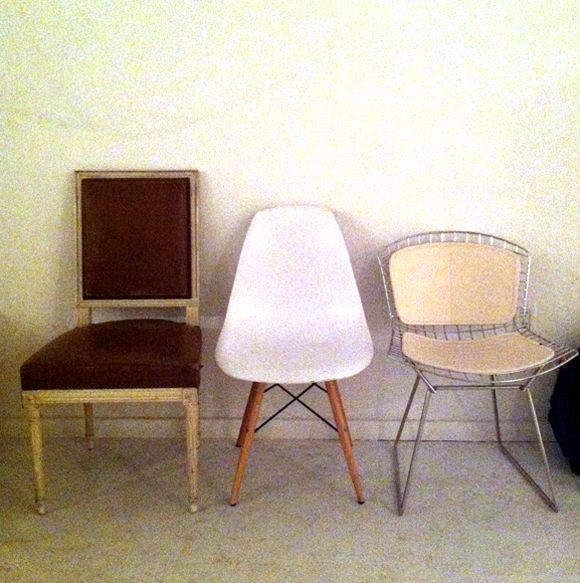
Everywhere you looked - amazing, amazing chairs!


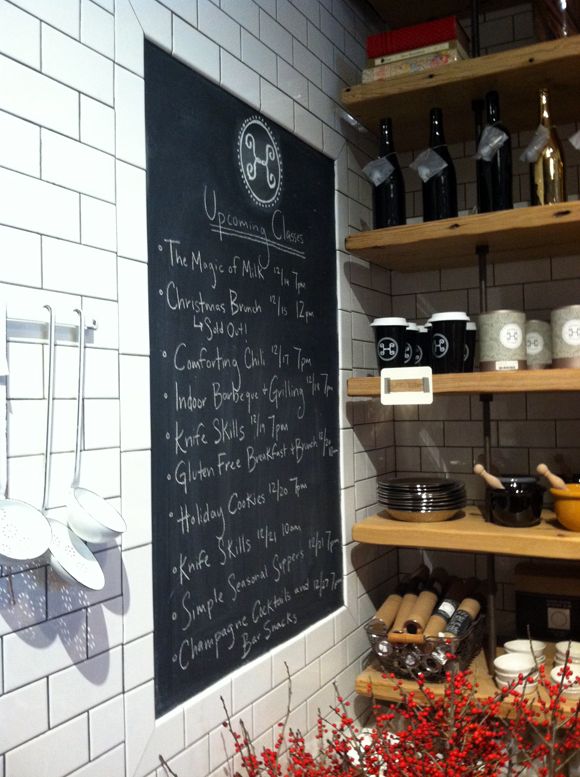
I loved this idea of creating an inset out of subway tiles for a chalkboard wall in a kitchen. I would love to do something like this someday. Uber-chic menu planning!


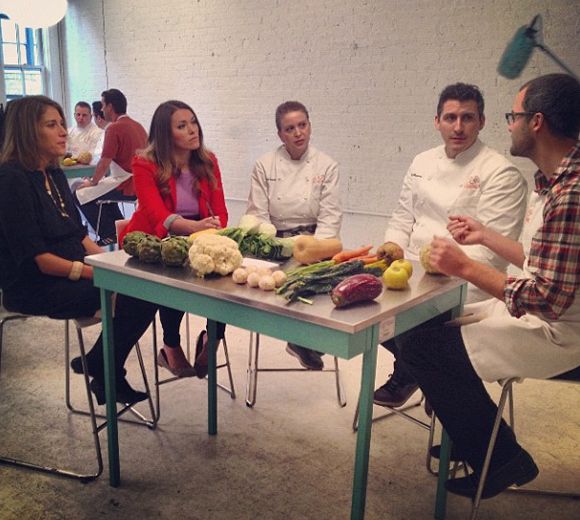
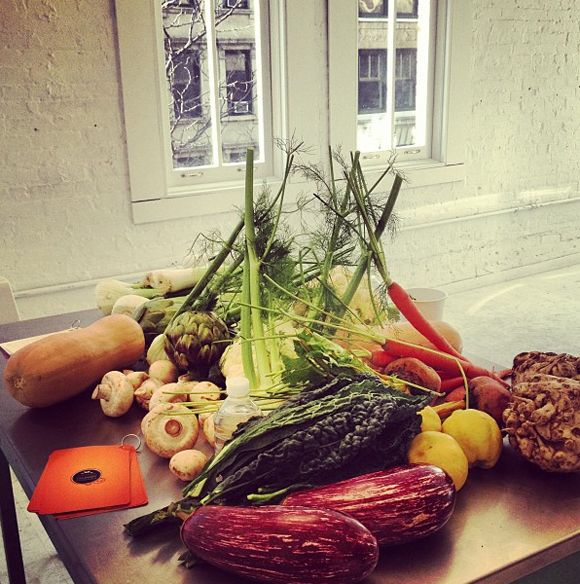
While the decor at Haven's Kitchen was completely drool-worthy, the day was all about the food. We were grouped into three teams for the round table. On each team there were two chefs, a style expert (the bloggers), and a farmer. My team's farmer was Josh Kilmer-Purcell, who had (seriously) won Amazing Race the week before, has a wildly popular blog of his own, and a TV show on the Cooking Channel. Also there could not be a nicer man on the planet.

Our team's chefs may or may not need an introduction. Brad Farmerie is the owner of Michelin star rated PUBLIC and competed on the Food Network's The Next Iron Chef. He was hilarious and the life of our party, for sure. And James Beard Award-winner Michelle Bernstein of Top Chef fame is probably one of the most famous chefs out there, so I probably don't need to tell you about her successes. I will say that I want to fly down to Miami to hang out with her for a week straight, just to hear her tell stories and share wisdom. Seriously, what an inspiring woman.

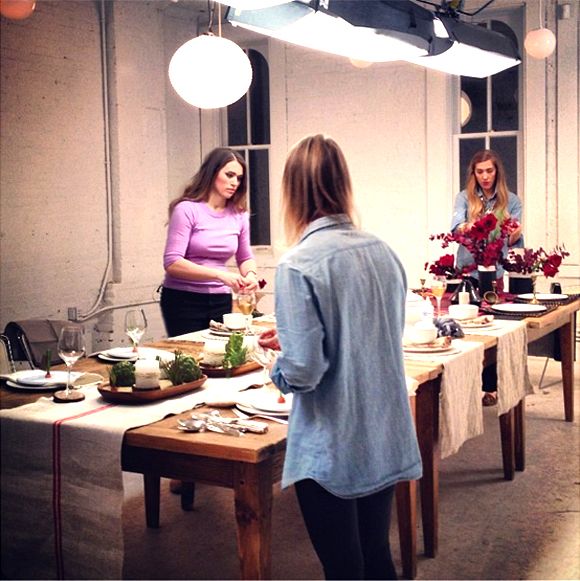
And then there was me. My job was to shop around the city for some pretty things to set the table with, inspired by Josh's produce and Michelle and Brad's dishes. And then just eat and talk about food and style. Best job ever, right? I could so easily do the eat-decorate-talk-eat-decorate-talk rotation until the cows come home.

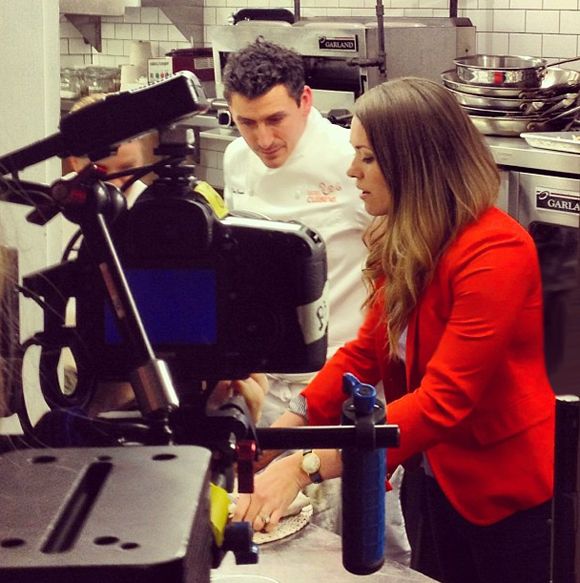
Here we are making plans for the dishes and decor. We all decided something more rustic and earthy would be perfect for the table setting.


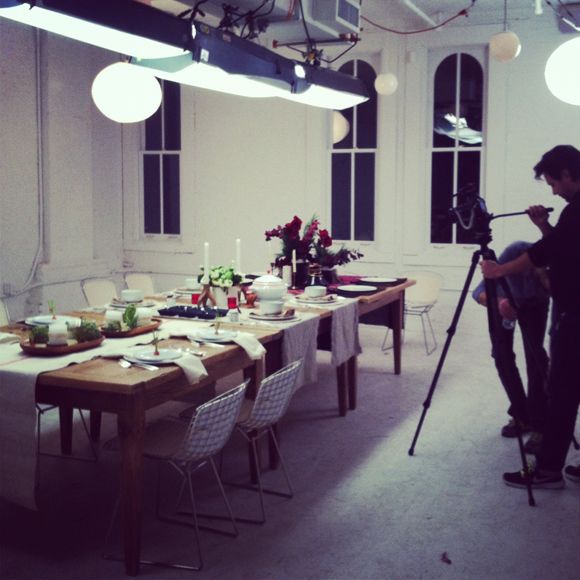
While the chefs got to work in the kitchen, I hopped into a giant van, armed with two assistants, but with only two hours to rush around the city and buy everything to set the table for our team. I'll admit, it was a teensy bit stressful, but mostly it was just really, really fun.

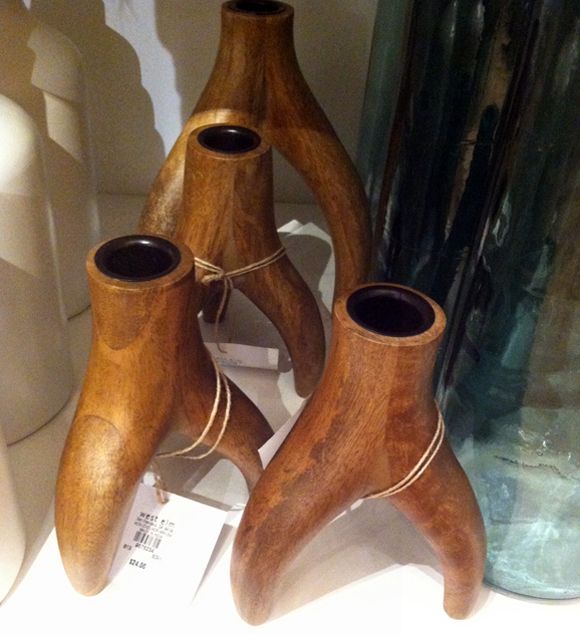
My first find was actually at West Elm. These wooden antler candle holders were just the look we were after - modern, sort of Scandinavian and a bit rustic.


We shopped at about ten other stores and things sort of fell into place. It was fun to see what my fellow bloggers Liz and Jessie found while they were out scavenging for place settings and flowers too.


I checked in with the chefs just before dinner (it smelled so good in that kitchen) and they loved the direction our table design was going.


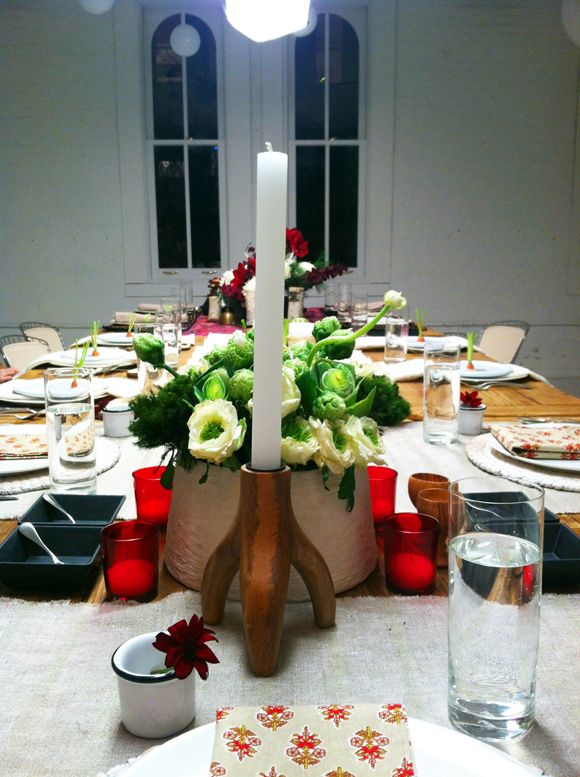
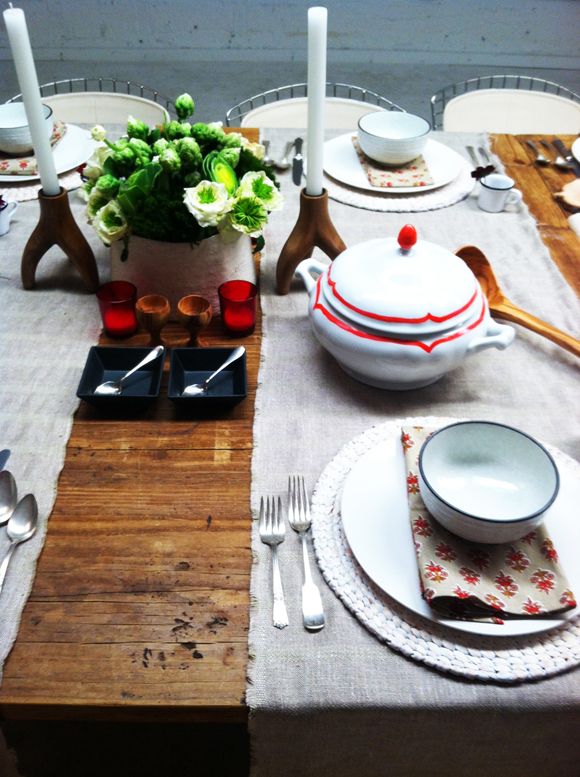
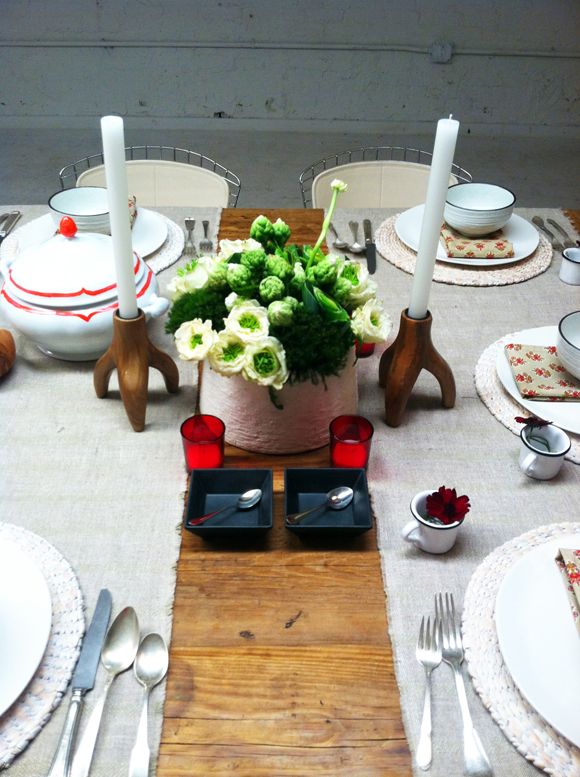
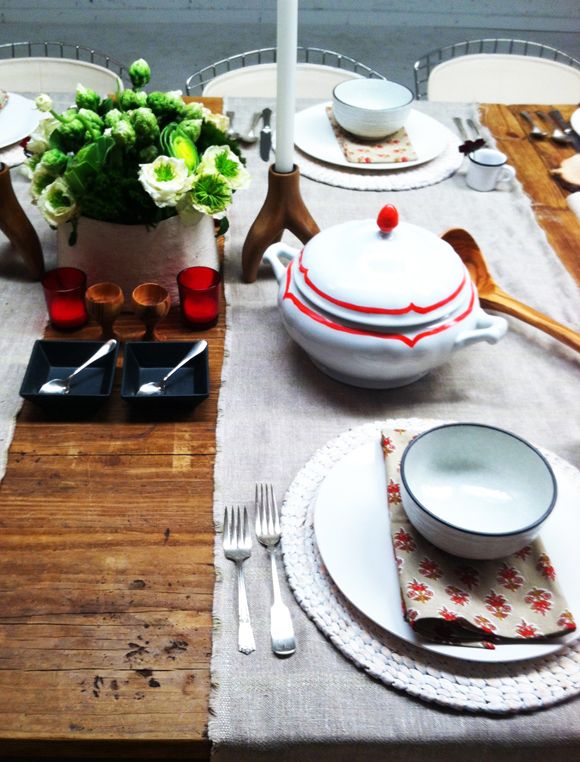
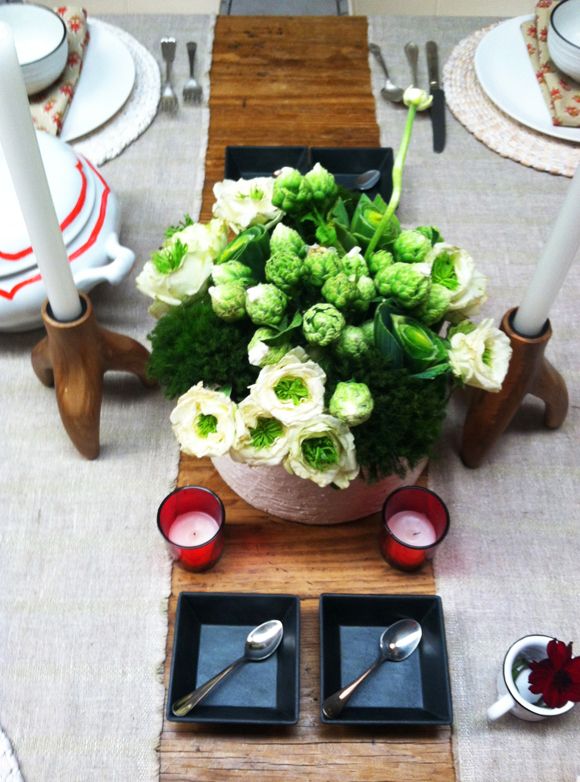
And here's what I came up with for my version of a Scandinavian/rustic/modern table:


I bought the striped linen at Jem fabrics and literally ripped it into two wide strips so the edges would be a little frayed. I tried to have a lot of textures on the table - linen, woven chargers, smooth woods and soapstone, hand-thrown porcelain, etc.


I found these mini enamelware mugs in the clearance section at Sur la Table. I'm discovering that I like to have a big floral centerpiece and then little individual flowers at each setting. I think it is so pretty and makes guests feel special. Also, how great is this antique engraved silverware that we borrowed for the dinner? It weighed a ton and made everything taste even more delicious. :)


I found a lot of the little accessories at thrift stores and at Pearl River Market.


The soup tureen was probably my favorite thing on the table, though. Michelle had a fabulous Celeriac soup on the menu, so she asked me to pick up a tureen. I really wanted to find something unique to be the focal point of the table, but everything I saw out shopping that wasn't all white was really fussy-looking. So I bought a plain white one on sale and picked up some porcelaine paint at the art supply store and painted on the bright red border on the tureen. I really love how it turned out. Just enough color for our "rustic" table.


The flower arrangement was another favorite part for me. I didn't end up having the time to pick up enough flowers to completely fill the creamy white faux bois vase I had found at Housing Works, so I filled the empty spaces in the vase with herbs I snuck from the kitchen and even some leek stems, which kind of look floral when they're cut on the diagonal! :)


You'll have to keep an eye out for Liz and Jessie's posts about their table settings - they both did a really great job. I love those talented ladies.


After the table setting was done, the food was brought out and that's about where my memory drops off. (TOTAL FOOD COMA.) I ate way too much, but how was I not going to at least taste every single one of those super-delicious dishes made by super-duper-famous chefs!? No choice in the matter at all. It all was so, so good.


I was so honored to be a part of this round table. Meeting all of those talented, creative people, hearing their thoughts about the future of food, and, of course, tasting all that deliciousness was nothing short of completely inspiring. 

PS The entire event was filmed (there are lots of clips on Youtube), if you're interested in seeing a little more from the day!


This post is brought to you by Lean Cuisine . I was invited to the Lean Cuisine Culinary Round Table and was provided with a stipend for the visit and experience. All thoughts and opinions surrounding the experience are authentically my own.

Wednesday, December 12, 2012

Dinner Party at My Place!


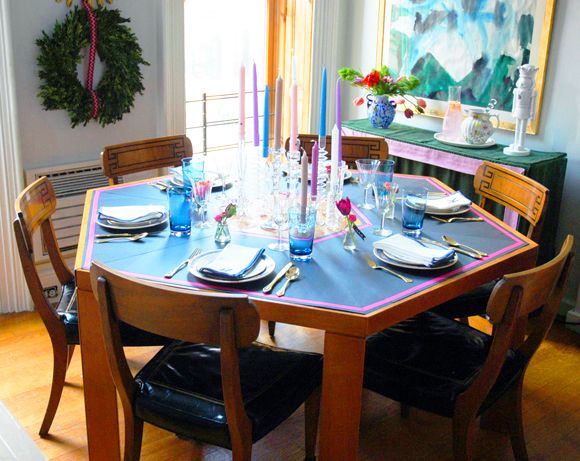
The holidays are in full swing around here! The tree is up and the house is mostly decorated. But I have some work to do because we're having a little dinner party tonight! The timing is perfect because I am participating in the Mark and Graham challenge with a few other bloggers.


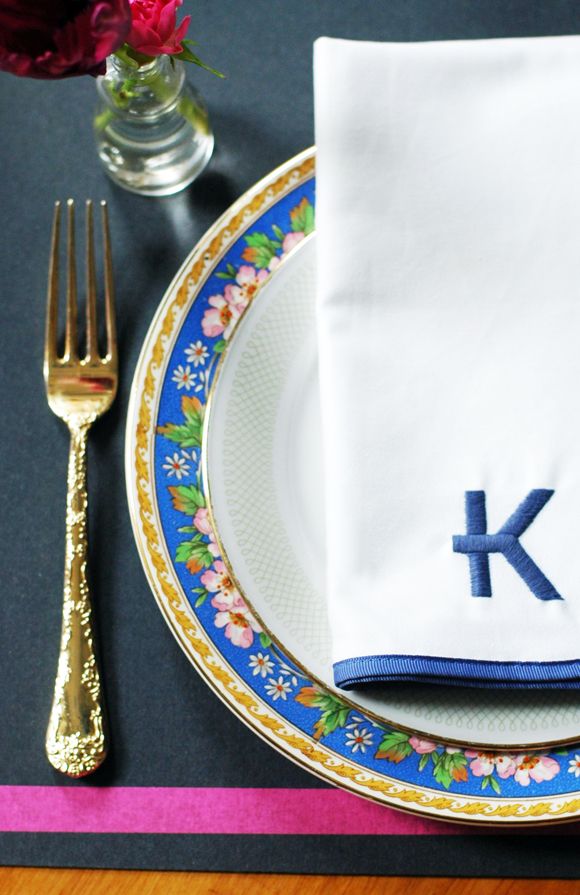
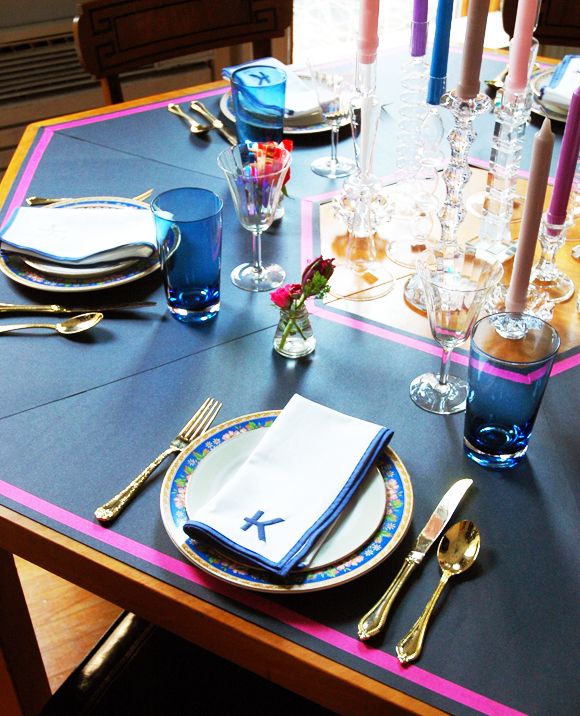
Mark and Graham is the newest line from Williams-Sonoma and they focus mostly on personalized home decor. I was asked to style a table with these blue napkins that just happen to work with some of my vintage china perfectly! And I will always and forever love the green squiggle pattern on the salad plates.


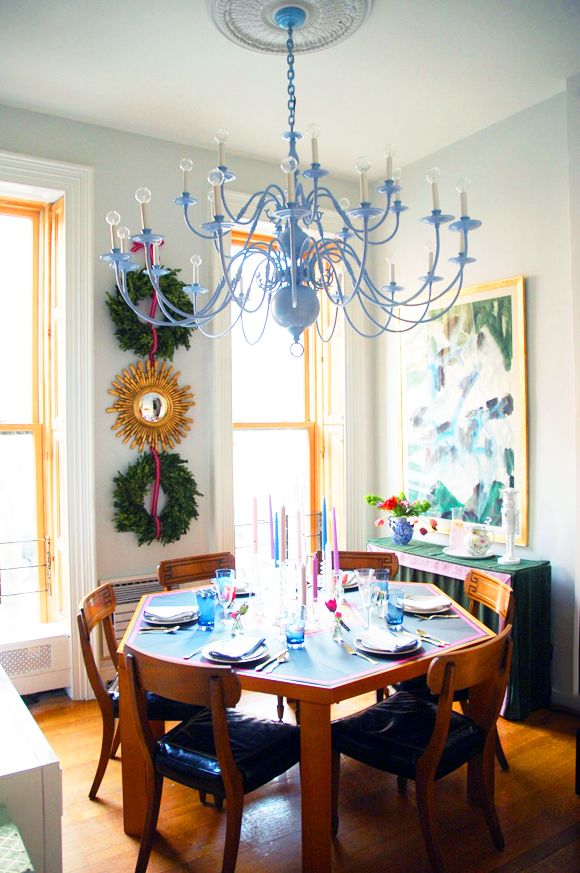
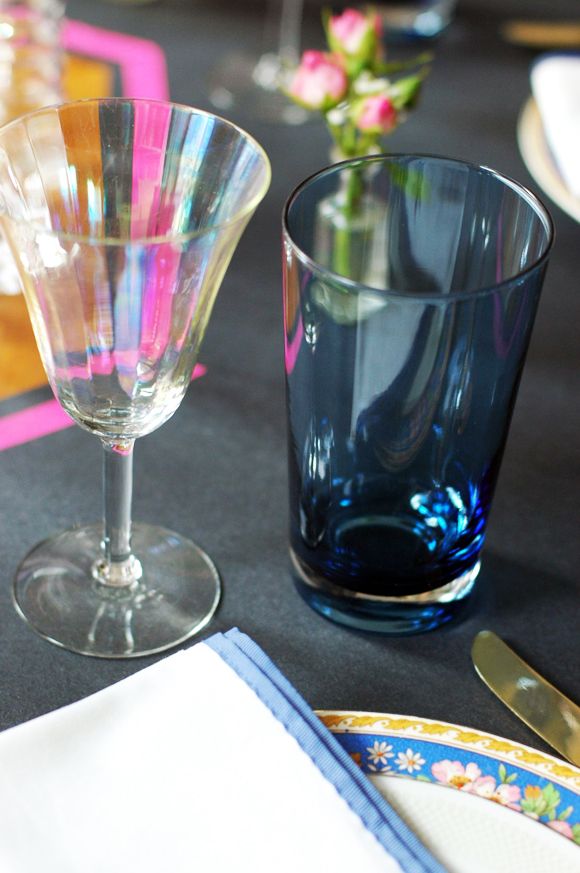
Since my new dining room has lots of blues and periwinkle, I decided to run with those colors for the party decor. Even though pink/purple/blue is not usually what you'd think of for a holiday party! The blue tumblers are also from Mark and Graham. The opalescent goblets are vintage (my girls call them the rainbow glasses).  :)


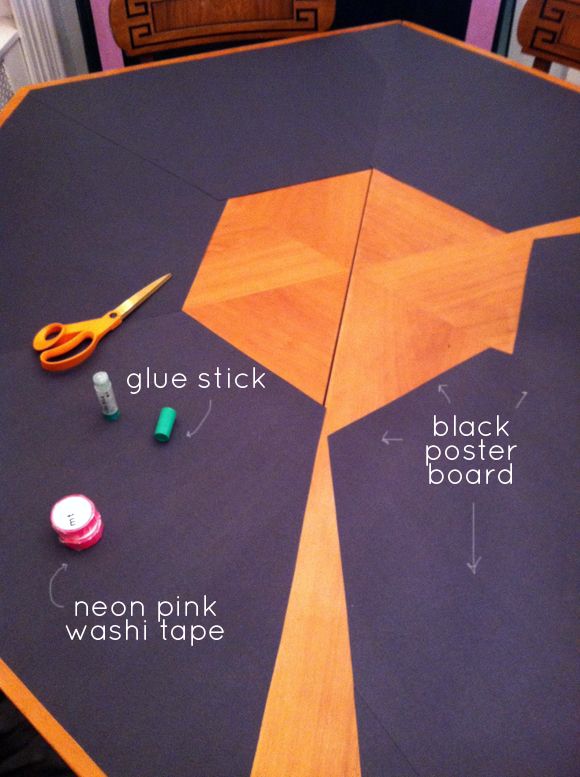
This is the first dinner party we'll have at our new table, so I wasn't sure how to approach the table cloth/place mat situation. So I tried something a little different. I bought six black poster boards and cut and glued them together to fit just right. I like how it accentuates the unique shape of the table instead of covering it all up.


Then I used some neon pink washi tape to trim out the top and bottom.


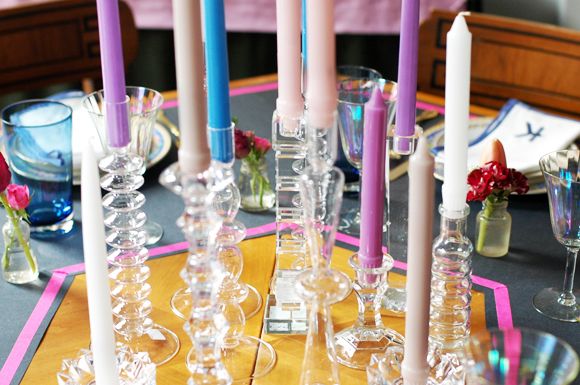
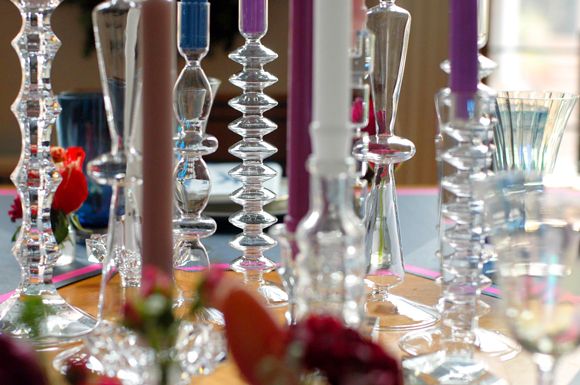
For the center, I gathered up a bunch of crystal and glass candle holders. I had a few on hand, but I did buy some of these. (The shapes!)


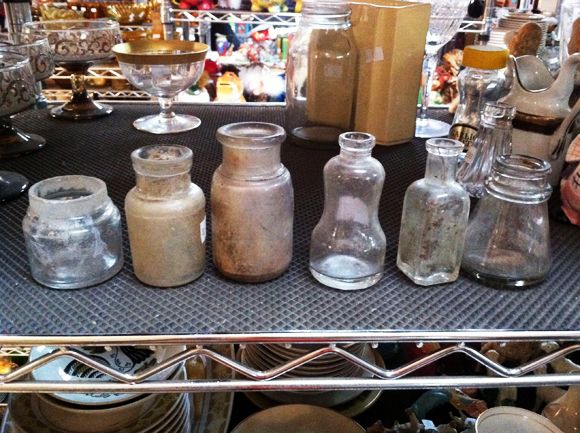
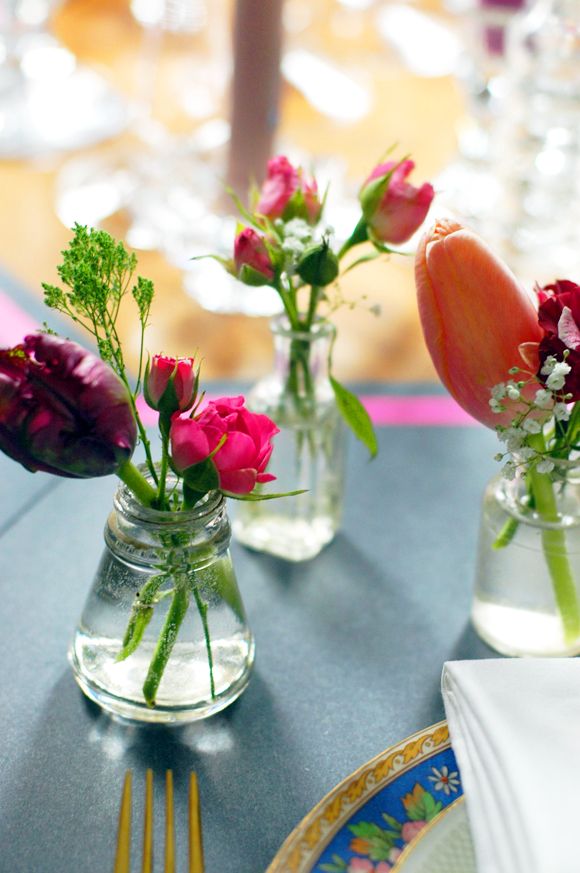
Since there was no place to put a floral arrangement in the center of the table, I decided to make little ones for each place setting. ABC Kitchen does something similar in mismatched, tiny little bottles. So I stopped by the thrift store and bought six (very dirty?) glass bottles.


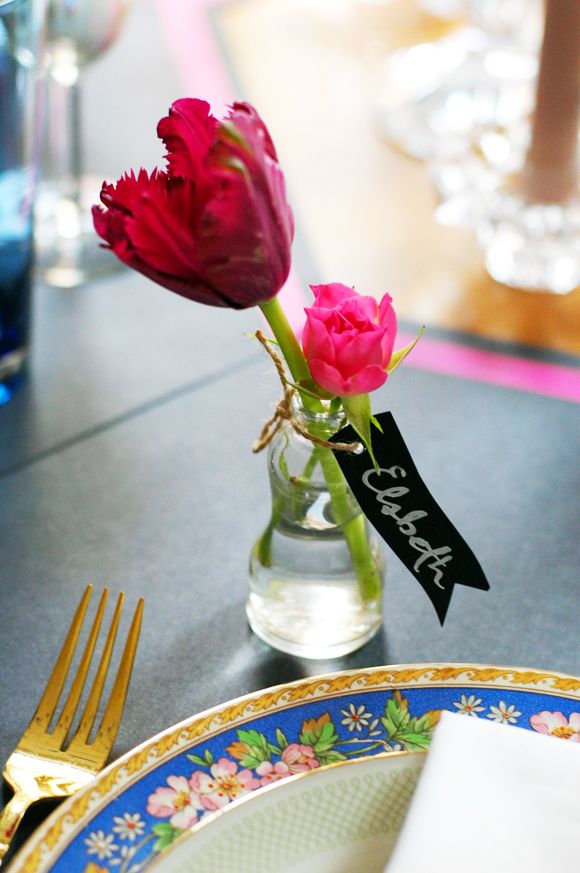
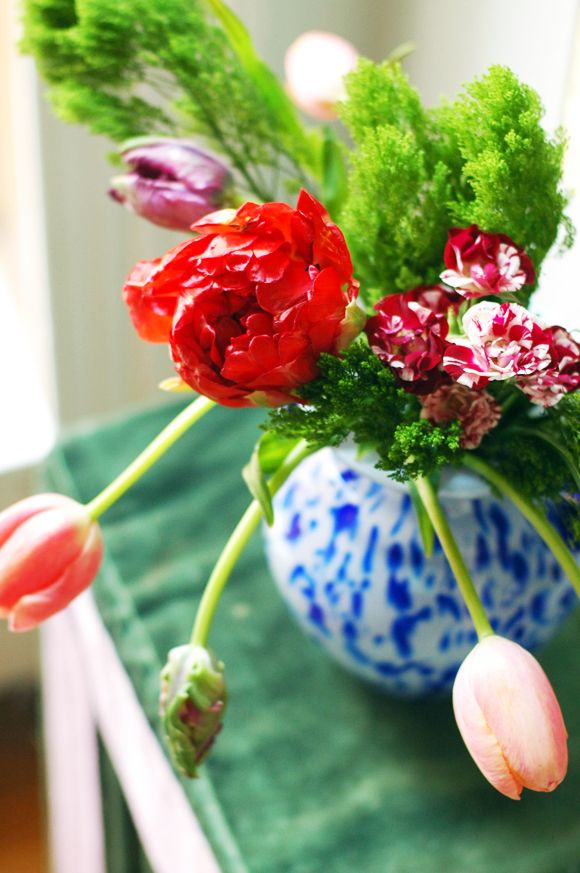
I used teeny tiny flowers like wild roses, small parrot tulips and even a little baby's breath (I know, shocking!).


I cut down these chalkboard tags from Mark and Graham into little waving flag shapes for the place cards. As a side note, have you tried chalk pens? AMAZING.


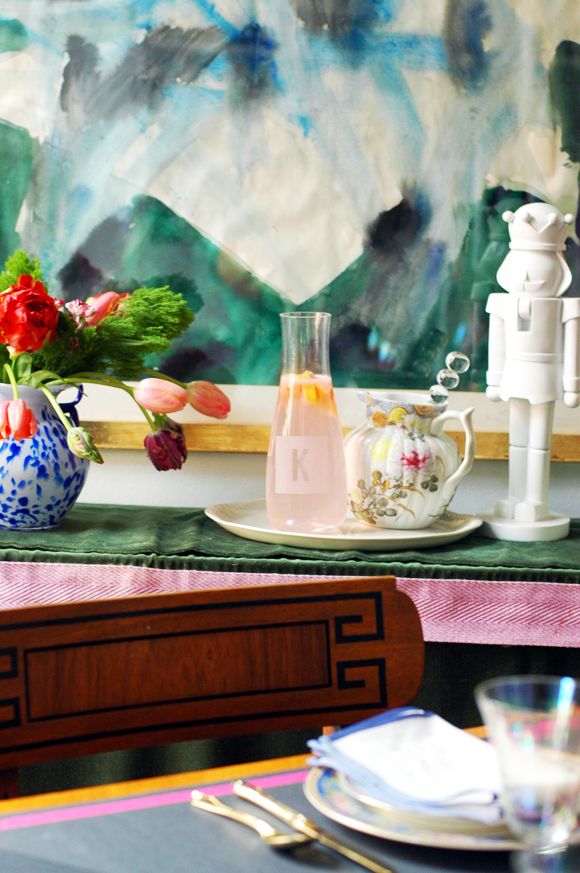
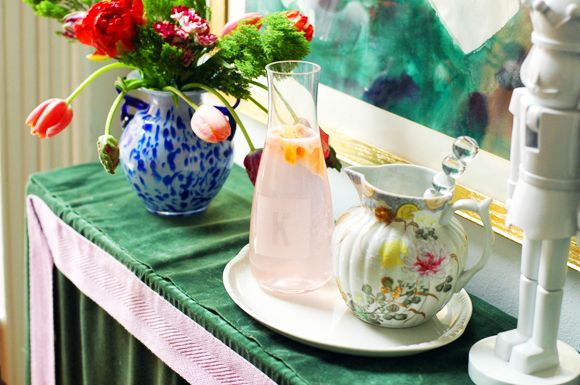
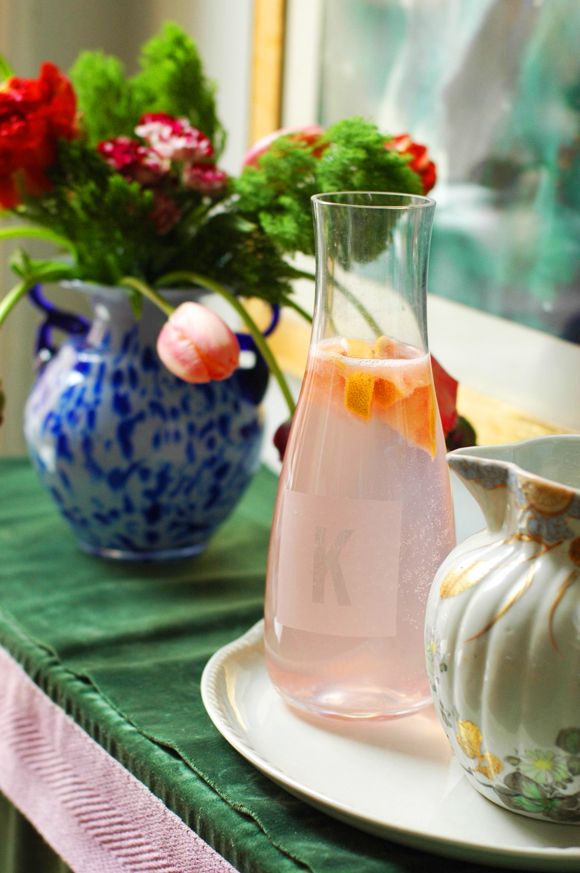
I put the beverages on the skirted console. The monogrammed carafe is holding my favorite - sparkling grapefruit juice. Yum.


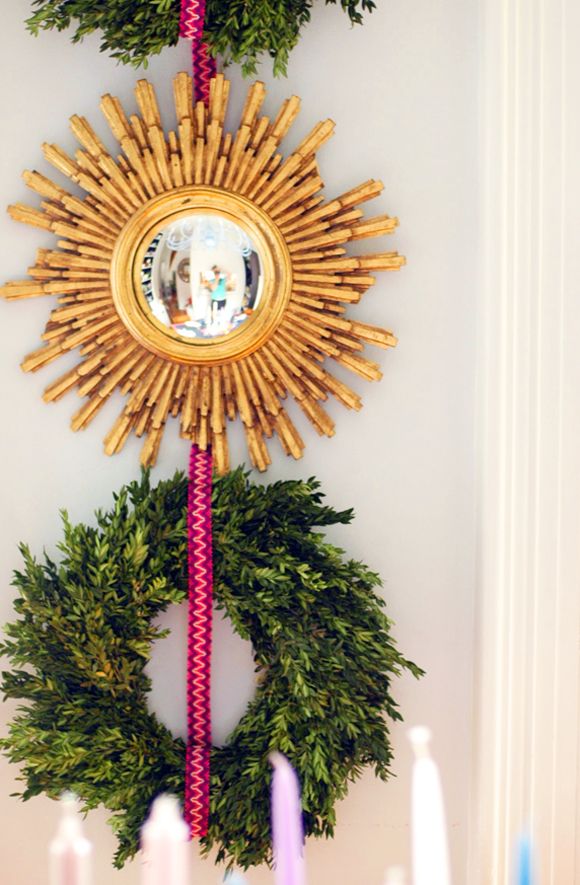
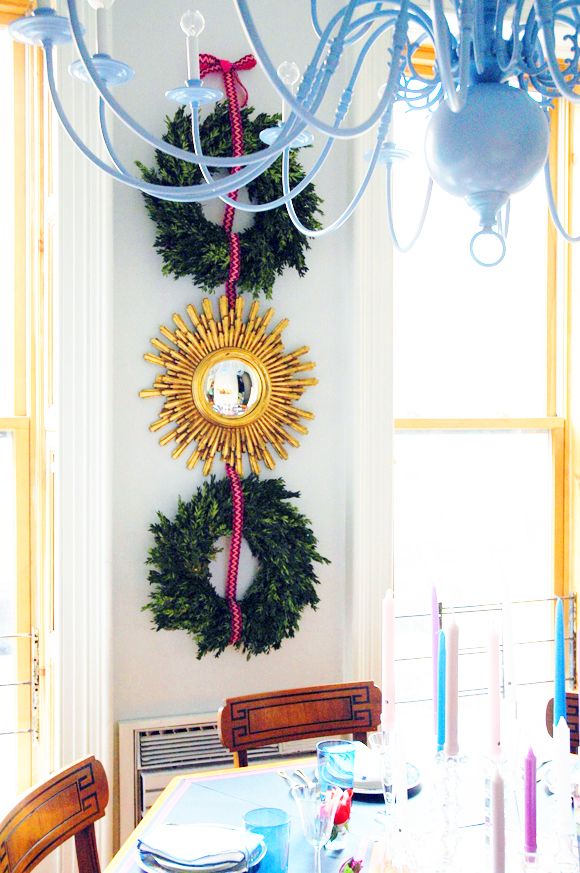
Trader Joe's was selling these great boxwood wreaths last week for $10 each. I hung them up using some vintage trim I bought at SAS last time we were in Arizona.


So excited for this dinner now! 

Have you seen my fellow blogger-lady's tables? I love how each of us went in completely different directions. Check them all out here - Coco+KelleyEmily HendersonCamille StylesSacramento Street.
Now for the important part (you know, the part where you can win stuff). Mark and Graham is giving away a $500 gift certificate if you stop by their FB page and vote on which table setting you like the most. Think of all the goodies you could get for $500! Think of all the future dinner parties! 

Monday, November 26, 2012

Using Painter's Tape for Mapping Out Furniture

Did I tell you we bought a dining table?? Remember I was in love with this octagonal Widdicomb table? Well, I thought long and hard about making my own version. I priced out the right wood and brainstormed how I would do it. Ultimately I decided it was too risky. The wood alone was going to cost hundreds of dollars and I wasn't sure that it would look perfect in the end. We needed a table we could use all day long, everyday. I think that sometimes, especially with the bigger stuff, it's best to buy, not DIY.
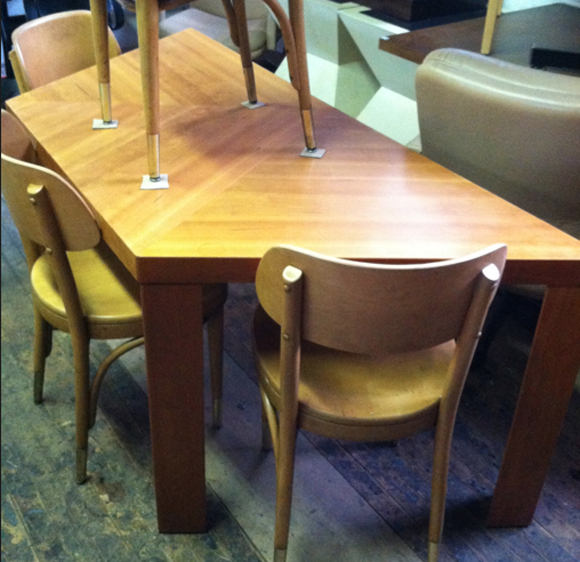
Luckily, I was doing some shopping for a client that week and had to stop in to Two Jakes in Williamsburg. I rounded the corner and saw this:


I loved the color of the wood and the shape reminded me so much of the Gibbings table, but I didn't really think more about it since it was just a desk.

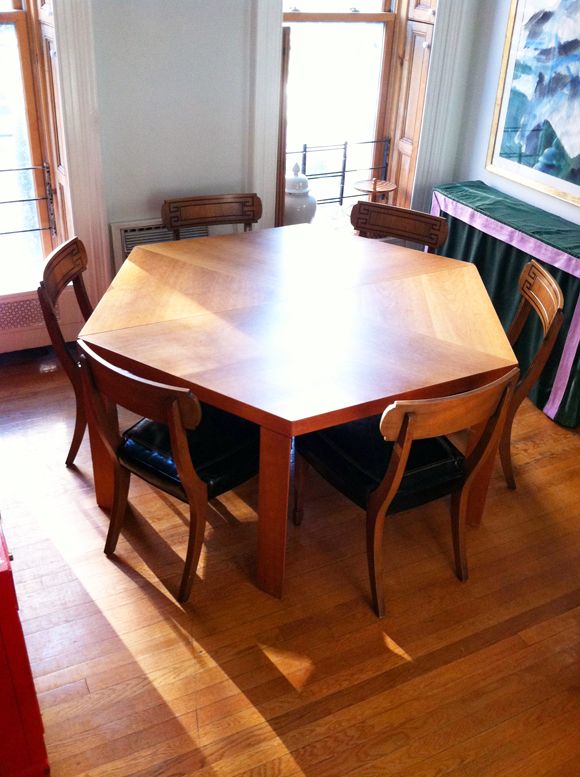
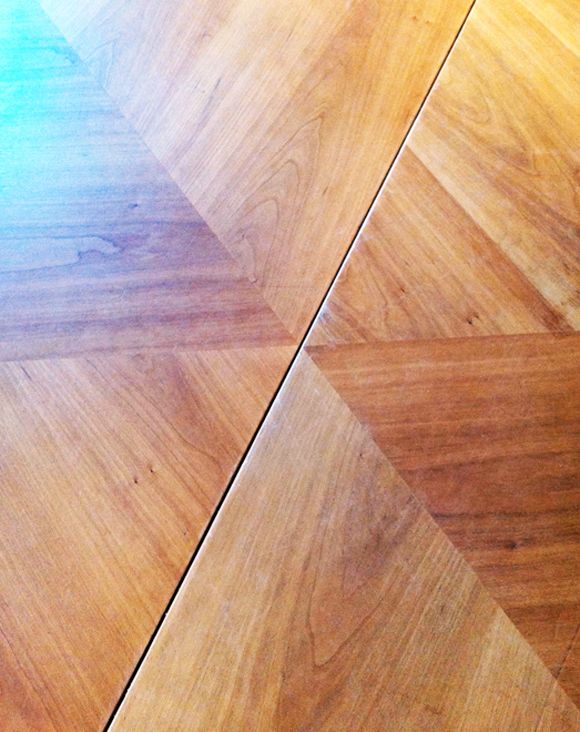
Then I made my way to the back of the store, and BAM! Another desk! Now, two desks do not always a table make, so I asked the nice and vey knowledgable owner (who I assume is named Jake?) about the desks and he told me he has TWELVE of them and that they were mid-century, and designed to be configured in multiples for your needs. They can be placed long-way to make a massive conference table, or just used as a single desk. OR used in a pair as a hexagonal dining table that comfortably seats six!? Yes!

Since they had so many of the table sections available, I did the patient, responsible thing (don't worry, that doesn't happen too often), and took the measurements home to triple check that the table would fit.

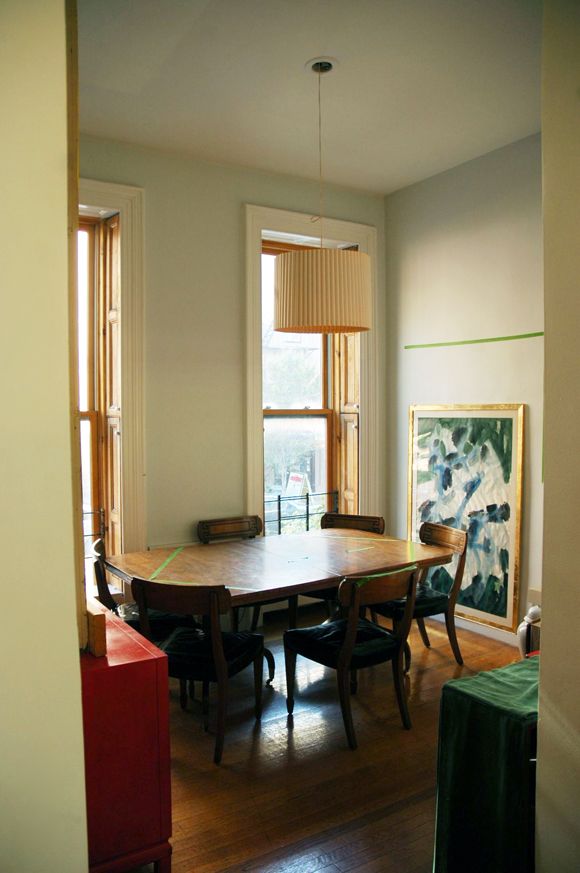
I use graph paper a lot to map out furniture for my own home (the computer programs we use pretty much kill my creativity). But even when you have a perfect floor plan, it can be hard to really feel what how the furniture will sit a room. This is where painter's tape comes in. It works fine to map out furniture on the floor, but if you place the tape on furniture that is roughly the same height/scale as the new piece, that will help a lot for visualizing and there will be less surprises later.


I mapped out the hexagonal table on my old, ill-fitting table, and put the chairs where they would belong at the new table to verify they could be pulled out far enough, etc.

It ended up being a really good thing I taped out the table. I found out the table would fit well, but that the armoire I had found on craigslist (to go to the bottom right of the table in the photo) was completely too big for the space, even though it made sense on my floor plan.


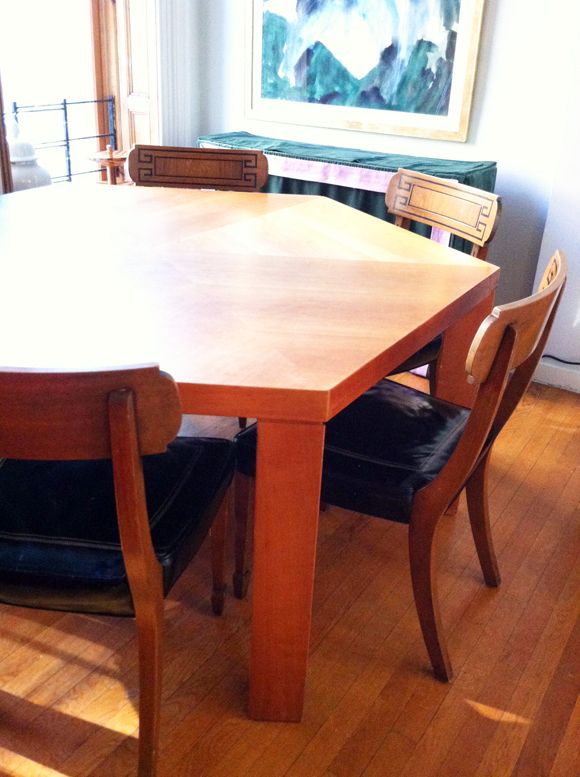
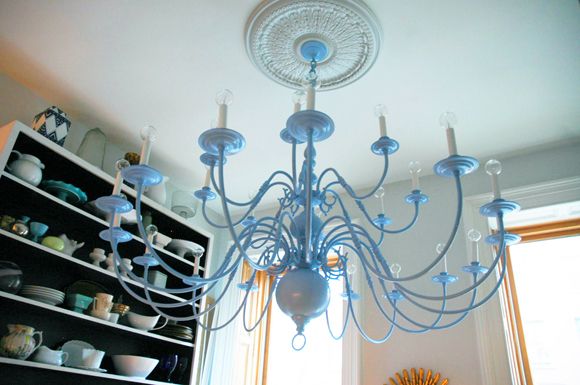
The table is in and we love it. And I've moved to Plan B for the armoire, so now we have plenty of room and storage space. More photos coming up (including the step-by-step for painting the giant chandelier!).

Also, I still love the Widdicomb table and hope that maybe someday one will fall into my lap. But I'm thinking maybe this simpler design is a better fit for our small dining room? All those arches might have been a little intense. Plus, there's no way I would have been able to get the finishing the way I'd want it to be. Like how the grain changes direction in the inlay here? Love it.


I even sort of like my old chairs with the table. I might keep it this way for a while longer, though I'd still love a set of straight-back louis chairs in a pretty leather with white frames. Would it be sacrilege to paint my chair frames here white? Or to whitewash them so some of the greek key shows though? Hmmm...