FREE DOWNLOAD PICTURE
MORE INFO ABOUT NOTEBOOK
Showing posts with label Flooring. Show all posts

Wednesday, April 10, 2013

A Surprise in the Vestibule

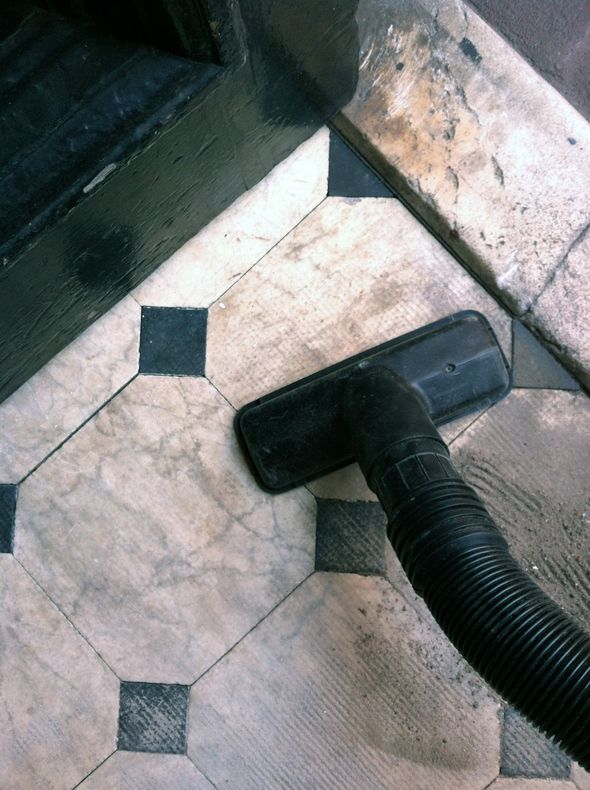
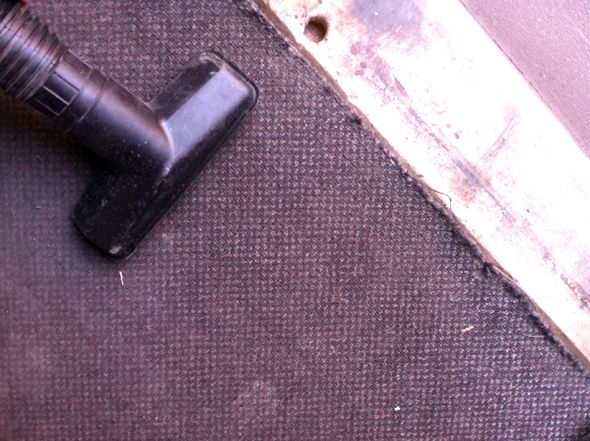
The other day I had our shop-vac out (P.S. shop-vacs are life-changing) and was cleaning up the common area in the main front door of the brownstone, which we share with our upstairs neighbors. There's this really nasty, unfortunate commercial grade carpet everywhere in there and it's dark blue-gray so it shows every spec of dust, every sliver of newspaper. I pretty much hate it.

 photo IMG_2440.jpg

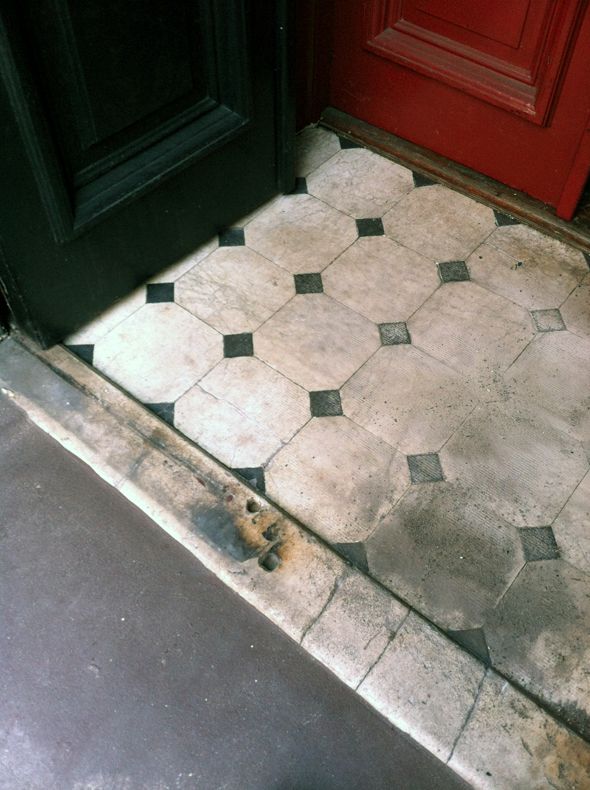
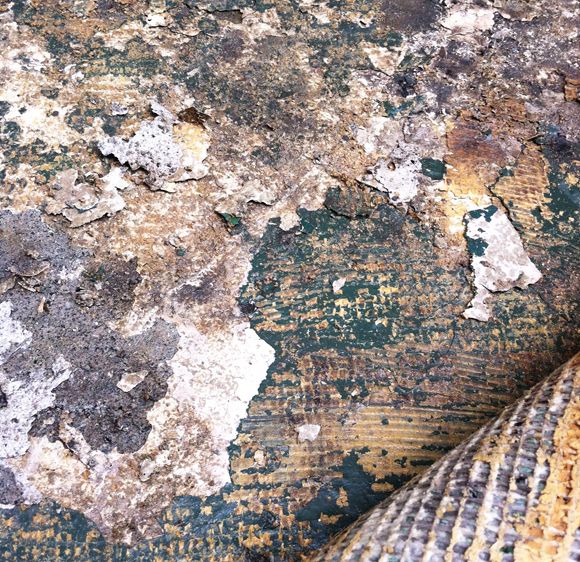
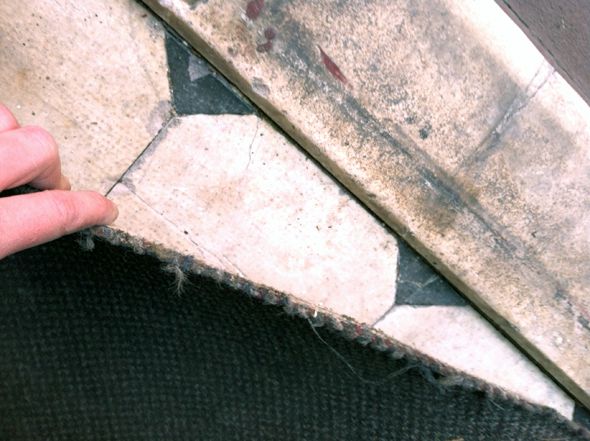
Since my shopvac is so shockingly powerful, I kept accidentally sucking and pulling up the carpet piece on the vestibule floor. Suddenly I saw a flash of black and white tile under the carpet. 

 photo IMG_2442.jpg

I felt like Charlie when he saw the little twinkle of the golden ticket so he ripped away the chocolate bar wrapper as fast as possible. That old carpet was up quicker than you can say "carrara marble with soapstone."

 photo IMG_2448.jpg

 photo IMG_2453.jpg

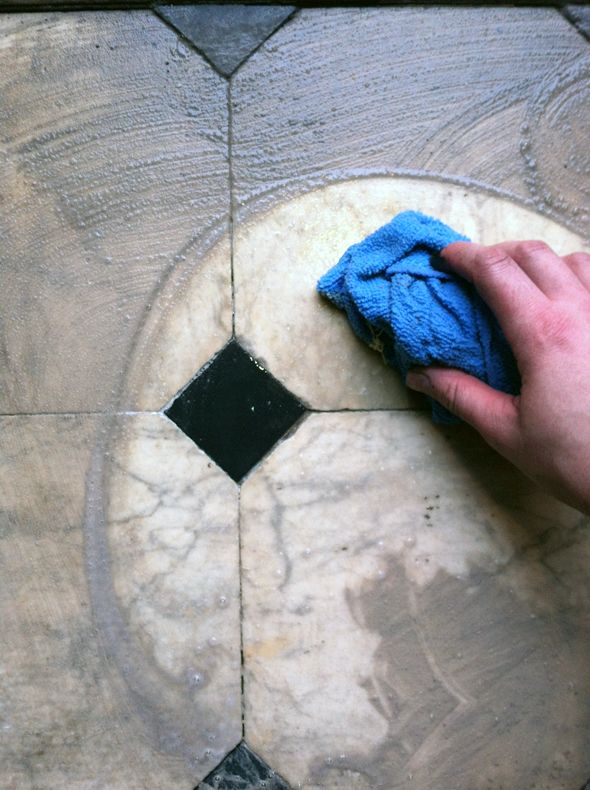
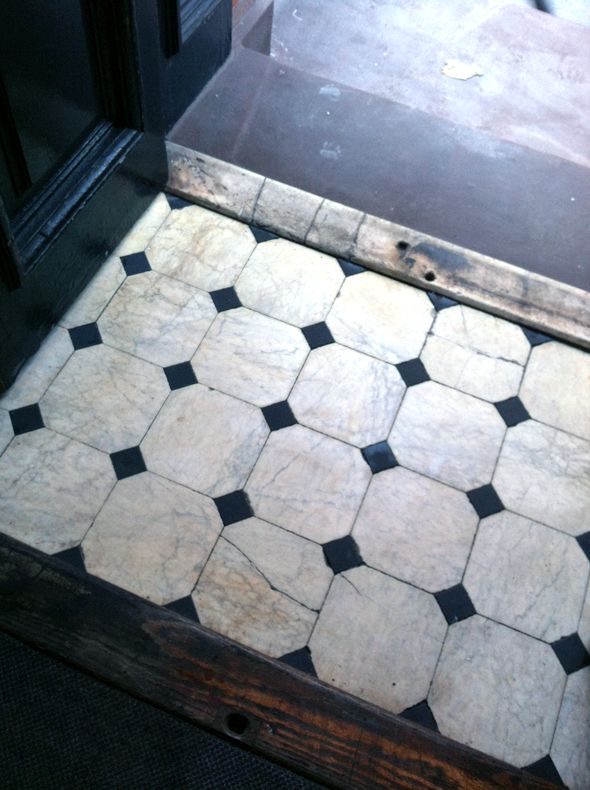
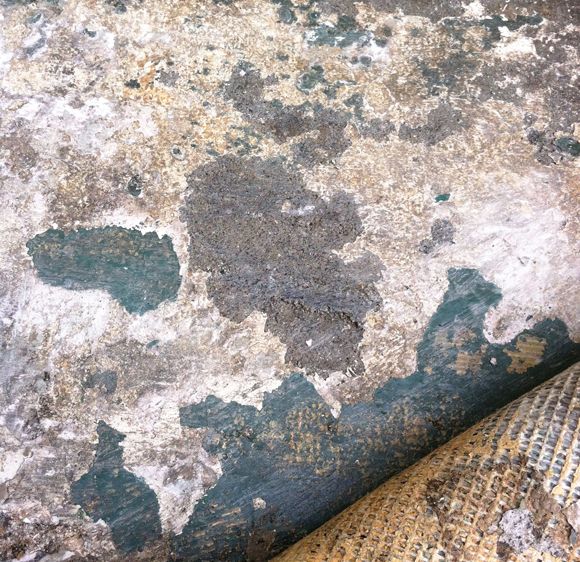
After vacuuming and wiping up decades of dirt, I couldn't have been happier about my surprise discovery. It's definitely not perfect, condition-wise, but I love this 106 year-old original floor. Such character!

 photo IMG_2468.jpg

And isn't this simple pattern a great design? Gracie says "It looks like chocolate chip ice cream or a Queen's fur coat." Love that girl and the way she sees the world.

 photo IMG_2477.jpg

Monday, December 10, 2012

DIY: Stair Runner

I've mentioned before that one of the first things we did after moving in was pull out the horrible red commercial grade carpeting that covered most of the garden level (other than the floors in my office), including the stairs that go up to the living room.


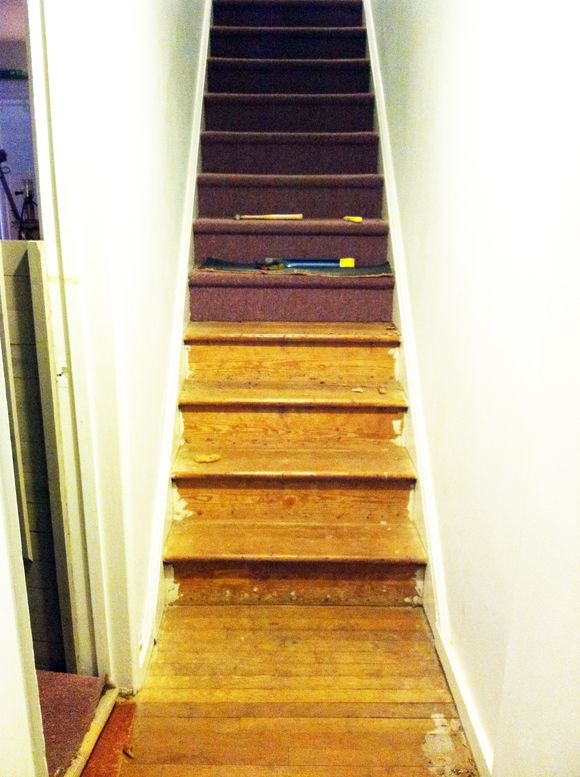
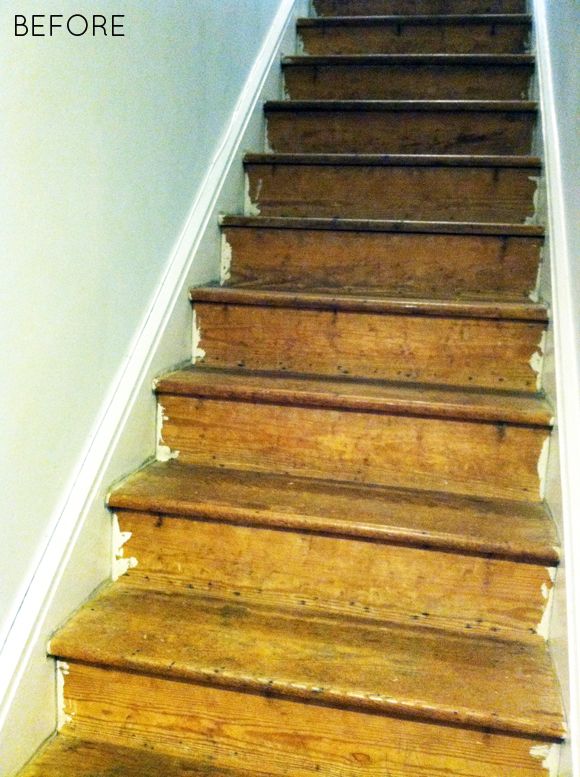
I loathed this carpet and we were relieved to see that the wood under the carpet was in salvageable condition in most places. But when we started pulling off the carpet on the stairs, we were in a different boat. The wood was full of holes and was covered in paint spills and brush marks.


I like the look of a painted stair tread anyway, so I happily painted the stairs white (well, mostly...) before laying down the stair runner (which is really just a bunch of IKEA rugs)! Much better right?


Here's the full run down:

I've come to love and appreciate the power of a sanding block in an old house. Everything in my house looks better after a good rub down with a sanding block! (it'll clean up old bathroom tiles like you wouldn't believe!) I cleaned up as much of bumps and the uneven parts here on the stairs as possible.


Then I primed and painted just the edges of each step. I was going to paint the whole width, but then I though it might be better to leave the wood in case the owner refinishes the floors in the future.


It's CRAZY how much brighter and cleaner the stairwell felt with just those few inches of white paint!

Once the paint was dry, I pulled out a few of these rug grippers I had picked up at the doller store a few months earlier. I swear, the hoarder comes out in me when I go to dollar stores and Target's dollar spot! Bad news. But it worked out for me in this instance.


This particular rug pad was the exact size as my stair's tread and it was sticky on the top and bottom, so everything was really held in place.


When I ran out of the special rug pads, I move to a runner-sized non-sticky rug pad that I cut to size, and that also worked really great. To tell you the truth I can't tell much of a difference between the stairs with the sticky rug pad and cheapie regular rug pad. So either works well.


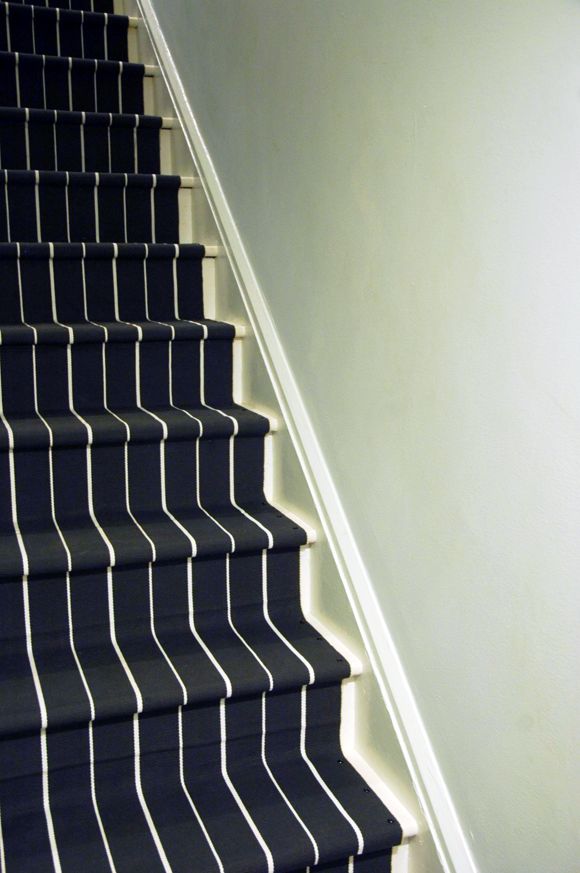
So for the actual rug installation, I used four of these runners from IKEA. They were $25 each and I could get about 3.5 steps done per runner. I started at the TOP of my stairs and used a brad gun with 3/4" brads to secure the runner to just the underside of the step lip.


I put in one brad every 2-3" along the width of the stair tread. The rug pads helped the runner stay in place on the riser and the top of the tread, where there were no brads. When I got to the end of my runner, I trimmed off the rolled edge.


Without the rolled edge, it's easier to layer the start of a new runner on top more seamlessly.


Then you just line up the rolled edge of the next runner and staple in place.


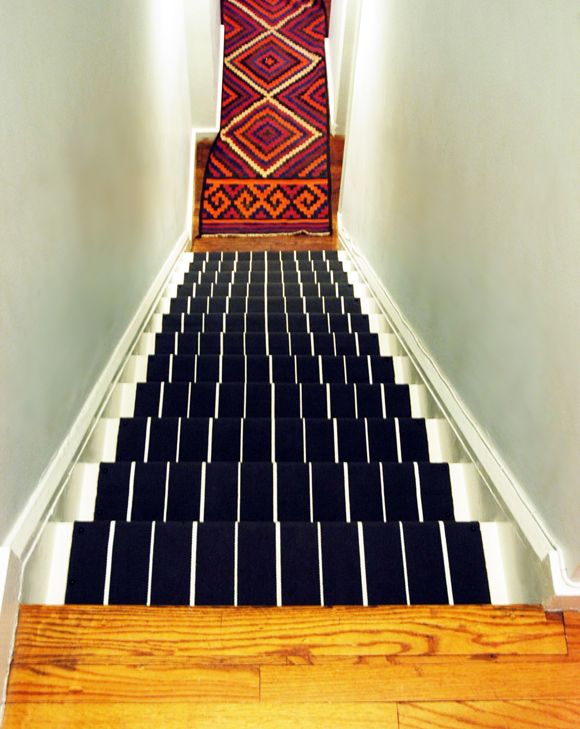
I'll admit, I got a little sloppy when I was doing this project and I wasn't super-duper exact with my lines. From the top of the stairs, you can see the stipes wander a little bit near the center. :( It's not that bad in person, but in this photo, I pretty much want to pull out all the brads up to the middle portion and fix it this second. We'll see how long it'll last crooked I guess.  Learn from my mistake! Measure your edges. Mark it out with chalk maybe to make it a little easier on yourself?


Anyway, the fourth runner was a little short. I could have bought a fifth runner and cut it up for just this bottom riser, but I decided I kind of liked the runner starting a little higher off the floor. I'm calling it a happy mistake. :)


Then to finish up the look and to make sure the runner were completely secure on the stairs, I used three black nail heads (just eye-balled) on each tread (none on the risers). I thought about doing brass, but I really like the tone on tone happening with the black nail head on the charcoal weave. It's a more subtle look.

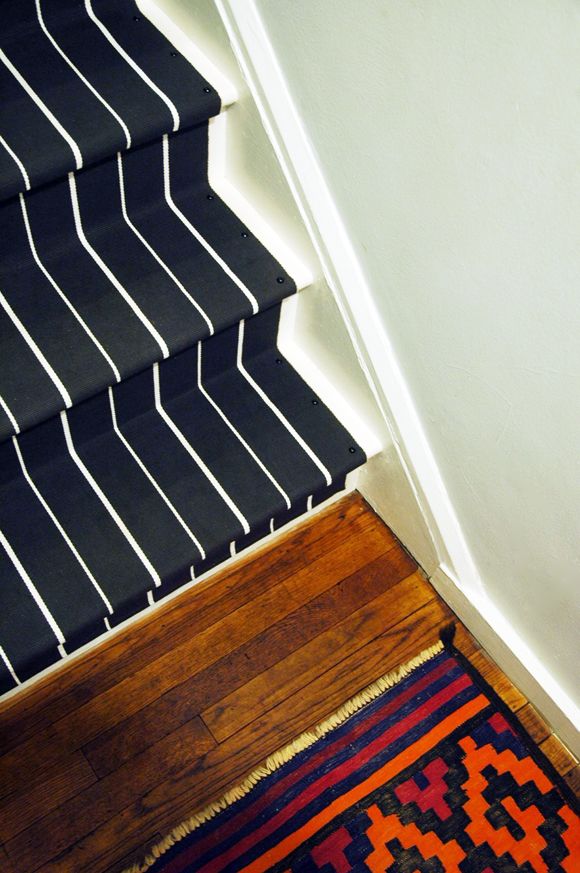


We've been loving our revamped stairs for a couple weeks now, and I am happy with the look and how it's wearing! The dark shows less dirt than I was worried about, and the stairs are much safer now, and about a million times quieter.


One other thing we did was apply Restor-A-Finish to all the floors that were under the old carpet, and they look SO much better. Much less dry. (compared to a few photos up)


I love seeing the stripes peeking into the living room. :)


So with the four runners, three packs of nail head trim and a couple dollar store rug pads, I think this project came in under $125.


So worth it!


PS the vintage runner in the hall was a flea market find. It's really long and I was hoping I could use it as a stair runner originally, but we were about three feet too short. Bummer.
PPS Another project from the garden level.

Tuesday, November 6, 2012

Flame Stitch FLOR Tiles

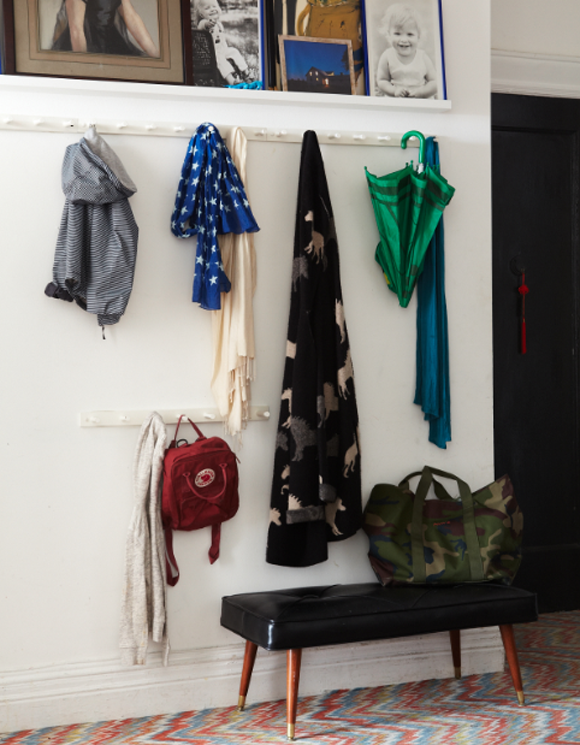
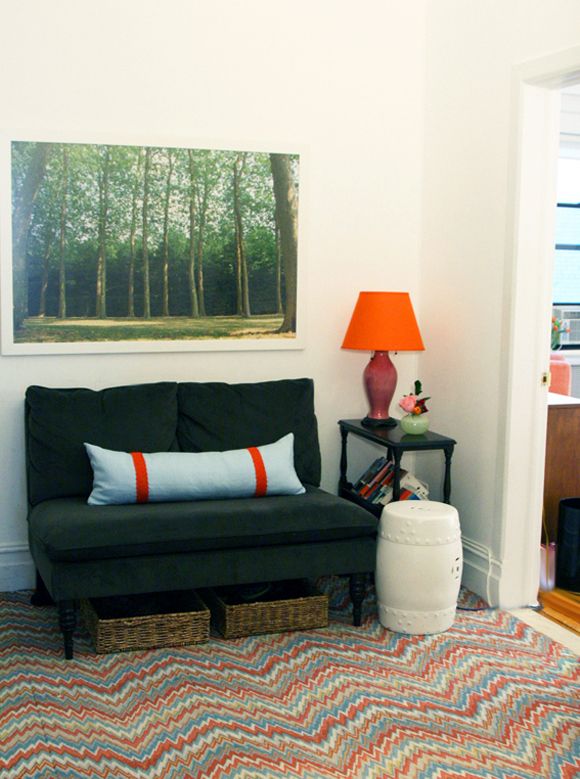
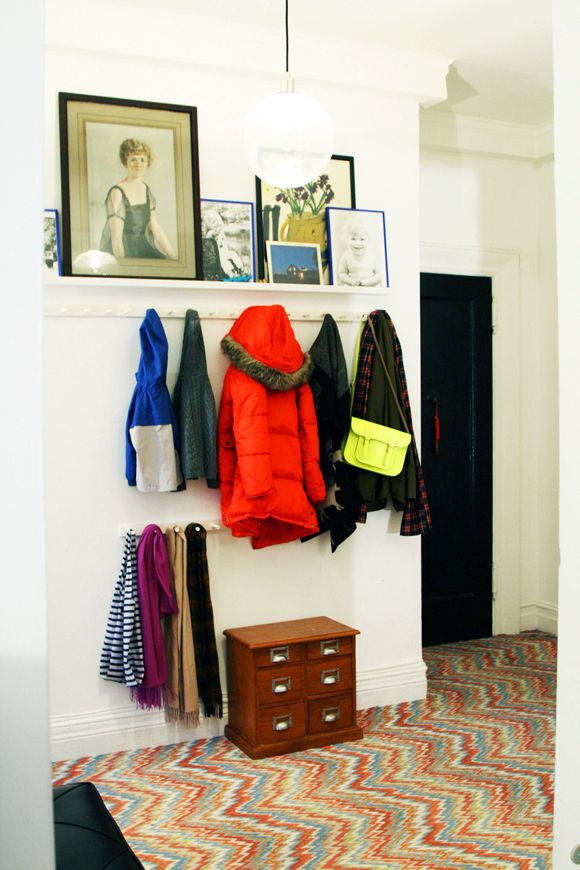
Have you ever used FLOR tiles before? Abbey and I installed them together in her apartment's foyer and it completely changed the space! (the floors used to be a really unfortunate red marble that Abbey hated).


While FLOR tiles aren't the cheapest flooring option out there, it's great that they can be cut to fit any space. And I love that the tiles can be replaced if (more like when) major stains happen. In high-traffic areas or in homes with pets and kids, this is a pretty amazing sense of security.


The people at FLOR recommend buying 10% more than your needs just to have on hand. It's really a good idea to buy at least that much, since there's a good chance your pattern won't be available after a year or two.


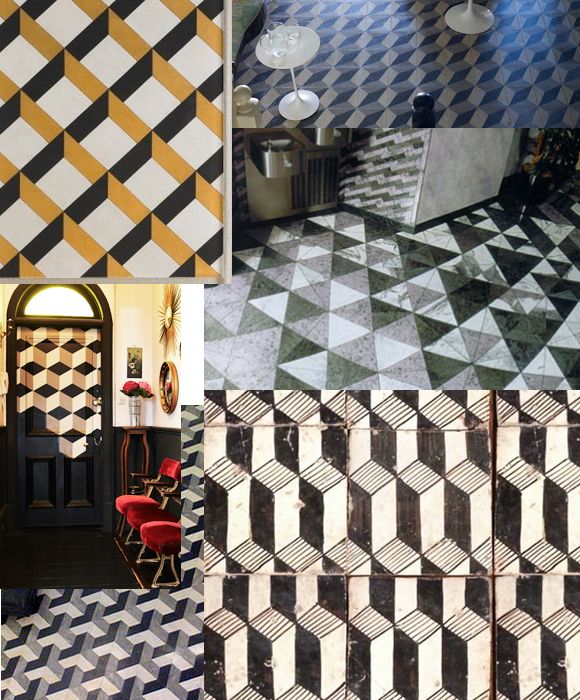
Here are some of my favorite patterns available at FLOR right now. Have you used these before too?


1  //  2  //  3  //  4


5  //  6  //  7  //  8

First photo by Seth Smoot, styled by Kendra Smoot. More of Abbey's apartment tour here.

Tuesday, August 28, 2012

The Balcony Floor

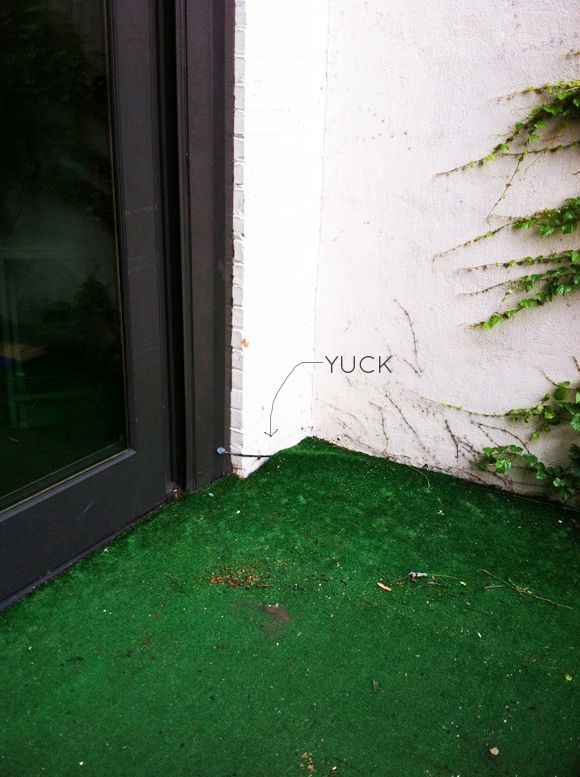
With Labor Day right around the corner, we are trying to get the back yard in a better place so we can enjoy the last couple weeks of great weather. We're really anxious to get a grill out on the balcony for some end-of-summer barbecues! But right now, the balcony is anything but welcoming. There's no lighting out there, so the party ends fast when the sun goes down, and worse, the ground is covered in decades-old astroturf.


I pulled back the astroturf today and the situation under the ugly astroturf was just gross. Lots of old and chipped glue.


I scraped up some of glue and a lot of it came off after only a couple minutes of work. I think I'll buy a better scraper and maybe rent a wire brush grinder and see where we sit.


I've been looking into different types of concrete filler/resurfacing products and it looks like getting a cheap and easy-to-mix bag of thin set is a good way to go. I'm not necessarily after a perfectly new floor, just something a little cleaner and more smooth... because I have a little floor painting idea that I just can't get out of my brain...

Wednesday, June 27, 2012

MSL Radio!

Well, we finally made it to the last day of school for my girls. I'm taking full advantage of this last day and I've packed in all sorts of appointments before we launch into full-blown summer mode tomorrow. First up is a dash down to Brooklyn for a meeting with the contractor at the brownstone to talk about refinishing the floors. (whoop!)

We've been thinking a lot about it (thanks so much for your input by the way), and because of all the stairs in our place and especially because of the very short window of time when the house will be empty, we're probably just going to hire out this project. I'm hoping our guy will say they can do the floors for just some fabric advice and a big plate of fresh cookies, but something tells me it might cost us a smidgen more than that. I might be waiting on my DREAM fridge a bit longer than I hoped.  (but seriously, isn't that fridge perfect?)

Some of you mentioned you have used 50/50 Jacobean and Ebony stain mix on your floors, which is the formula used on these white oak floors (from here). We have red oak though and might need a little more ebony stain in the mix. I'll have to play around with it. I'm also considering going very very light, which might better suit our narrow space. Decisions!


In other news, I'll be joining the fabulously talented Kevin Sharkey on Martha Stewart Living Radio this evening from 5:00-6:00 pm. We'll be talking about all the good stuff. Blogging. Decorating. When to DIY and when to call in a professional (let's see what I'll say after getting the quote for my floors just minutes before the show! ha.).


Call in! Let's chat.  (PS  If you don't have a subscription to Sirius, the folks at Martha have generously offered up a free 30 day subscription here.)

Tuesday, January 24, 2012

Layered Turkish Rugs in Joanna's Bedroom

We were faced with a bit of a challenge with flooring in Alex and Joanna's bedroom. Their room has a bump out and a radiator and other trickiness that made choosing a rug a little hard. We wanted the room to be bright and folksy, so when I ran across this eBay seller, we bought two medium sized Turkish kilims for less than $200 each (including shipping!).


The rugs are old and came a little dirty and very mildly smoky smelling (like if the doors and windows were closed for more than an hour, you'd start to smell a little something). It was faint, but it was there, and Joanna and I both felt like it was necessary to get the rugs professionally cleaned and sanitized. I've used Big Apple Carpet a bunch of times and could not be more pleased with their work and customer service. Cleaning the rugs was not expensive and they came back brighter than ever and completely smell and dirt-free. Totally worth the extra step and cost.


In Joanna's room we layered and even angled the rugs (normally a HUGE no-no for me), which helped cover a lot of floor space in the bump out near the closet area. Since we were going for that bohemian, folksy look, the layering/angling works. It also helps that the patterns of the two rugs are sort of similar - it looks like a design decision instead of a making-it-work thing. You know?


Have you ever pulled off the layered rug look in your home? If you're looking for some well-priced options, I would check out this Turkish rug seller. He has lots of smaller pieces that would look great in a kitchen. I just bought another one last week for a teeny tiny bedroom redo I'm working on and can't wait to share later.


PS I just got word that my Chesterfield is getting delivered tomorrow night! I told a friend I'd tweet a photo of the sofa when it arrives, so follow me on twitter if you want a little sneak peek.